Statement Sleeves

When your sleeves are the center of attention.

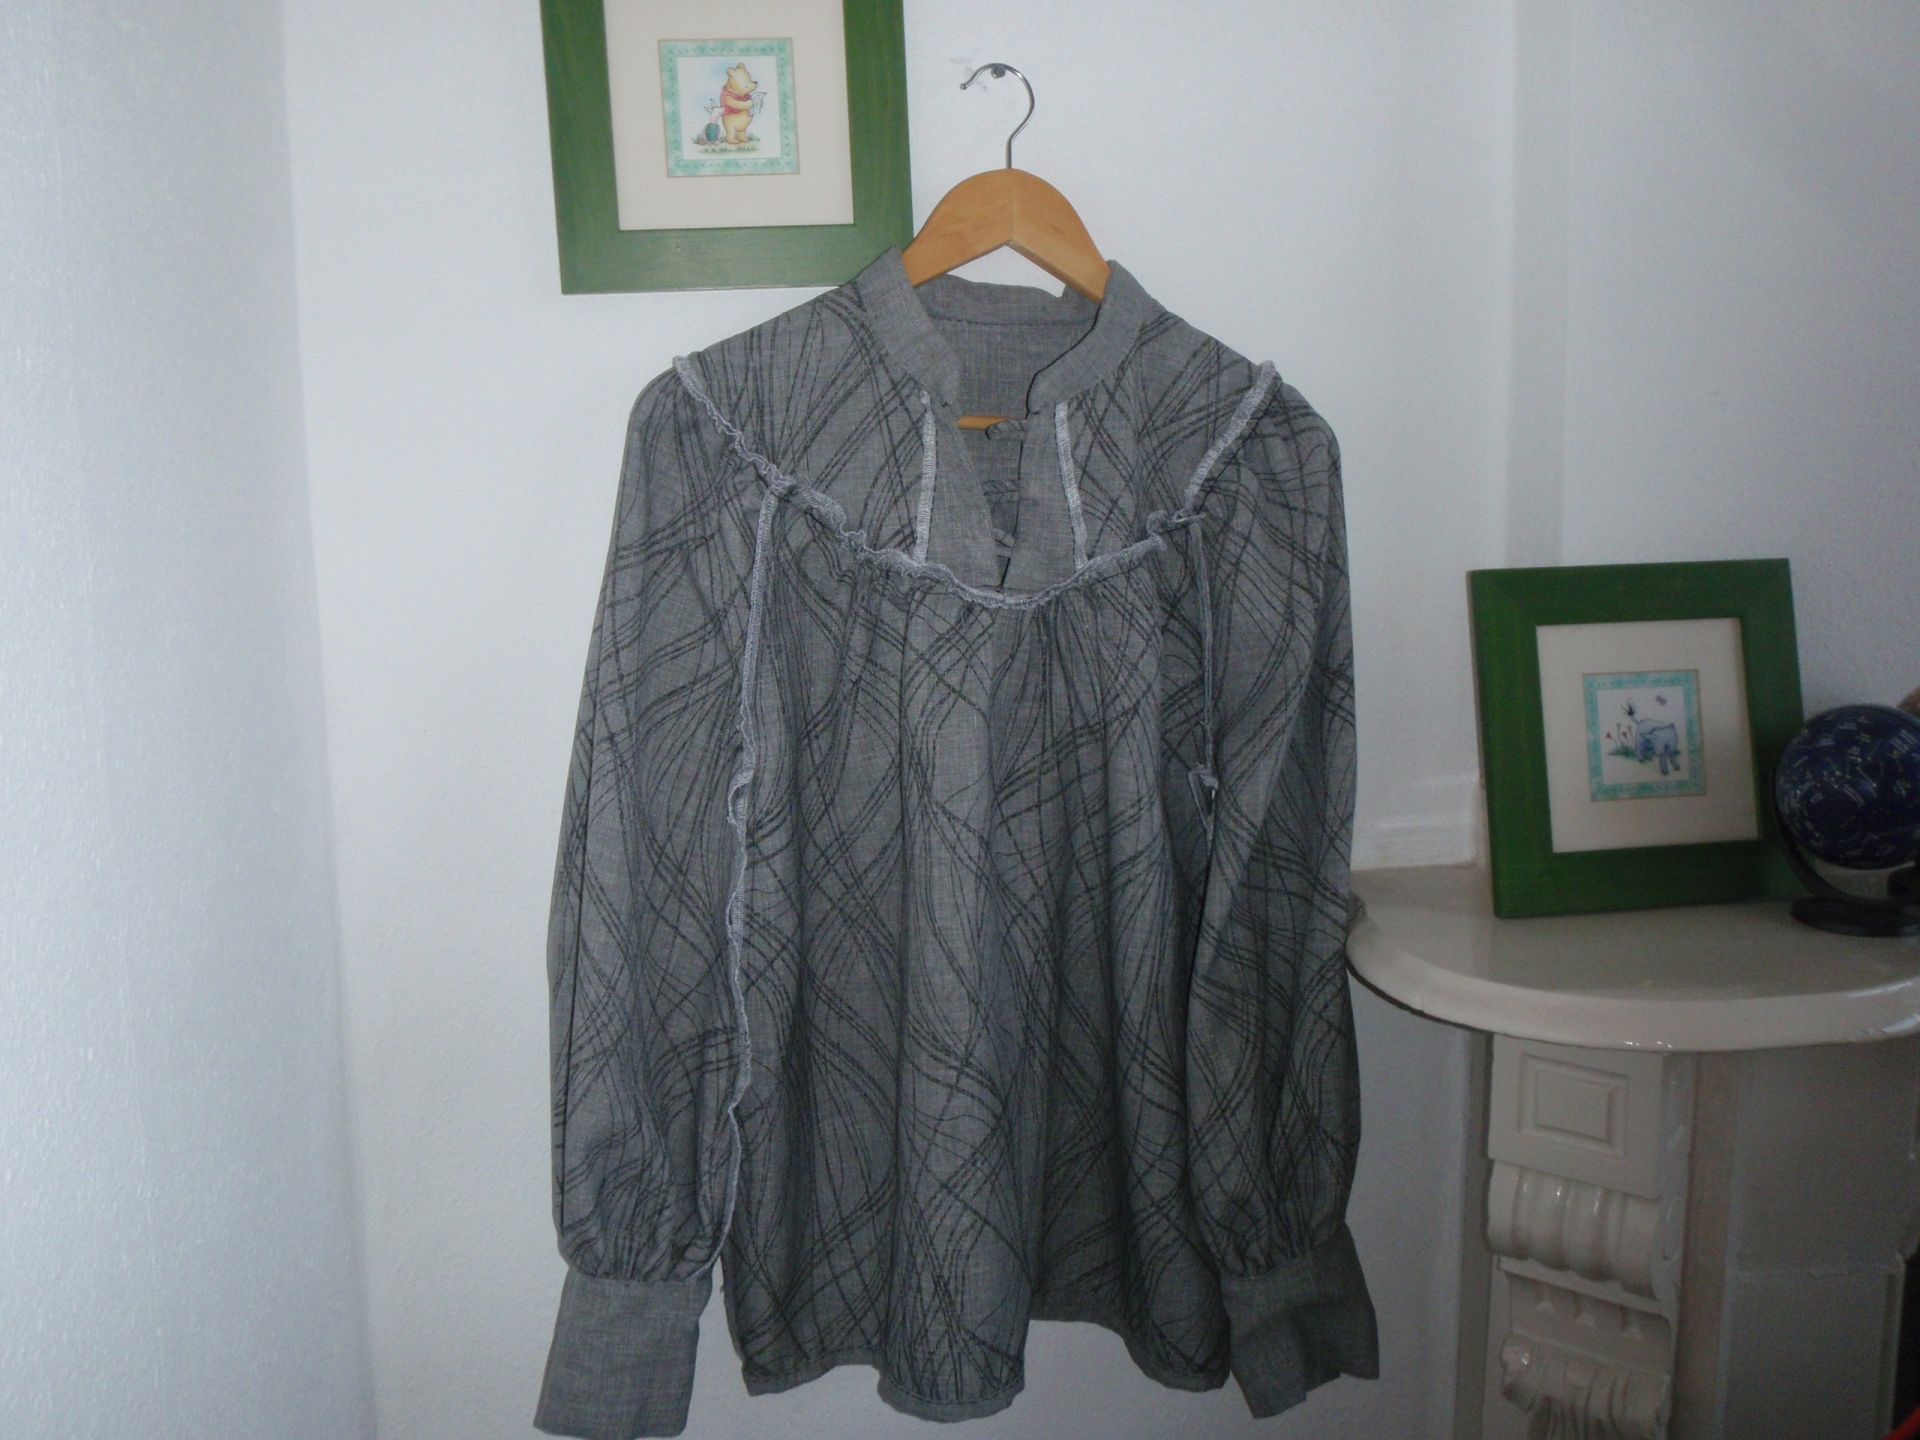
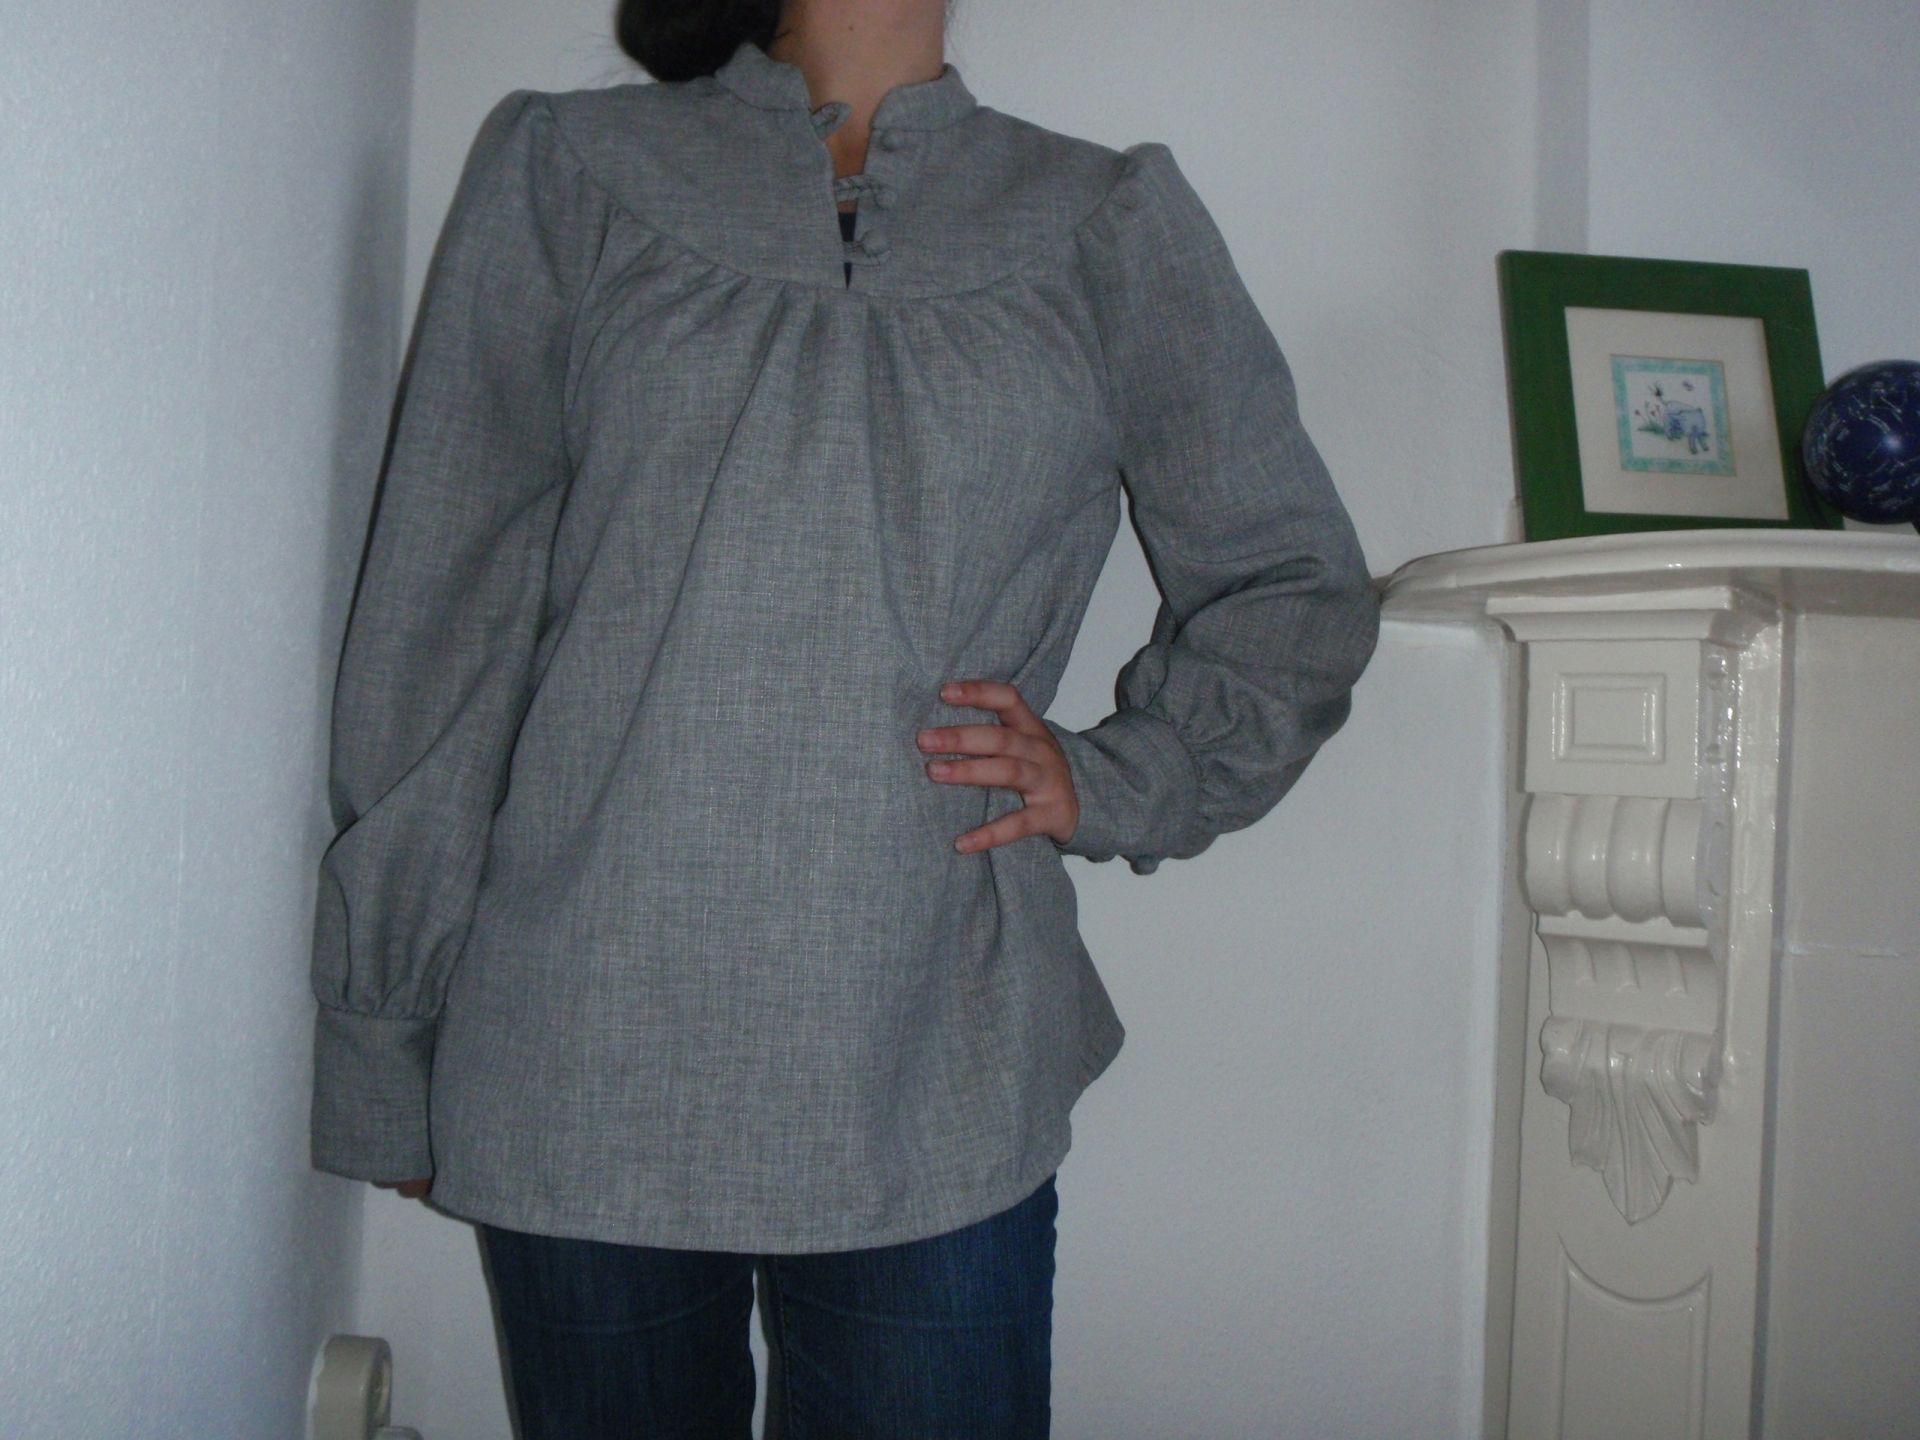
So when planning the graduation outfit, I actually started with the top. Why did I not tell that story first? Because I didn’t end up wearing it at all. I chose a simpler white blouse to go with in the end. The statement sleeves on this one were just too much with the cape. This top was originally a dress pattern, I just didn’t draw the bottom half of it. The pattern was from Simplicity Naaimode 35 – dress models 11-14. This sleeve is from model 12. The set is also known as Simplicity 8511.

For fabric, I chose some thick, white, almost quilted looking fabric that I got in Utrecht some time ago, for I think 1 or 2 euro per meter. I wasn’t sure what I would do with it, but the price was too good so I left with a lot of it. I absolutely cannot be trusted around cheap fabric, I want to hoard it all. Anyway, I traced and cut the pattern pieces and then started putting the top together. This fabric frayed in a very interesting way, so I pulled out the serger to neaten up the insides. Then I had to fit it. The tops of the sleeves were too high, so it was pulled in along the sleeve seams to a more pleasing fit. When trying to apply what I thought was the neckline facing, it took some tries to discover that it was supposed to be a band, not a facing. Before that realization, I’d already retraced the new neckline and made an actual facing. I like this better anyway.

For the sleeves, the instructions said to add buttonholes and such. I didn’t trust the fabric enough, so I put in some thin round elastic that would fit my buttons. The buttons are fabric buttons made with a button press. It took some tries, but I’ve got some lovely buttons now. They were attached to the sleeve cuffs and the elastic can loop over them nicely. I’ve not actually worn the top out yet. I’m waiting for spring to actually arrive so that my arms don’t freeze. I’m also not entirely sure I’m brave enough for it. I guess time will tell.

Spur of the Moment

Sometimes Pinterest just sparks your imagination and you’ll make it come to life in less than 24 hours.

Browsing through Pinterest has given me lots of ideas over the years. Recently there was an image of a dress that really tickled my fancy and that I’ve been thinking about on and off. So last Monday evening around 20:00, I remembered that I had an event on Wednesday. I decided that I wanted a new outfit, but if it didn’t work out, I’d have enough in the cupboard to make something work anyway. To the hoard I went to select a piece of fabric. I chose a length of blue synthetic something with a smooth back and an peachy outside.

For the pattern, I decided initially not to look for an actual pattern to but to try and drape something on my dress form. I cut two bits of fabric and attempted to pin the shoulders in place. It didn’t really work as I intended so I moved on to another part. That was the side straps, which involved cutting 4 and sewing them together. By then it was bedtime, so I postponed the further fiddling to the next morning.

At that time I’d decided that I did want some sort of sleevelet unlike the sleeveless inspiration image. I thought it would perhaps work to fold over the sleeves and create some sort of integrated facing. To make my sleeves, I grabbed the bodice pieces from Simplicity 1076 (also used here), and centered them on my fabric pieces. Then I rotated them out so that the sleeve edge would be straight vertical and could be folded in to the center. I sewed the side seams, cut the neckline, made the facing and added pockets.

The fitted waist is accomplished with an identical arrangement of pleats in front and back. They are 5 cm high, 1 cm wide and 5 cm apart. I had no idea if that was going to work, but my pin-try-on indicated that it might, so I just went for it. The side straps are caught in the outer pleats. Once that was all sewn down, I put it on again to mark the button holes. For the first time ever, I sewed buttonholes on my Pfaff! The buttons were added, lovely green ones with a small pattern that I have an entire tube of. Added the hem and sewed the facing edges over. The dress was completed at about 17:20, right in time for a small gathering. All in all, less than 24 hours from fabric to finished dress. Quite a decent turn around! For the event, I chose to wear it with my tiny petticoat for a little bit more oomph. I really enjoyed wearing it.

Cycling Skirt

Making a turn of the century bicycle skirt for the non-car owning people among us.

During the pattern buying spree of 2020 (that rhymes!), I also got Black Snail Patterns #0714 Bicycle Skirt about 1900. At some point when the corona lockdown wasn’t as bad as it was now, I’d purchased 5-6 meters of a sand coloured (no, it’s beige but I hate that word) fabric. I think it might be a sort of twill, but I’m not certain at all. I’d also found some sand and white checked fabric that I thought would work well for a blouse to go with the thicker twill stuff. While the paper pattern has been cut out for a while now, getting started on it proved to be a little more difficult.

Eventually, however, I managed to get going and once I did, the thing was done in three days. I chose to make the third size but once I’d cut it out and was measuring everything, I got scared and wanted to have some more space in the waist. So I moved all the markings on the side – front seams over by a centimeter. The seam allowance was 2 centimeters so that wasn’t too big of an issue. I think that this was probably a good call as I can now wear the skirt without foundation garments too. I also took 8 cm out of the hem and disregarded their instructions for the spacing of the hem-stitching. Most of it was sewn on the treadle, with certain bits being hand-sewn on.

The appliques where sewn on using a thicker thread, the same that was used for the hand-worked buttonholes. I’m very proud of these. It was the first time making a keyhole opening for the buttons and using a technique that actually seemed to work. I also used it to secure the buttons in an aesthetically pleasing manner. The buttons on the left are functional for putting the skirt on and the ones on the right are just decorative. There is one pocket in the skirt and this sits on the right side. Once I’d finished it and put my phone in the pocket, the entire skirt pulled out of alignment and I decided that I needed to add a pocket-holding strap. That’s since solved those issues entirely.

I’m fairly certain that this thing is based of a Cycling Ensemble in the Metropolitan Museum of Art, from around 1900. Otherwise it’s an incredible coincidence… The details seem to fit even if the actual seamlines might differ a little. The Met version also has a friend which is so similar that I actually had to look very carefully to spot any differences. The only real obvious changes I can find is that the second one has more buttons? I have made my very first bicycle test drive with this skirt and it seemed to work very nicely. I hope to get some wear out of it and finish a nice blouse to match.

Edwardian-esque Combinations

A pair of Edwardian-esque combinations with lace and blue ribbon.

I became somewhat obsessed with early-ish Edwardian underwear lately. I’m not sure how it happened, but I did decide that I wanted to make an S-Bend corset. Now, what I’ve learned from following all kinds of historical and costume sewists in blogs and on YouTube, is that one does not wear a corset on bare skin. So off I went to make a pair of combinations. A pair of combinations, in this case, is a set of open-crotch drawers connected at the waist to a top of some sort. I’d been googling and reading a lot of projects from other people including Sew Historically and Amelia Marie. Next to that, looking at images on Pinterest, collected here.

Eventually I got to work using the book Amelia Marie recommened, The American System of Dressmaking. I had a lot of attempts, first to try and draft the top (which did not work as planned as it was too small), then I drafted a pattern from a few pages earlier which I haven’t gotten to work yet (still working on it). Next I did use the drawers pattern from page 502, but increased it along the back and raised the ‘crotch point’ up by a decent amount. I cut out my original top draft from about armpit level down and added more width to the sides. Once it was mostly sewn together, with some ladder lace along the waist, and a lace with holes along the top and insertion in center back, I needed to decide on the legs. I chopped off about 10 centimeters and added a ruffle of about 10 cm with lace at the bottom and ladder lace at the top. The center front has a facing and then hand worked buttonholes and mother of pearl buttons. The majority of the project was sewn on my treadle sewing machine (I love that thing!).

Normally one of these would be worn directly on the skin, but with the sheerness of the fabric, I did not want to expose the internet to that.. So I wore a black camisole and underwear underneath it. It’s really quite comfortable to walk around in and I do understand why ladies wanted to wear open crotch underwear under their corsets now. Still the overlap ‘covers’ enough that it’s ok to sort of wear it. Not outside by itself mind you. I also used blue ribbon in most of the lace with holes so that it could theoretically also count for ‘blue things’.

Next, the corset.

Buttons!

I’ve improved my crafting life with a simple ‘hack’ (clickbait much?). I’m very happy with it though. For a very long time, my sizeable stash of buttons has been living in a pouch in little plastic bags or in a box in little plastic bags. Effectively, every time I needed a set of buttons, I needed to upend a container, locate the buttons I wanted and then refill the container. This was NOT fun to do, I needed something better.

Since I have limited storage space and too many buttons my new solution couldn’t take up much space. It was hovering around Christmas and I suddenly had an idea, after pinteresting for ever. I was going to hang the little plastic bags up with Christmas ball hooks to some sort of rack. This would allow me to add more easily, sort them into corresponding colours and be able to see all of them at once. So I went to some stores and found a super nice rack, heavily discounted for €2. It even has birds on!

So off with the rack I went to set up my new project. I tied some rope to the top to be able to hang it on my bedroom door – my sewing room door has a mirror so it was ‘full’. Yes, it’s hanging on a Christmas wreath hook, this project is quite Christmassy for no apparent reason. I’ve been pleasantly surprised by how many bags have fallen off it since it was put up (only 1 in 2 weeks). Ps. for those wondering, at my job we use USB-sticks that come in little plastic bags. I though it stupid to throw those away when I can use them for buttons, so I’ve been collecting them.

Red Birds and Foxes

A year ago, I added a piece of light coloured fabric with grey leaf-ish things and little deer, birds, squirrels and foxes to the stash. On the hunt for a project, I re-discovered this fabric and decided to finally make (at least part of it) into a top of some sort.

Enter Simplicity 9, model 59 minus ruffle. This pattern came in size 38-40 at the smallest. In general, that tends to be too big. However, I hoped it would work anyway without resizing the pattern beforehand – spoiler alert: dumb choice.

In order to get it to fit, I made a 2 cm pleat at the back, ending at the small of my back. The shoulders were lowered 1.5 cm. I redrew the neckline at the front and back to correspond to the original size. So in total I probably managed to shave of more than 8 cm or so. I now like the fit a lot better. The fabric does crease like crazy and I don’t like ironing, so this is why you see it in all its wrinkly glory.

The fabric is super cute though and those five buttons also came from the stash. The original pattern had more buttons, but I was not going to let such a good match in buttons go to waste, so five it was. The button bands might have a little to much interfacing for the thickness of the fabric, but all in all, it wears well and it’s very cute. So far, so good!

Deadline Work (4) – Buttoned Shirt

Gala, Queen, Wedding, and larp, the most illustrious in that particular bunch. As you may know, I tend to want to make things for larp, mostly in the week before I have to leave, which may not be the best of planning decisions. However, this time this was the case again. In my productivity I managed to make a shirt, an apron and finally finish my backpack to satisfaction. All will be revealed in the coming posts, but first, the shirt!

So back in winter 2013 I discovered a pattern in a Simplicity magazine that I really liked for larp. It was a kind of peasant top with gathered neckline with the possibility to attach a yoke that closed with three buttons. I only took me 10 months to trace the pattern, so that’s almost a record.. I searched my stash high and low for some appropriate fabric and eventually found some of the most fluid, ravelling, presumably fake grey linen with black lines on the outside. Those lines weren’t really appropriate but the back was plain grey, the perfect plain grey for my top.

The Saturday of the cutting of this fantastic fabric was also the day I was scheduled for a very long first aid session at a film festival. I thought, correctly as it turned out, that nothing would happen at a film festival. So I had brought some of the fabric to make buttons, a tutorial of which I found here, quite a while ago. So I made myself a bunch of cute fabric buttons.

Back home, I cut the rest of the shirt, stitched it together, put it on and .. looked like a Michelin man. The arm holes almost came to my navel, but after some surgery I managed to take those in for a more comfortable fit. I finished the sleeves with cuffs that featured my buttons and the yoke too.

Sleeve cuffs Close up of yoke

I hand sewed every stitch that would be visible on the outside, so the sleeve opening, the collarstand, the hem and the yoke facings. It was a nice detour from my usual machining.

Hand sewn hem Yoke on me

I finished all the inside seams with the serger and used the serging to create the gathering at the yoke. I was too lazy to change the serger thread so it’s white with the light blue I used for my gala dress, this did make it a lot easier to find the right thread to pull.

Inside back Inside front

While at the larp a got quite a few compliments that I didn’t even initiate (and some I did, sorry I was proud of this make). It is nice to hear that people like what you’ve made. This is the full view on me.

Front Back

Next up: the apron.