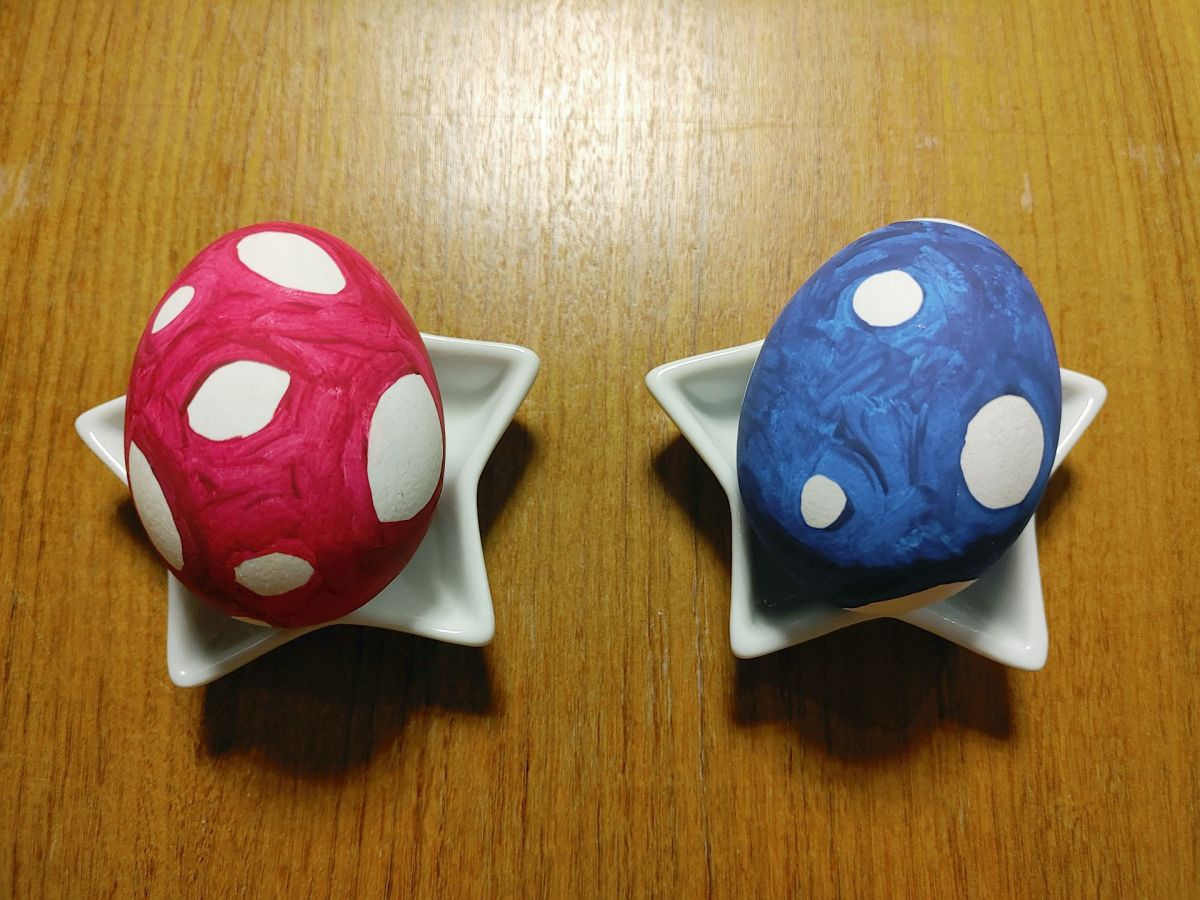
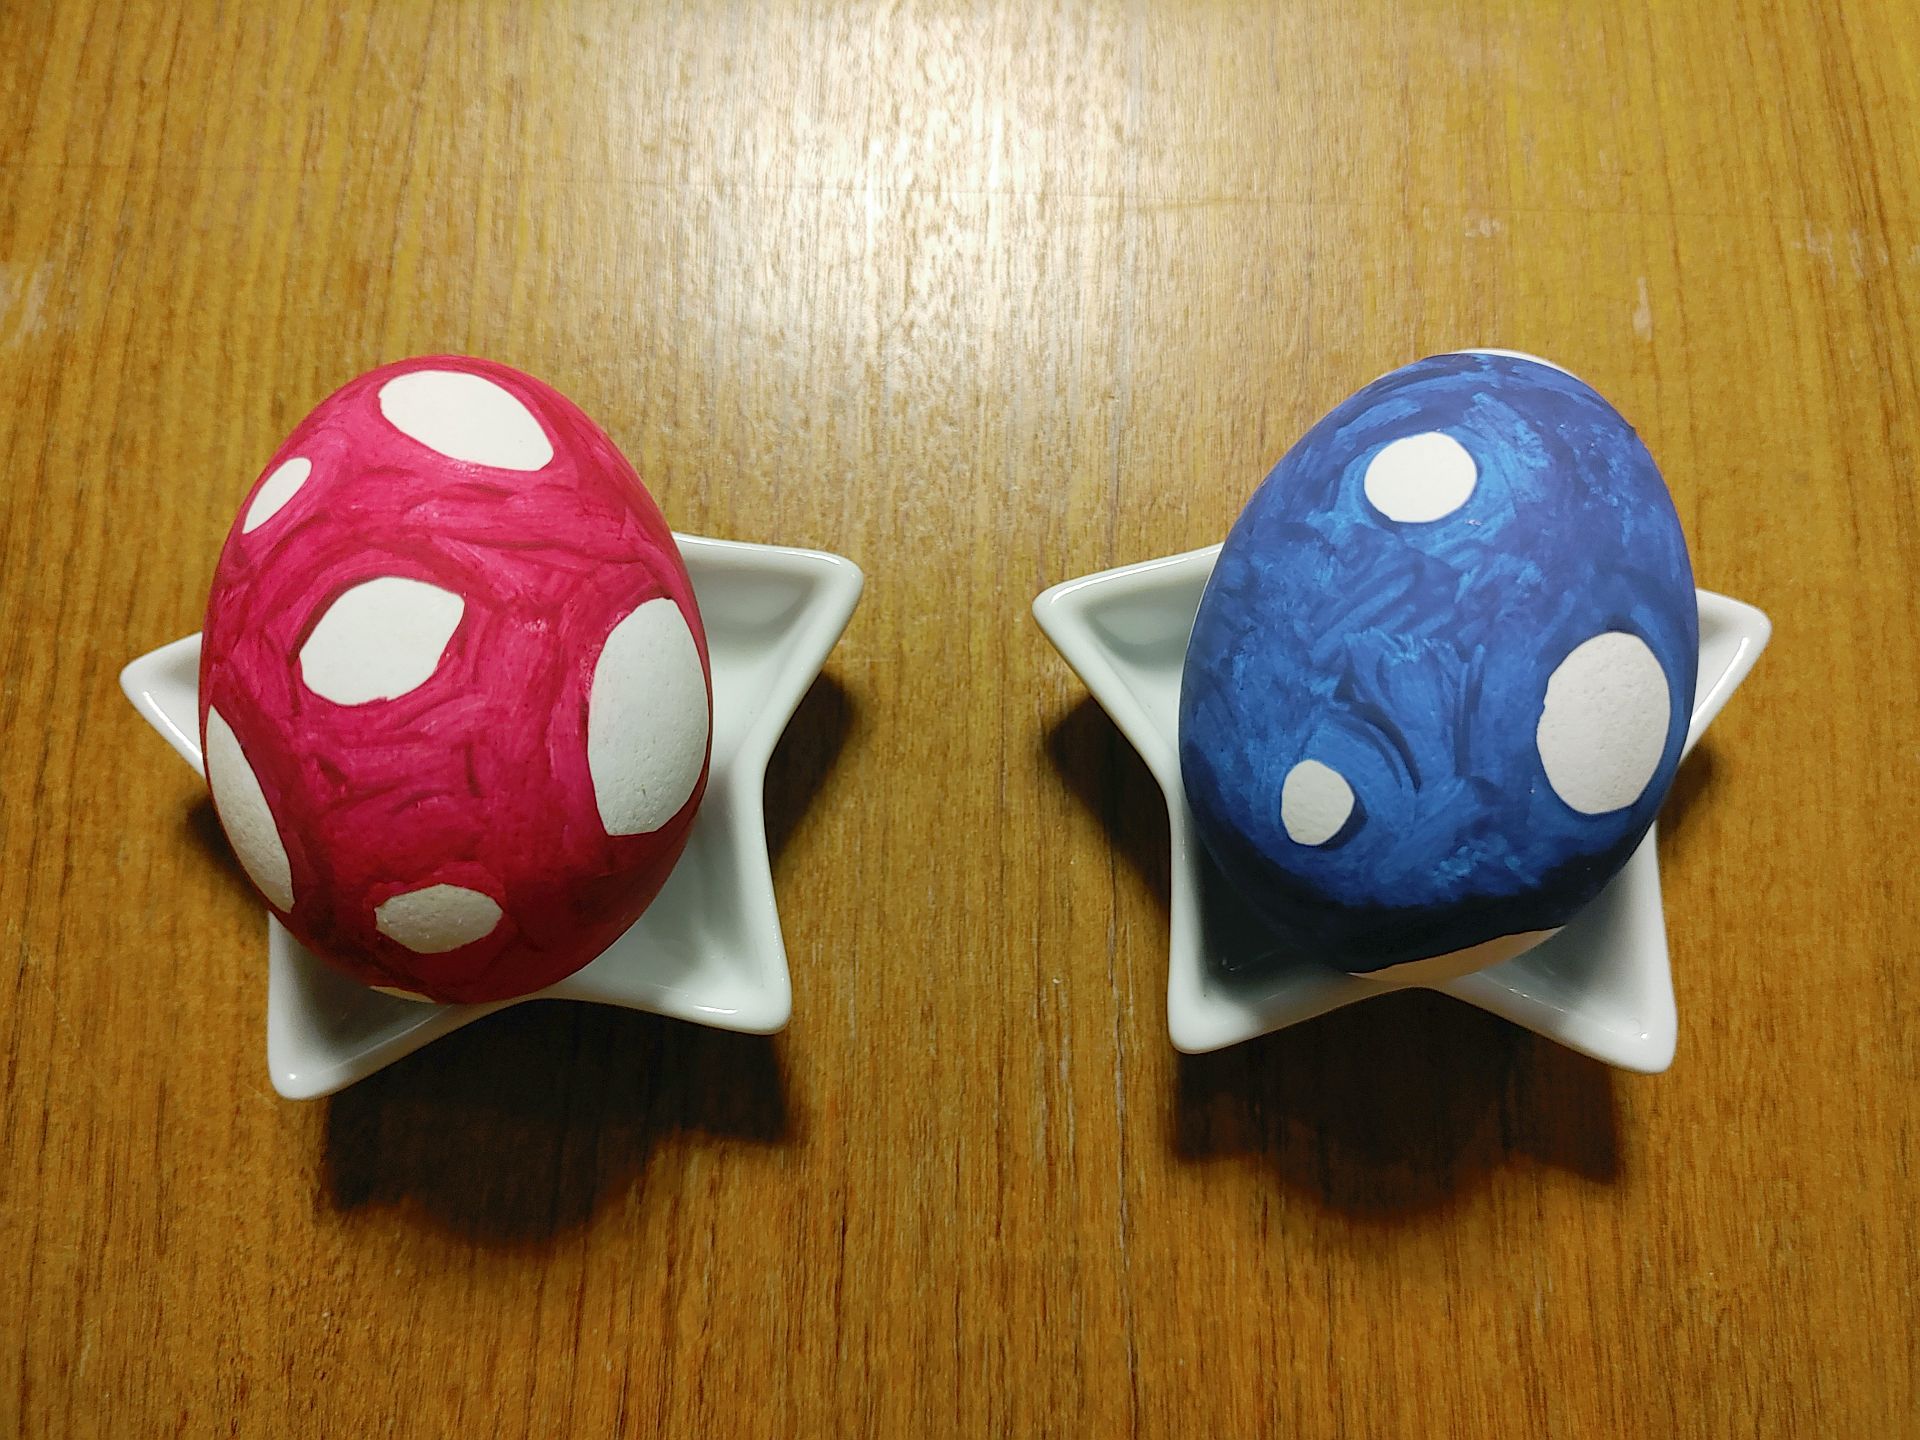
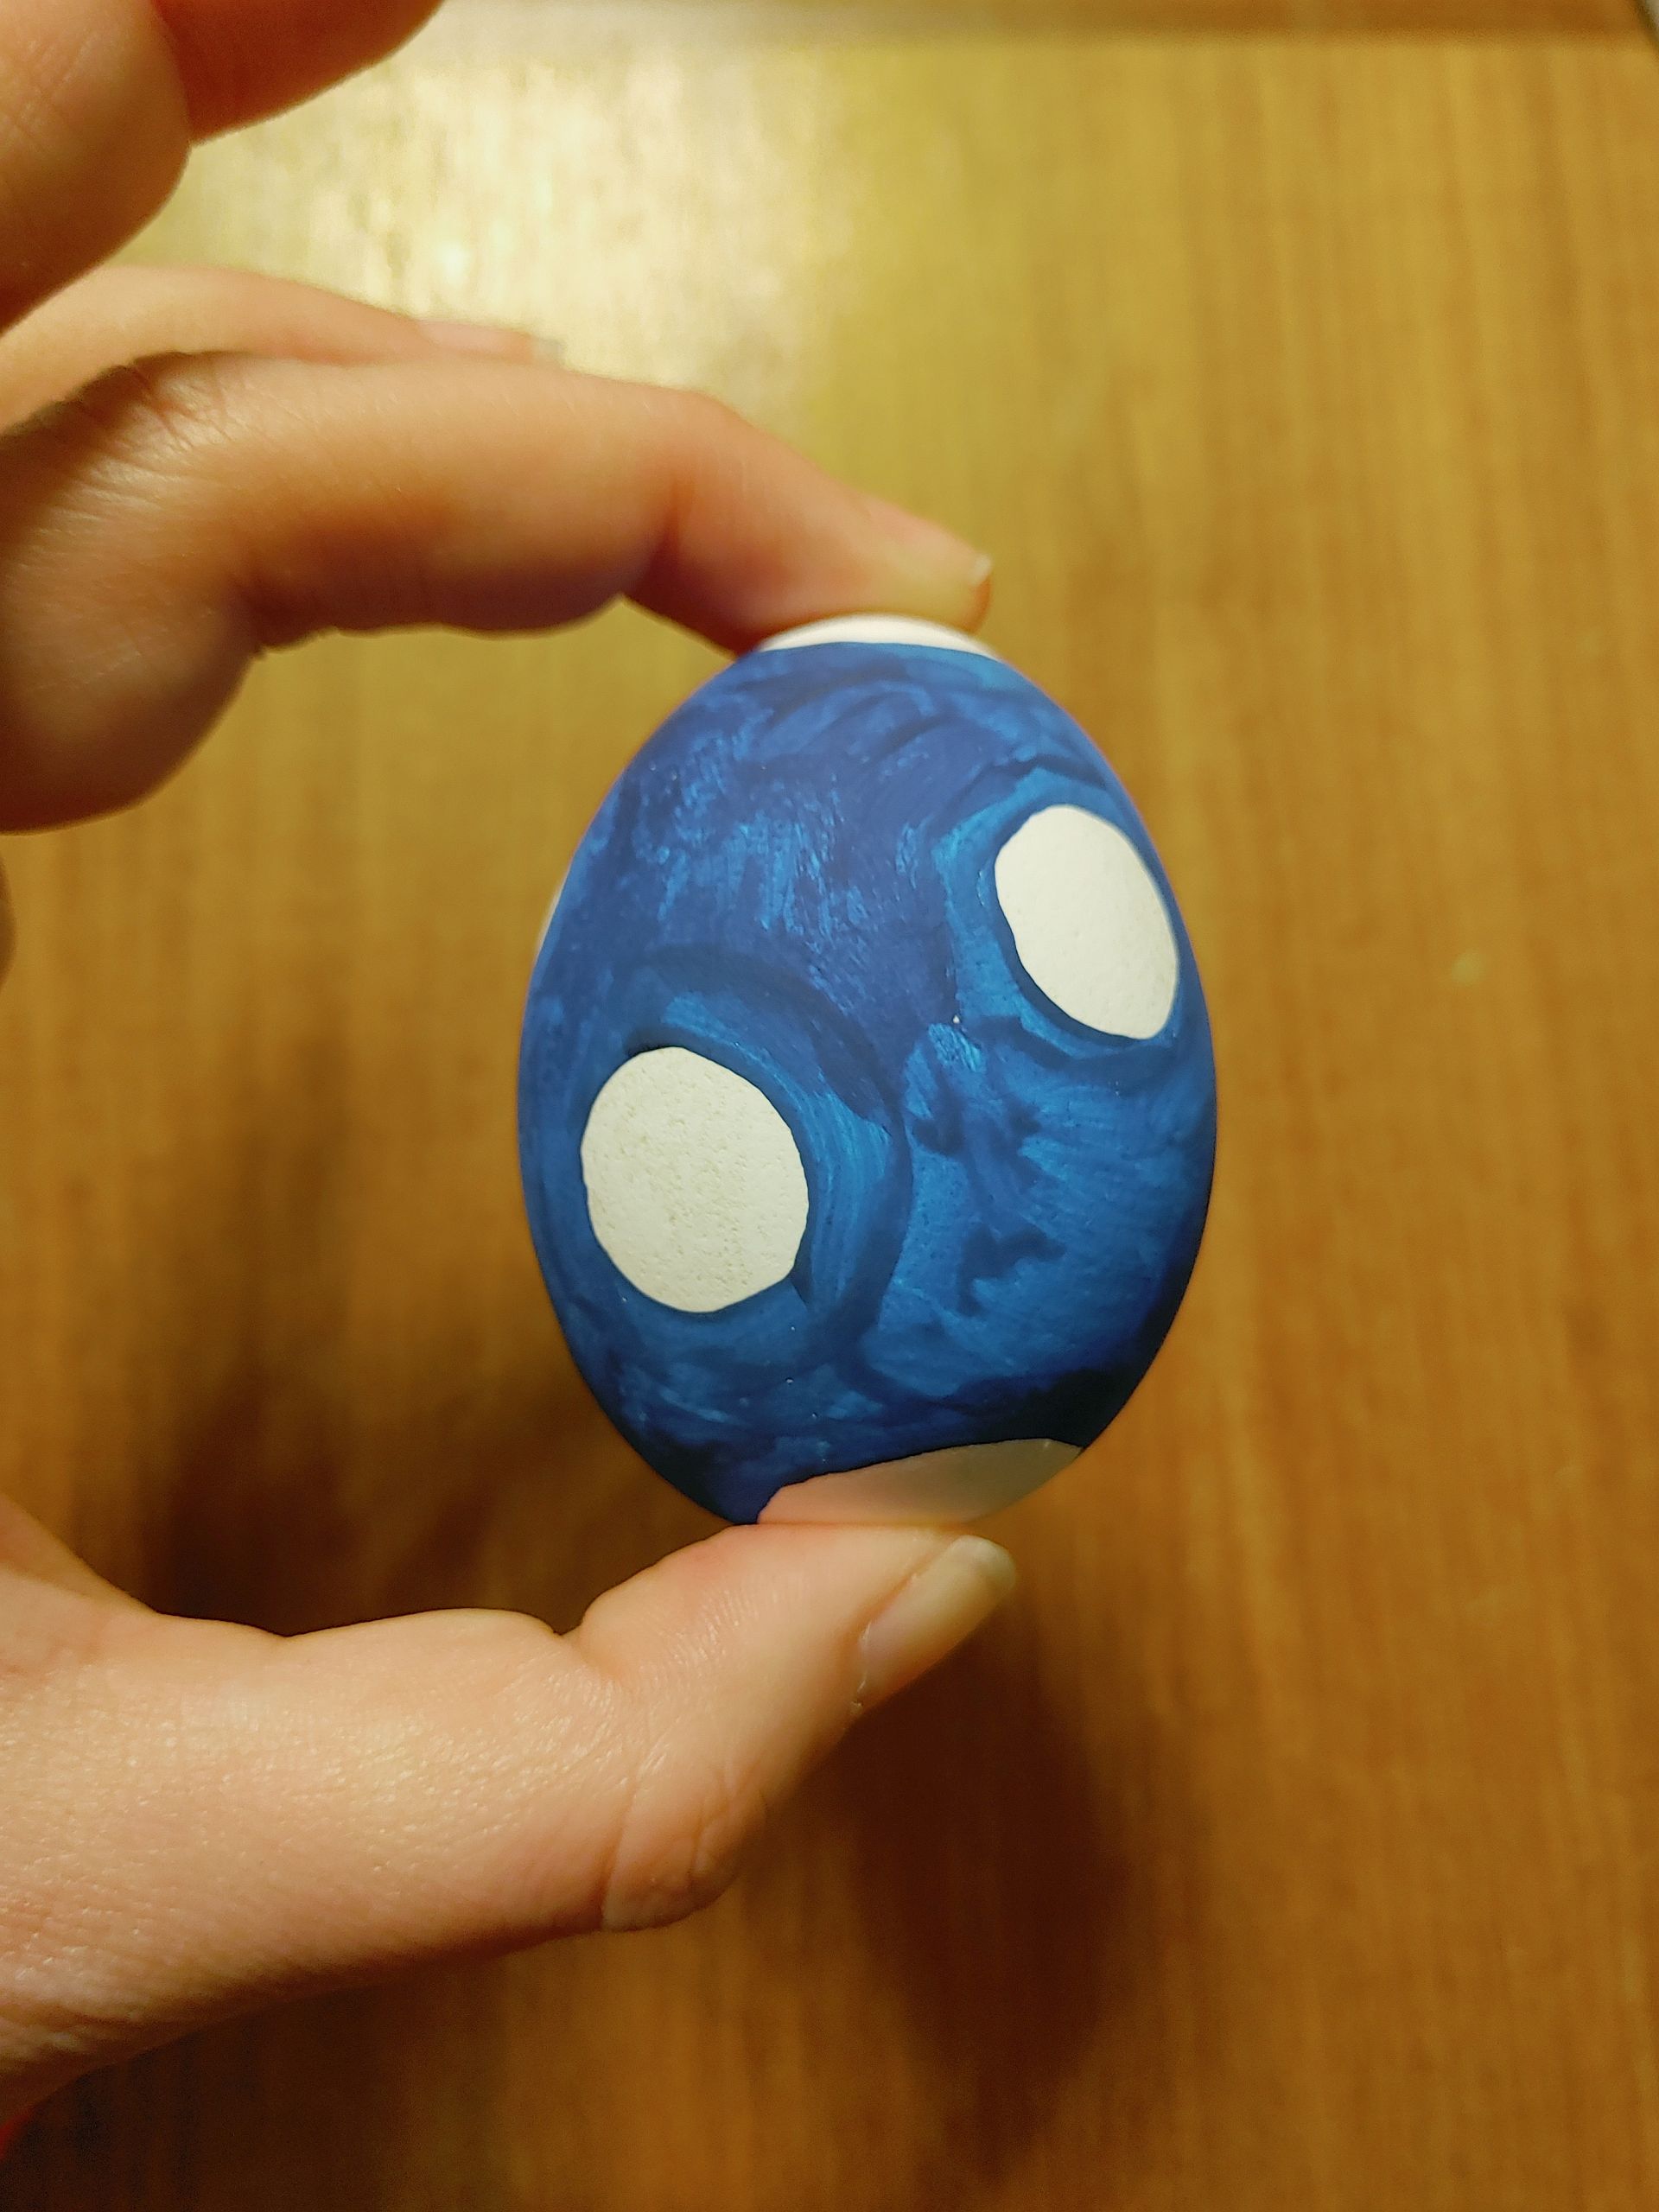
I yet again boiled 2 eggs and painted them the day before Easter. Since I’d been on the knitting machine all day, my creativity was a bit lackluster but I really love the end result of these.
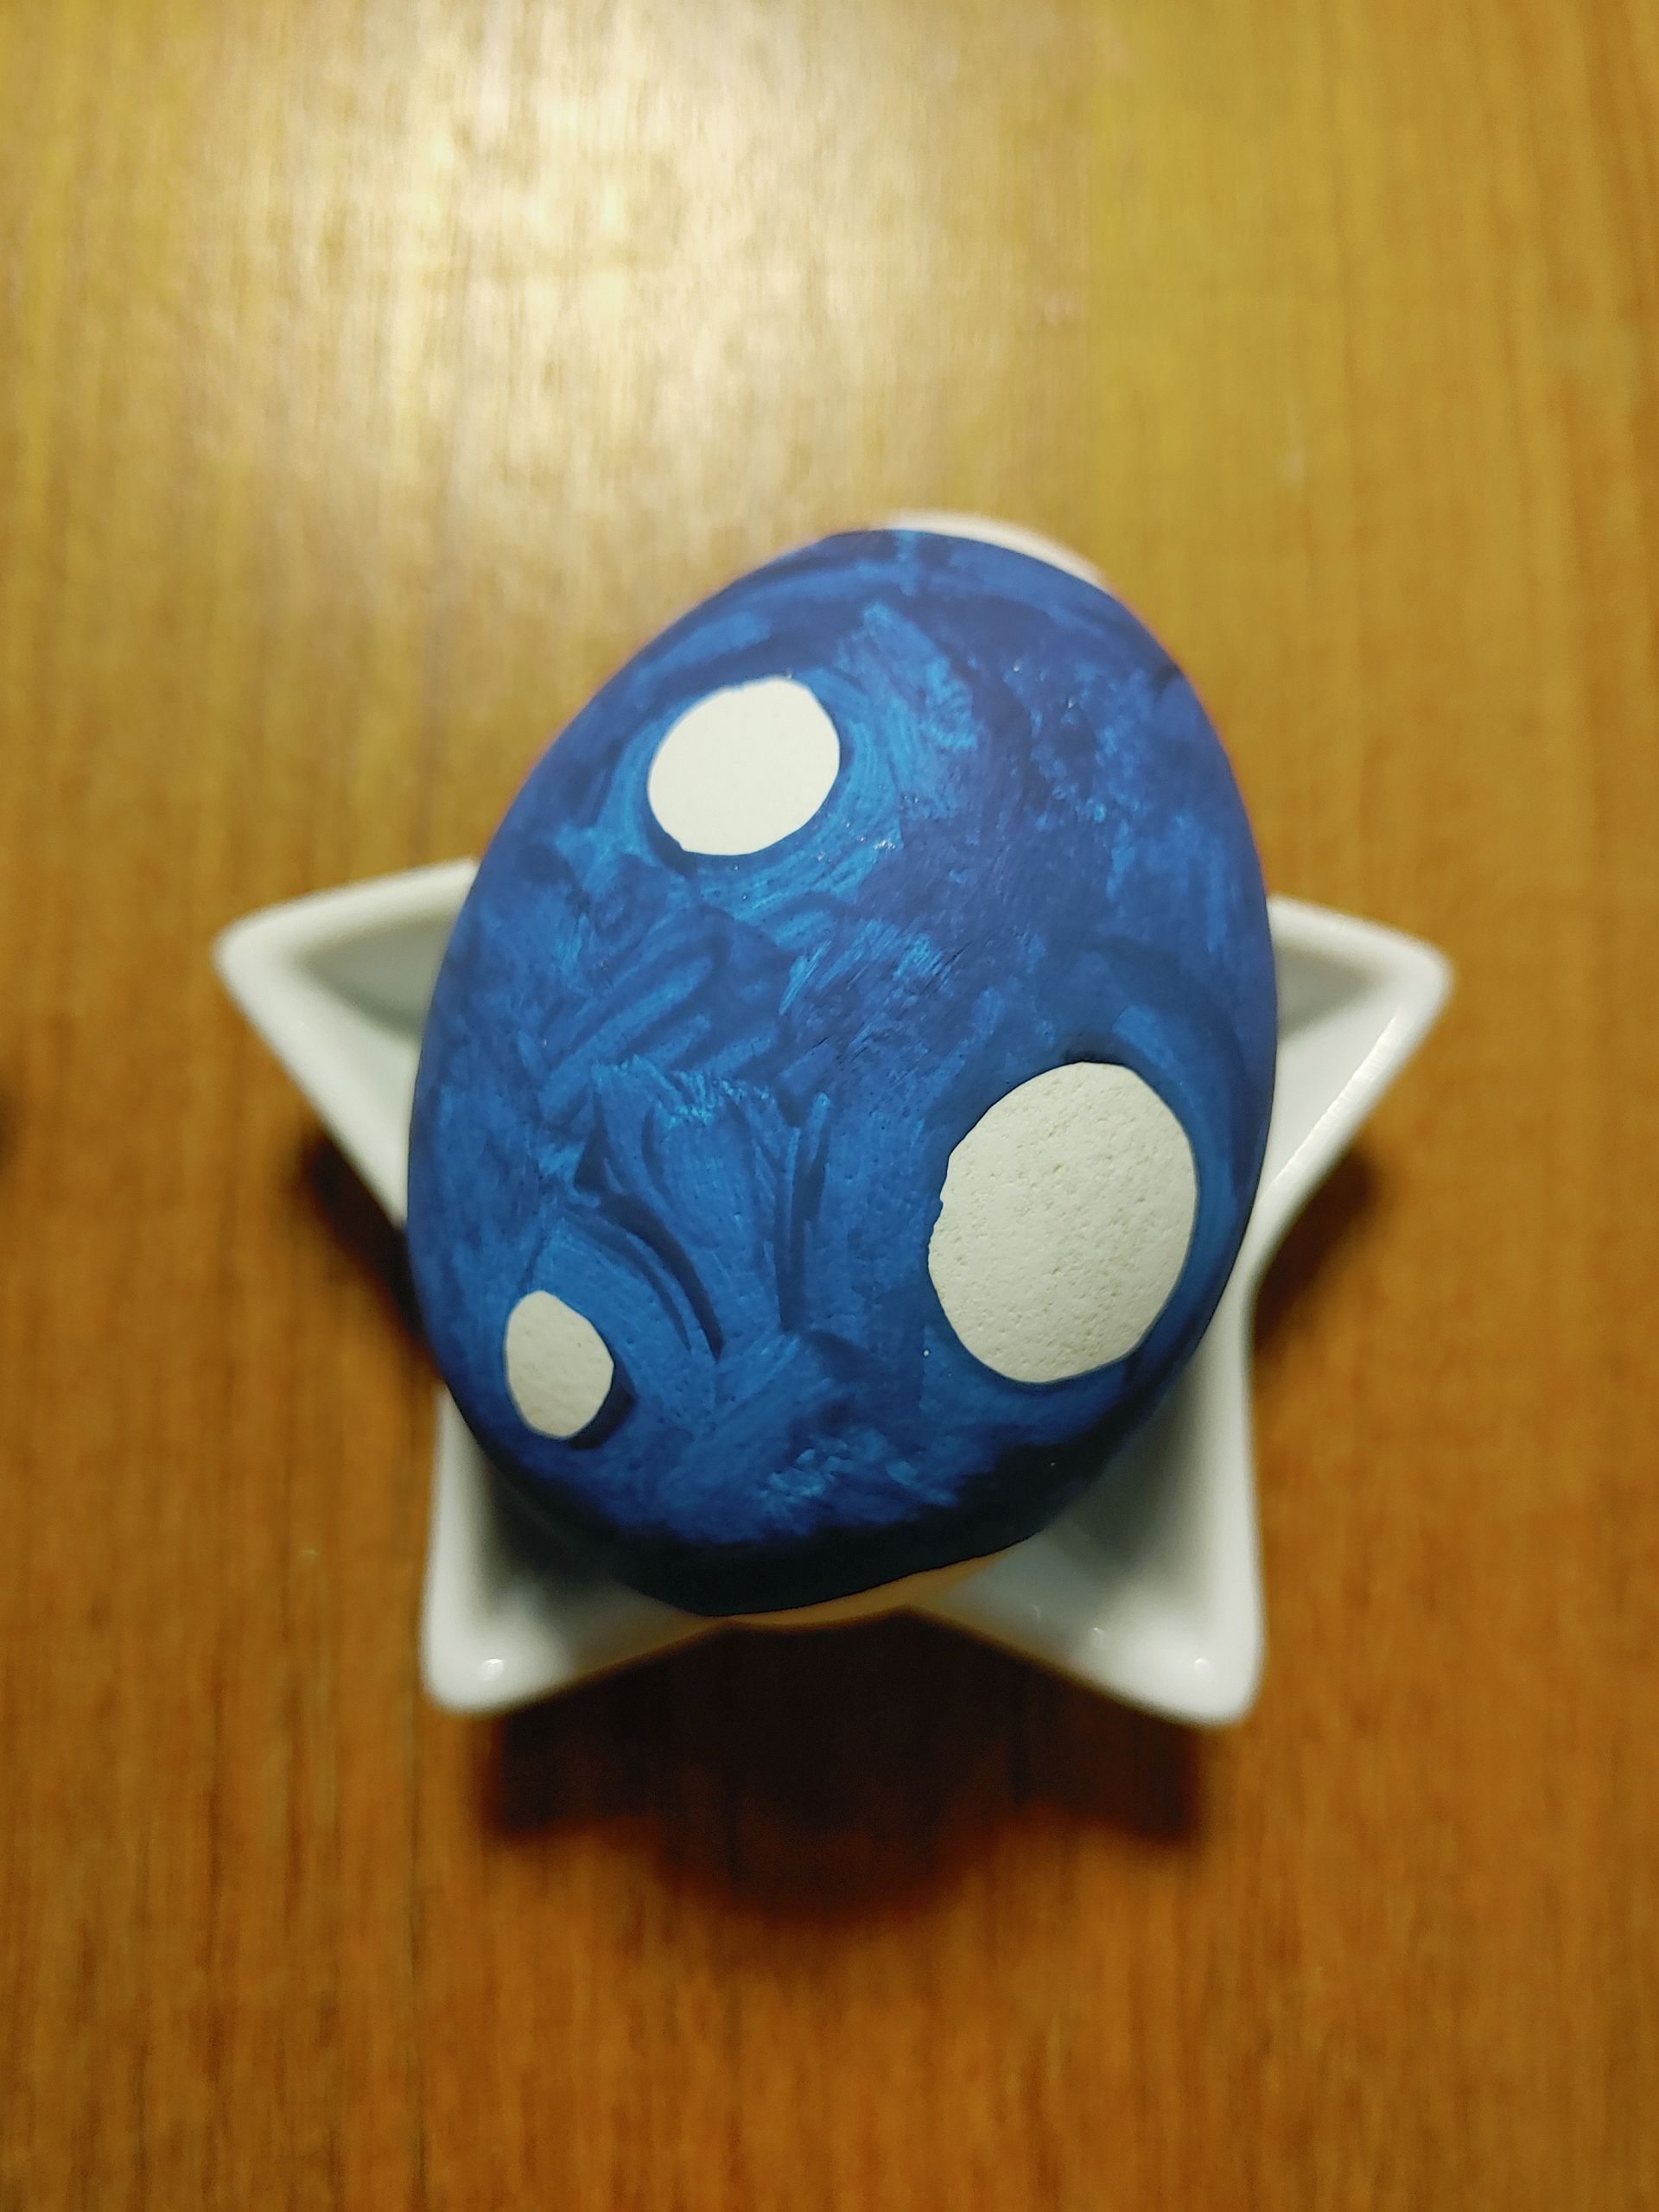
The plan was basically to hold the egg between two fingers and make a polka dot pattern around those fingers so I could continue to hold them without becoming a paint monster myself. I tried it first with the blue one and it worked out great. I love the simplicity and I love the blue, even if it’s a bit splotchy.
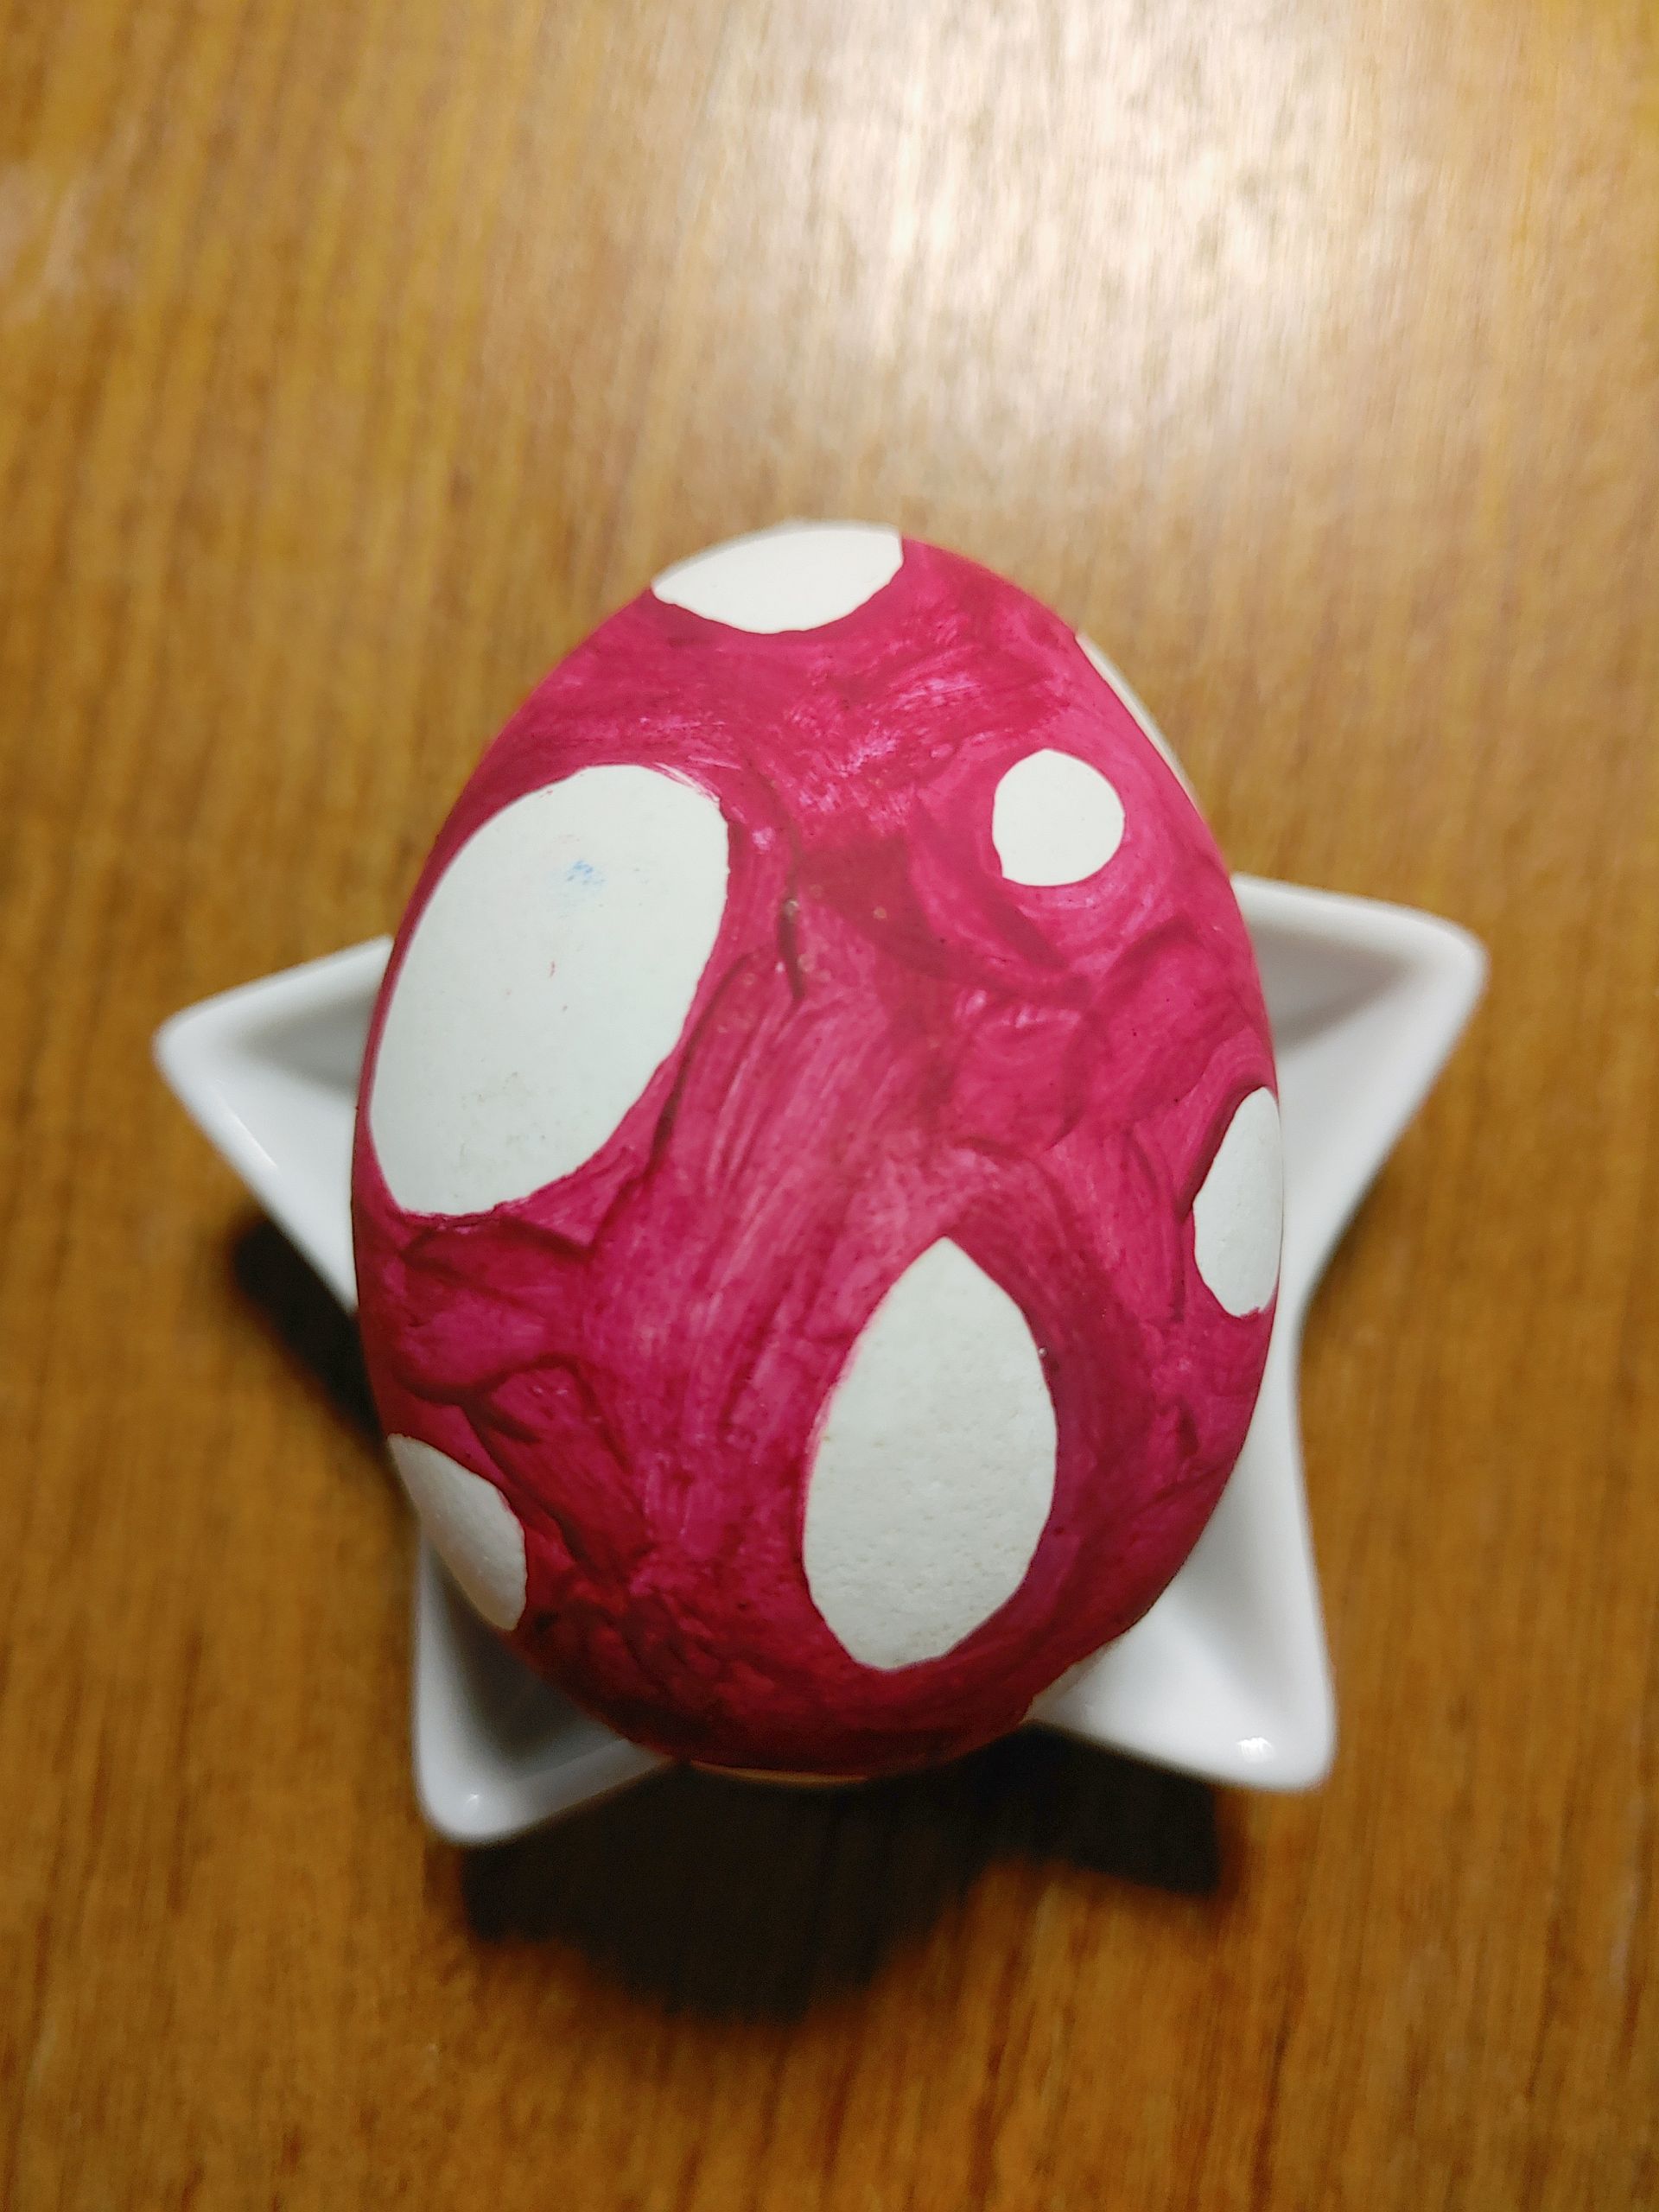
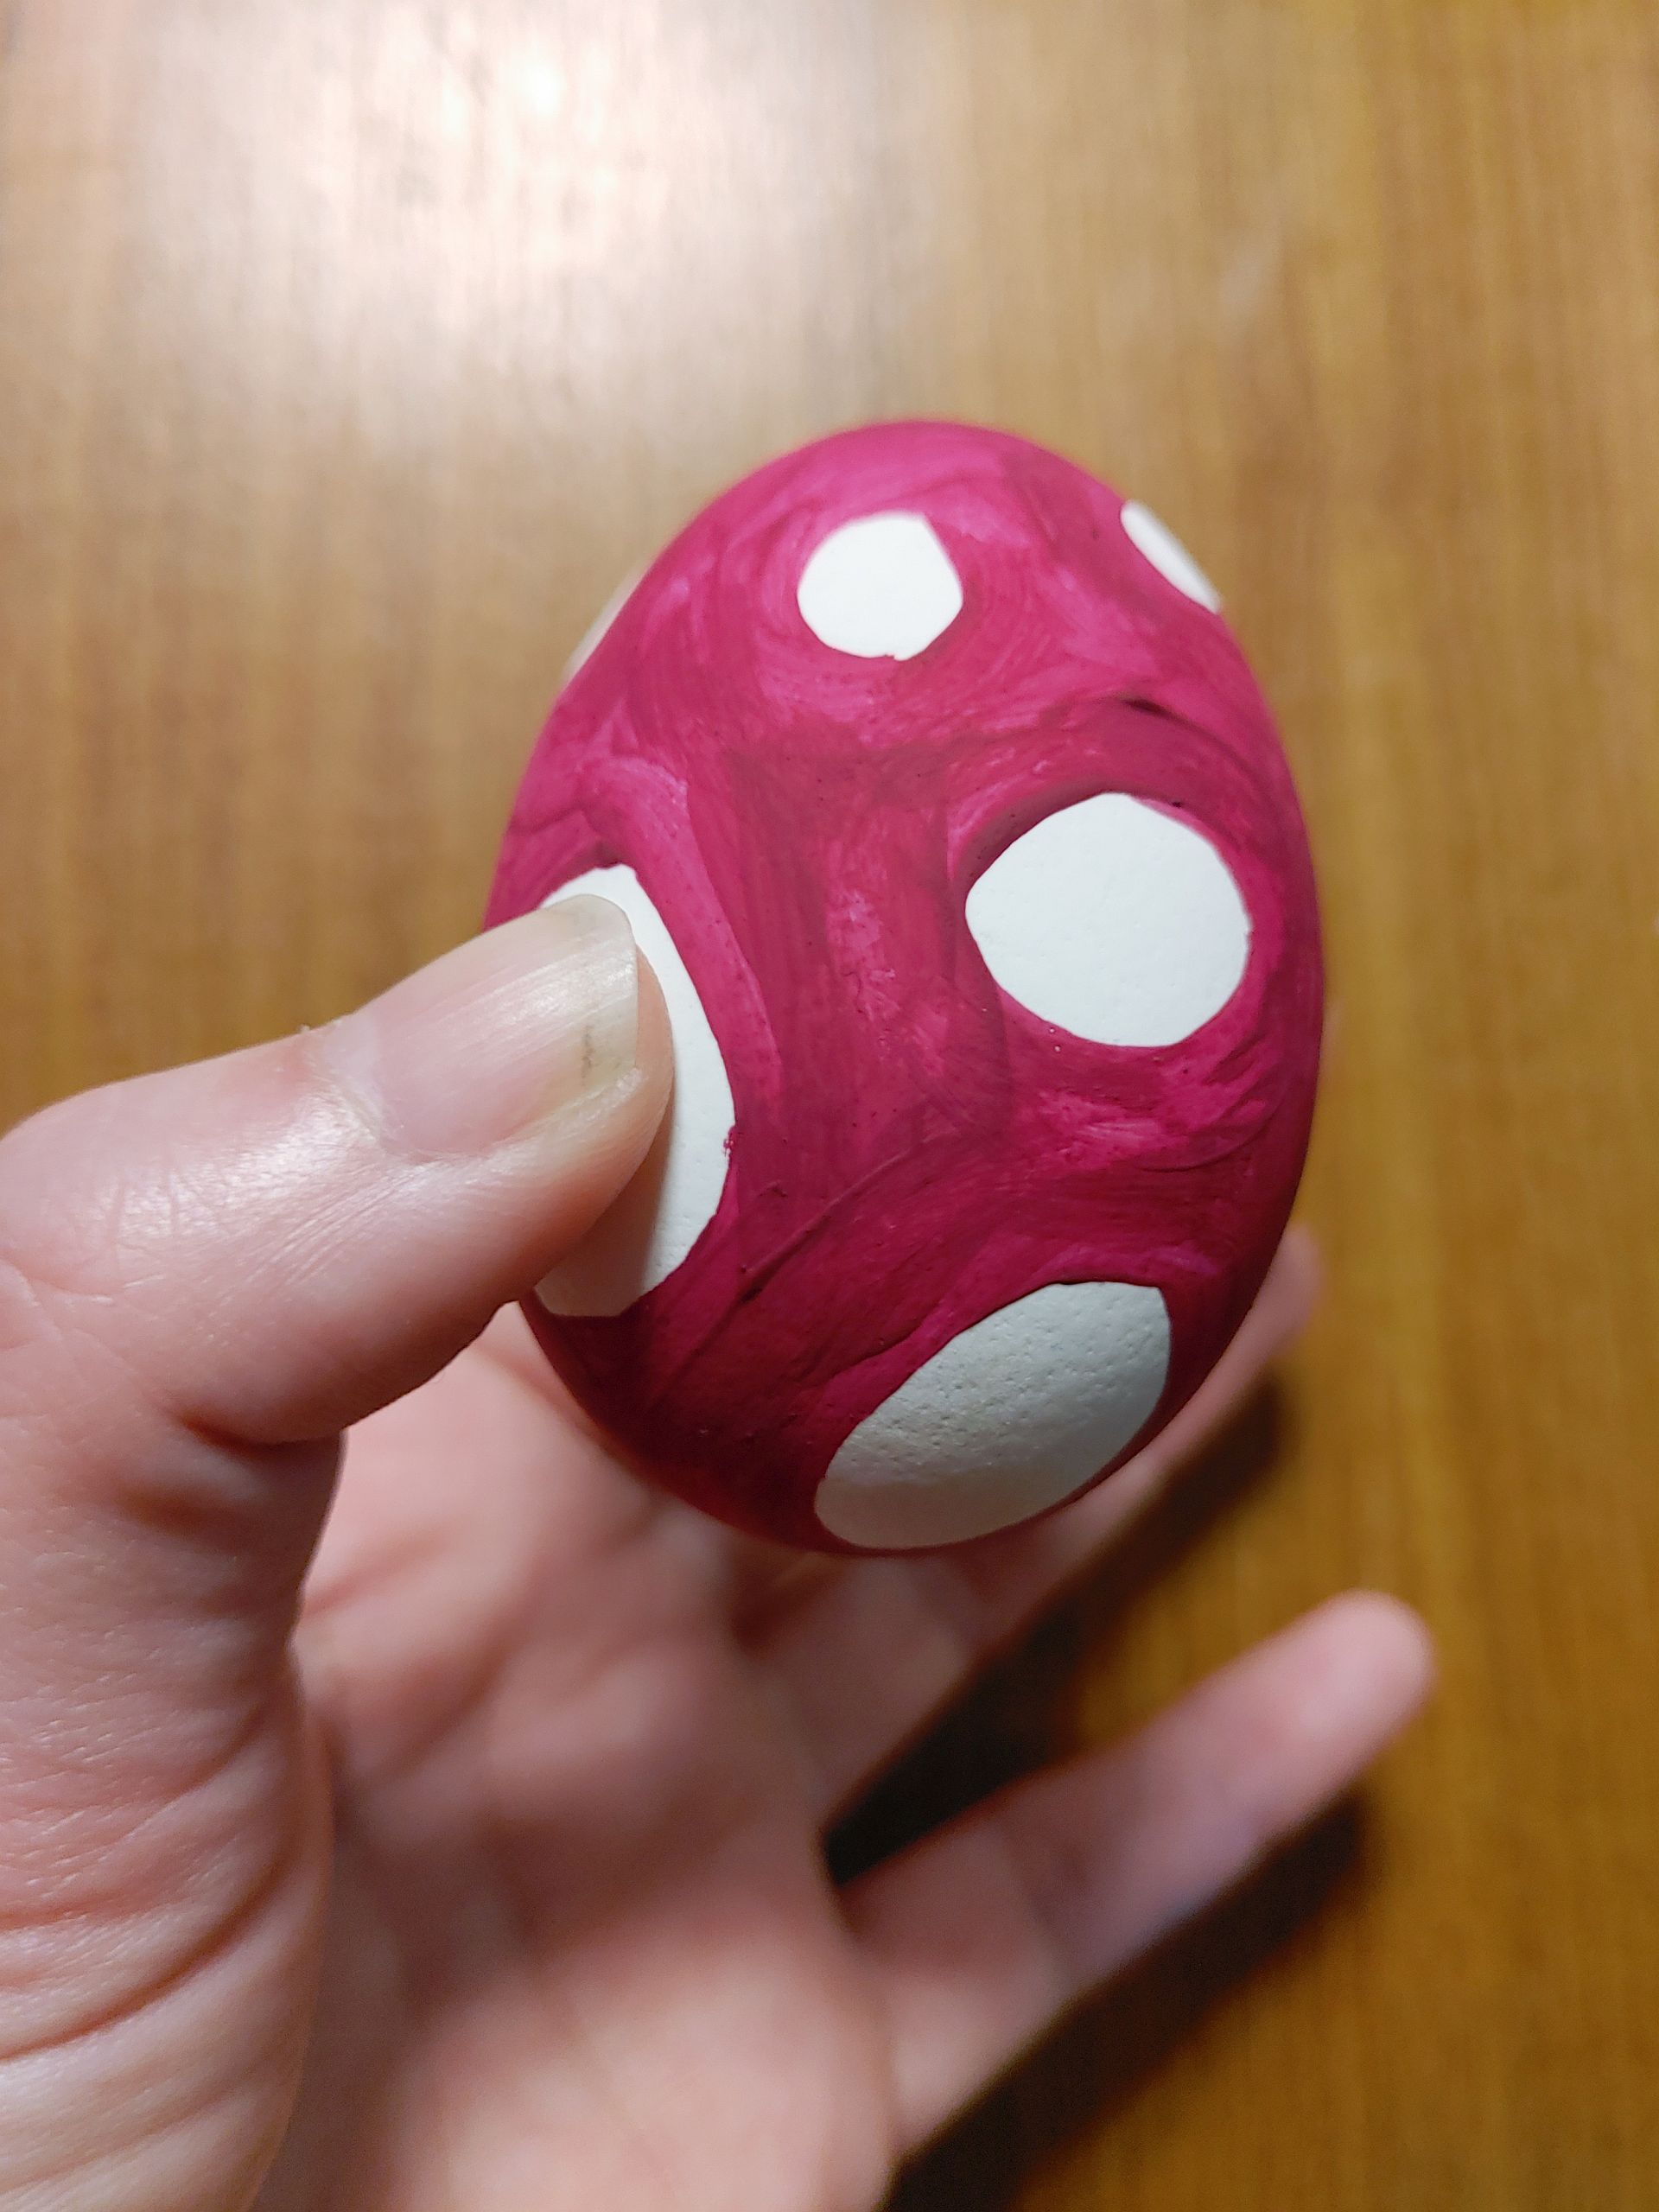
For the second one, I did a similar thing, but now I wanted polka ovals. So I picked one of the colours in my paint box and just made a bunch of ovals. The shade of red is slightly less appealing than the blue, but it still looks great. Honestly, this was a perfect way to end a knitting day.
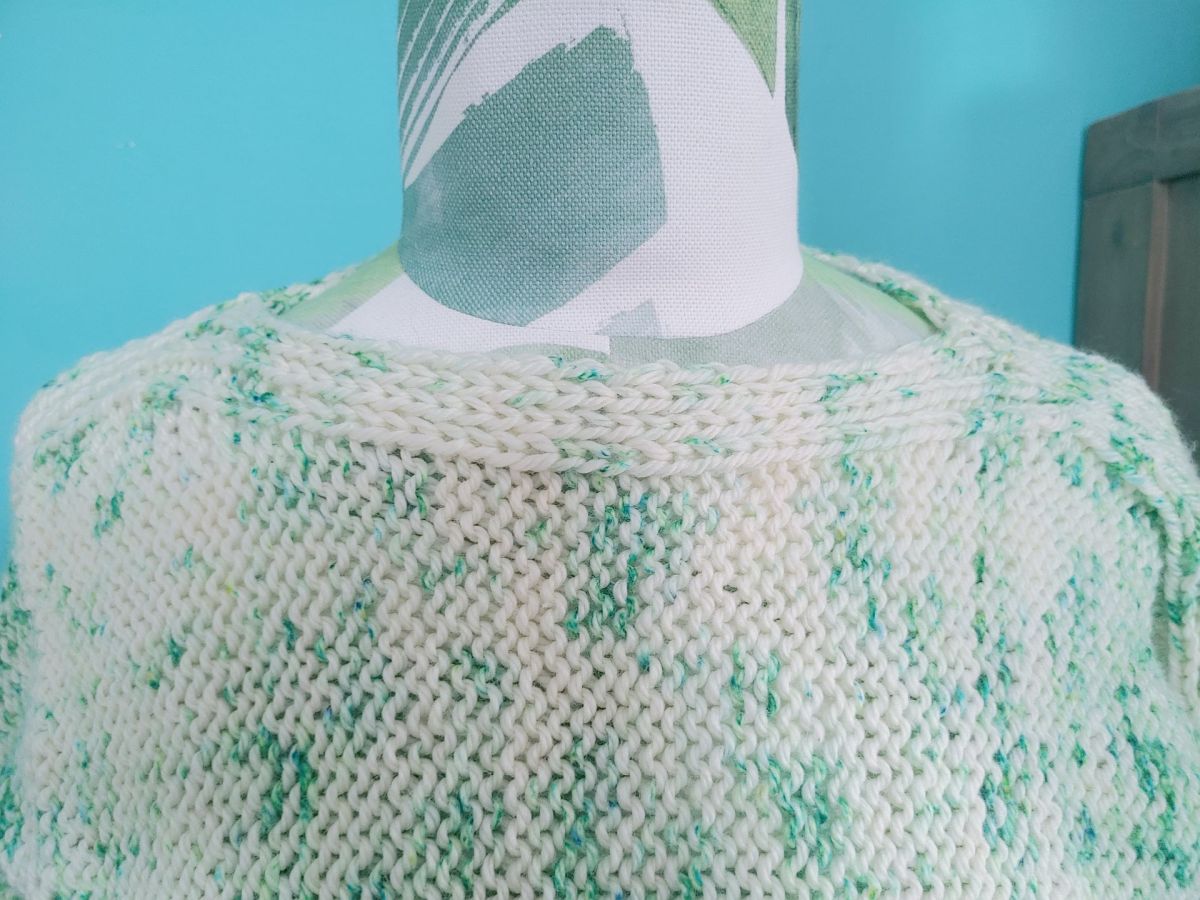
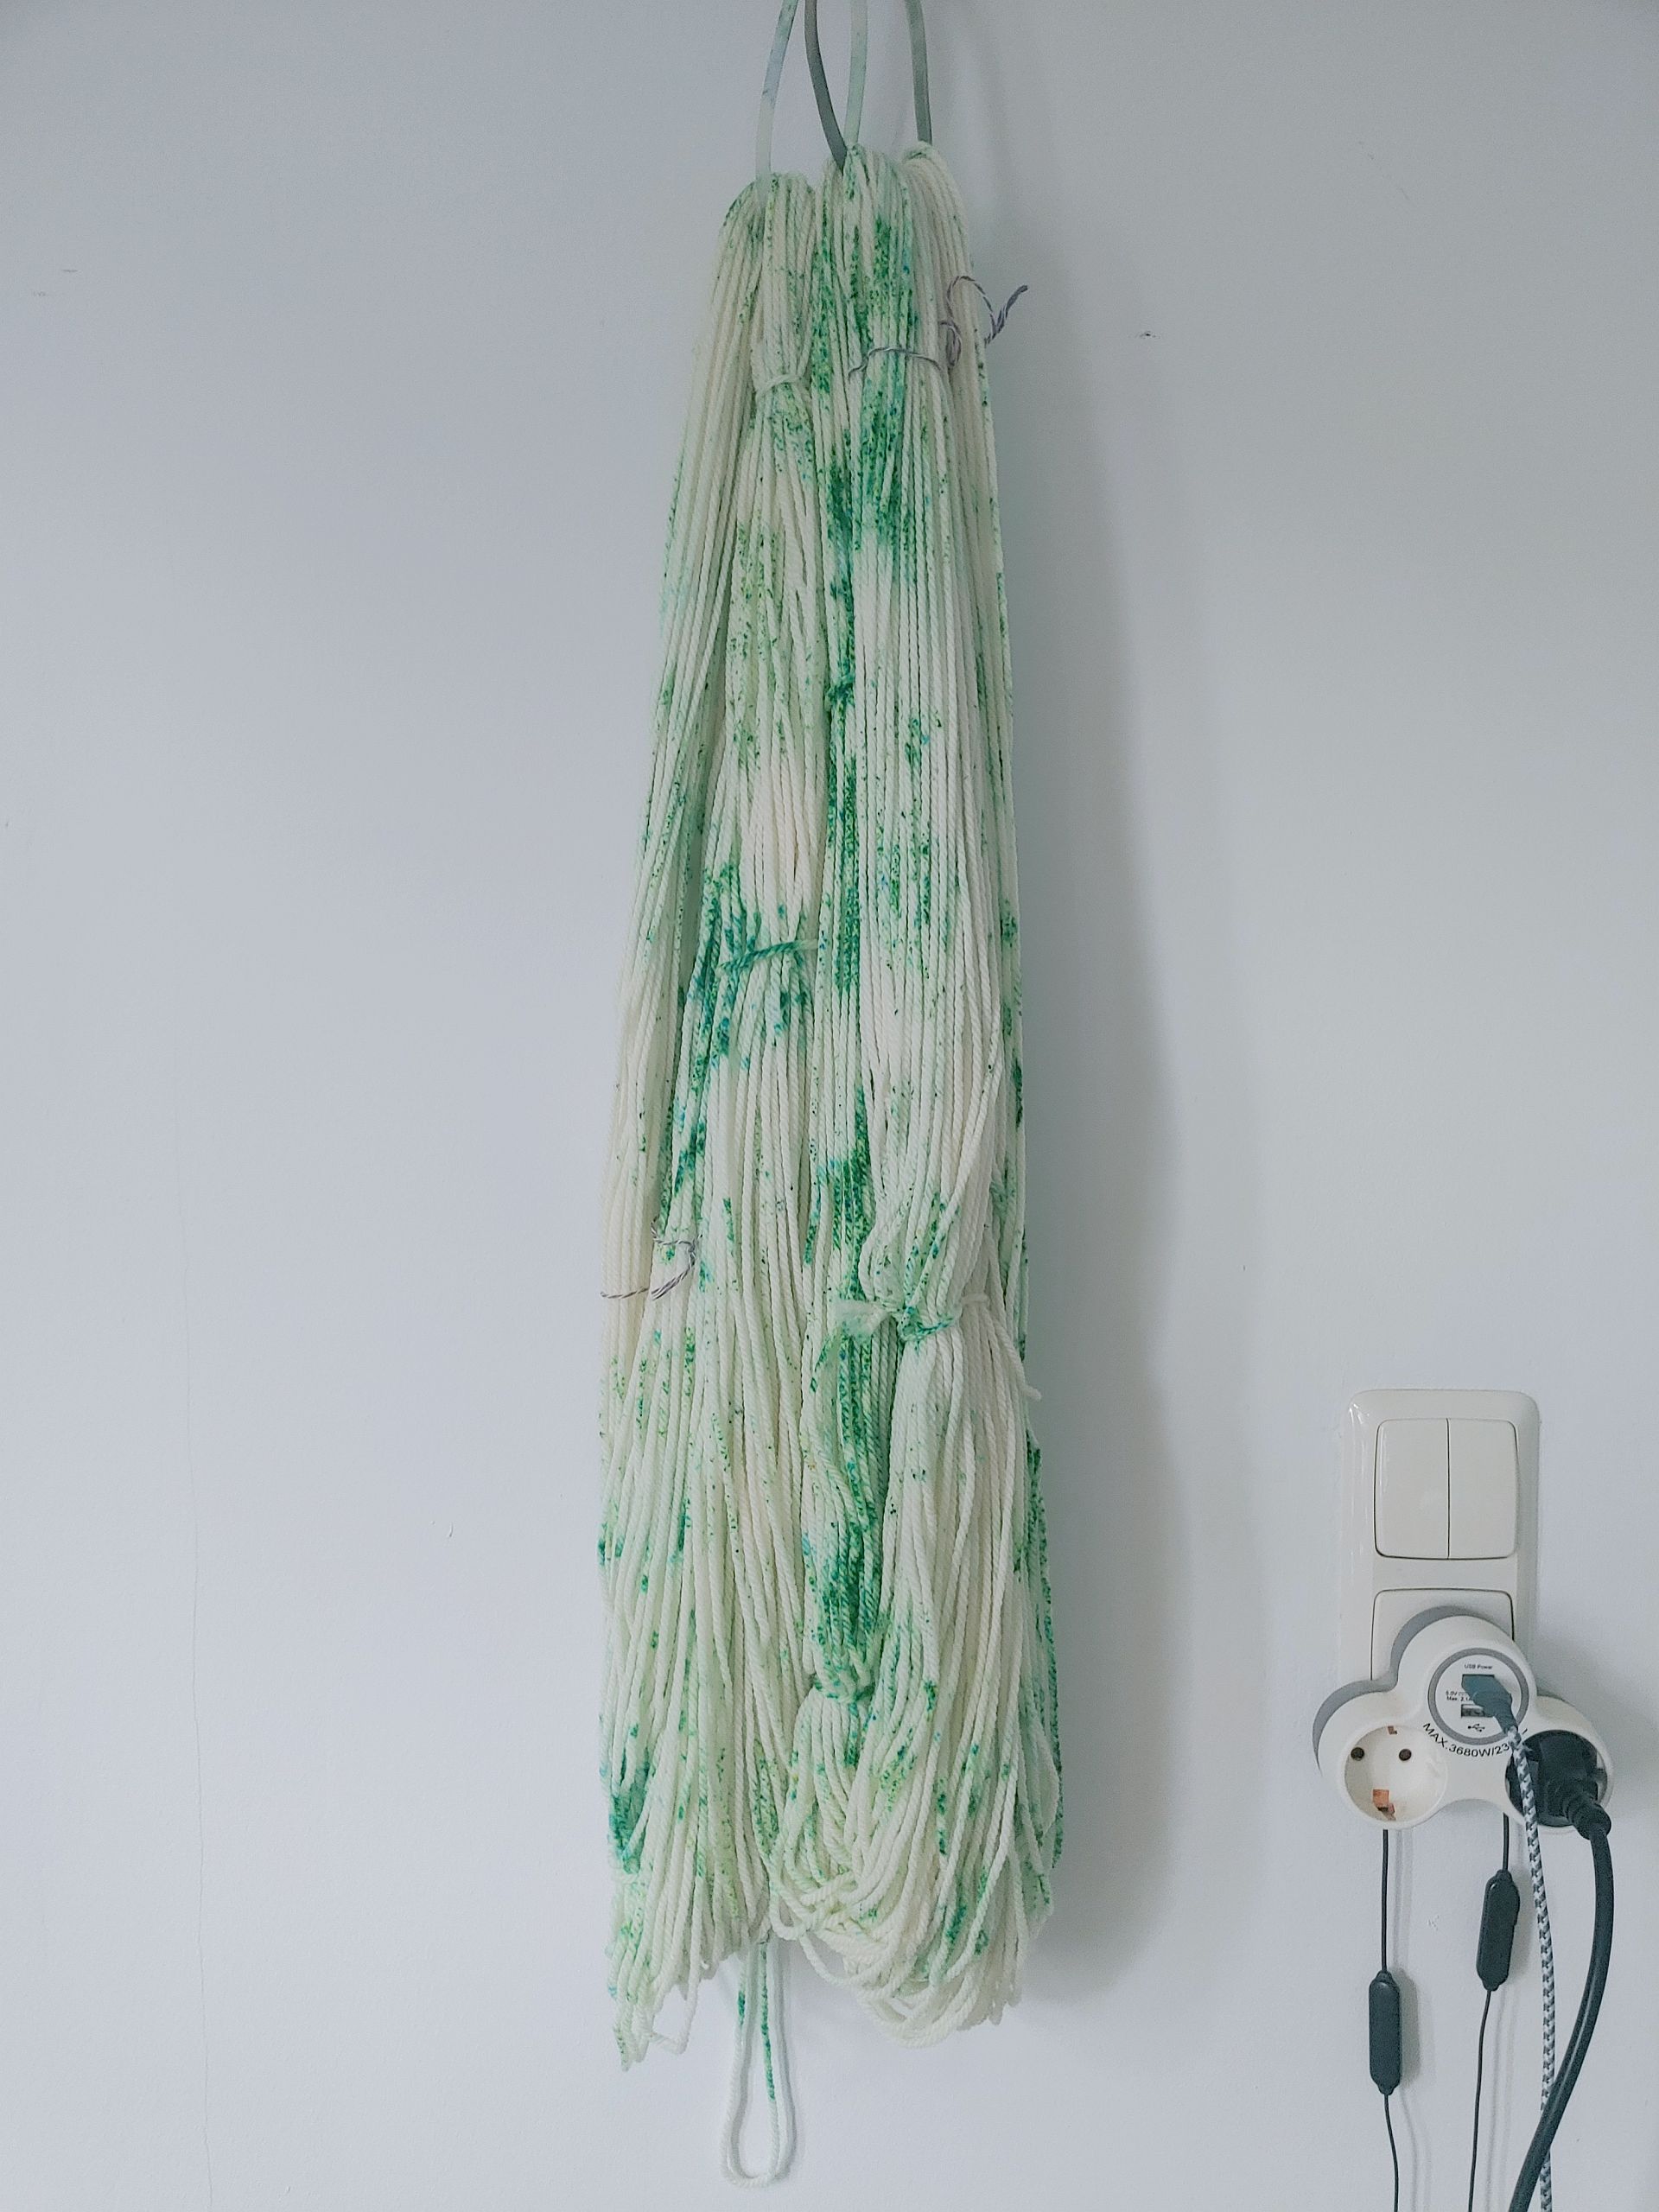
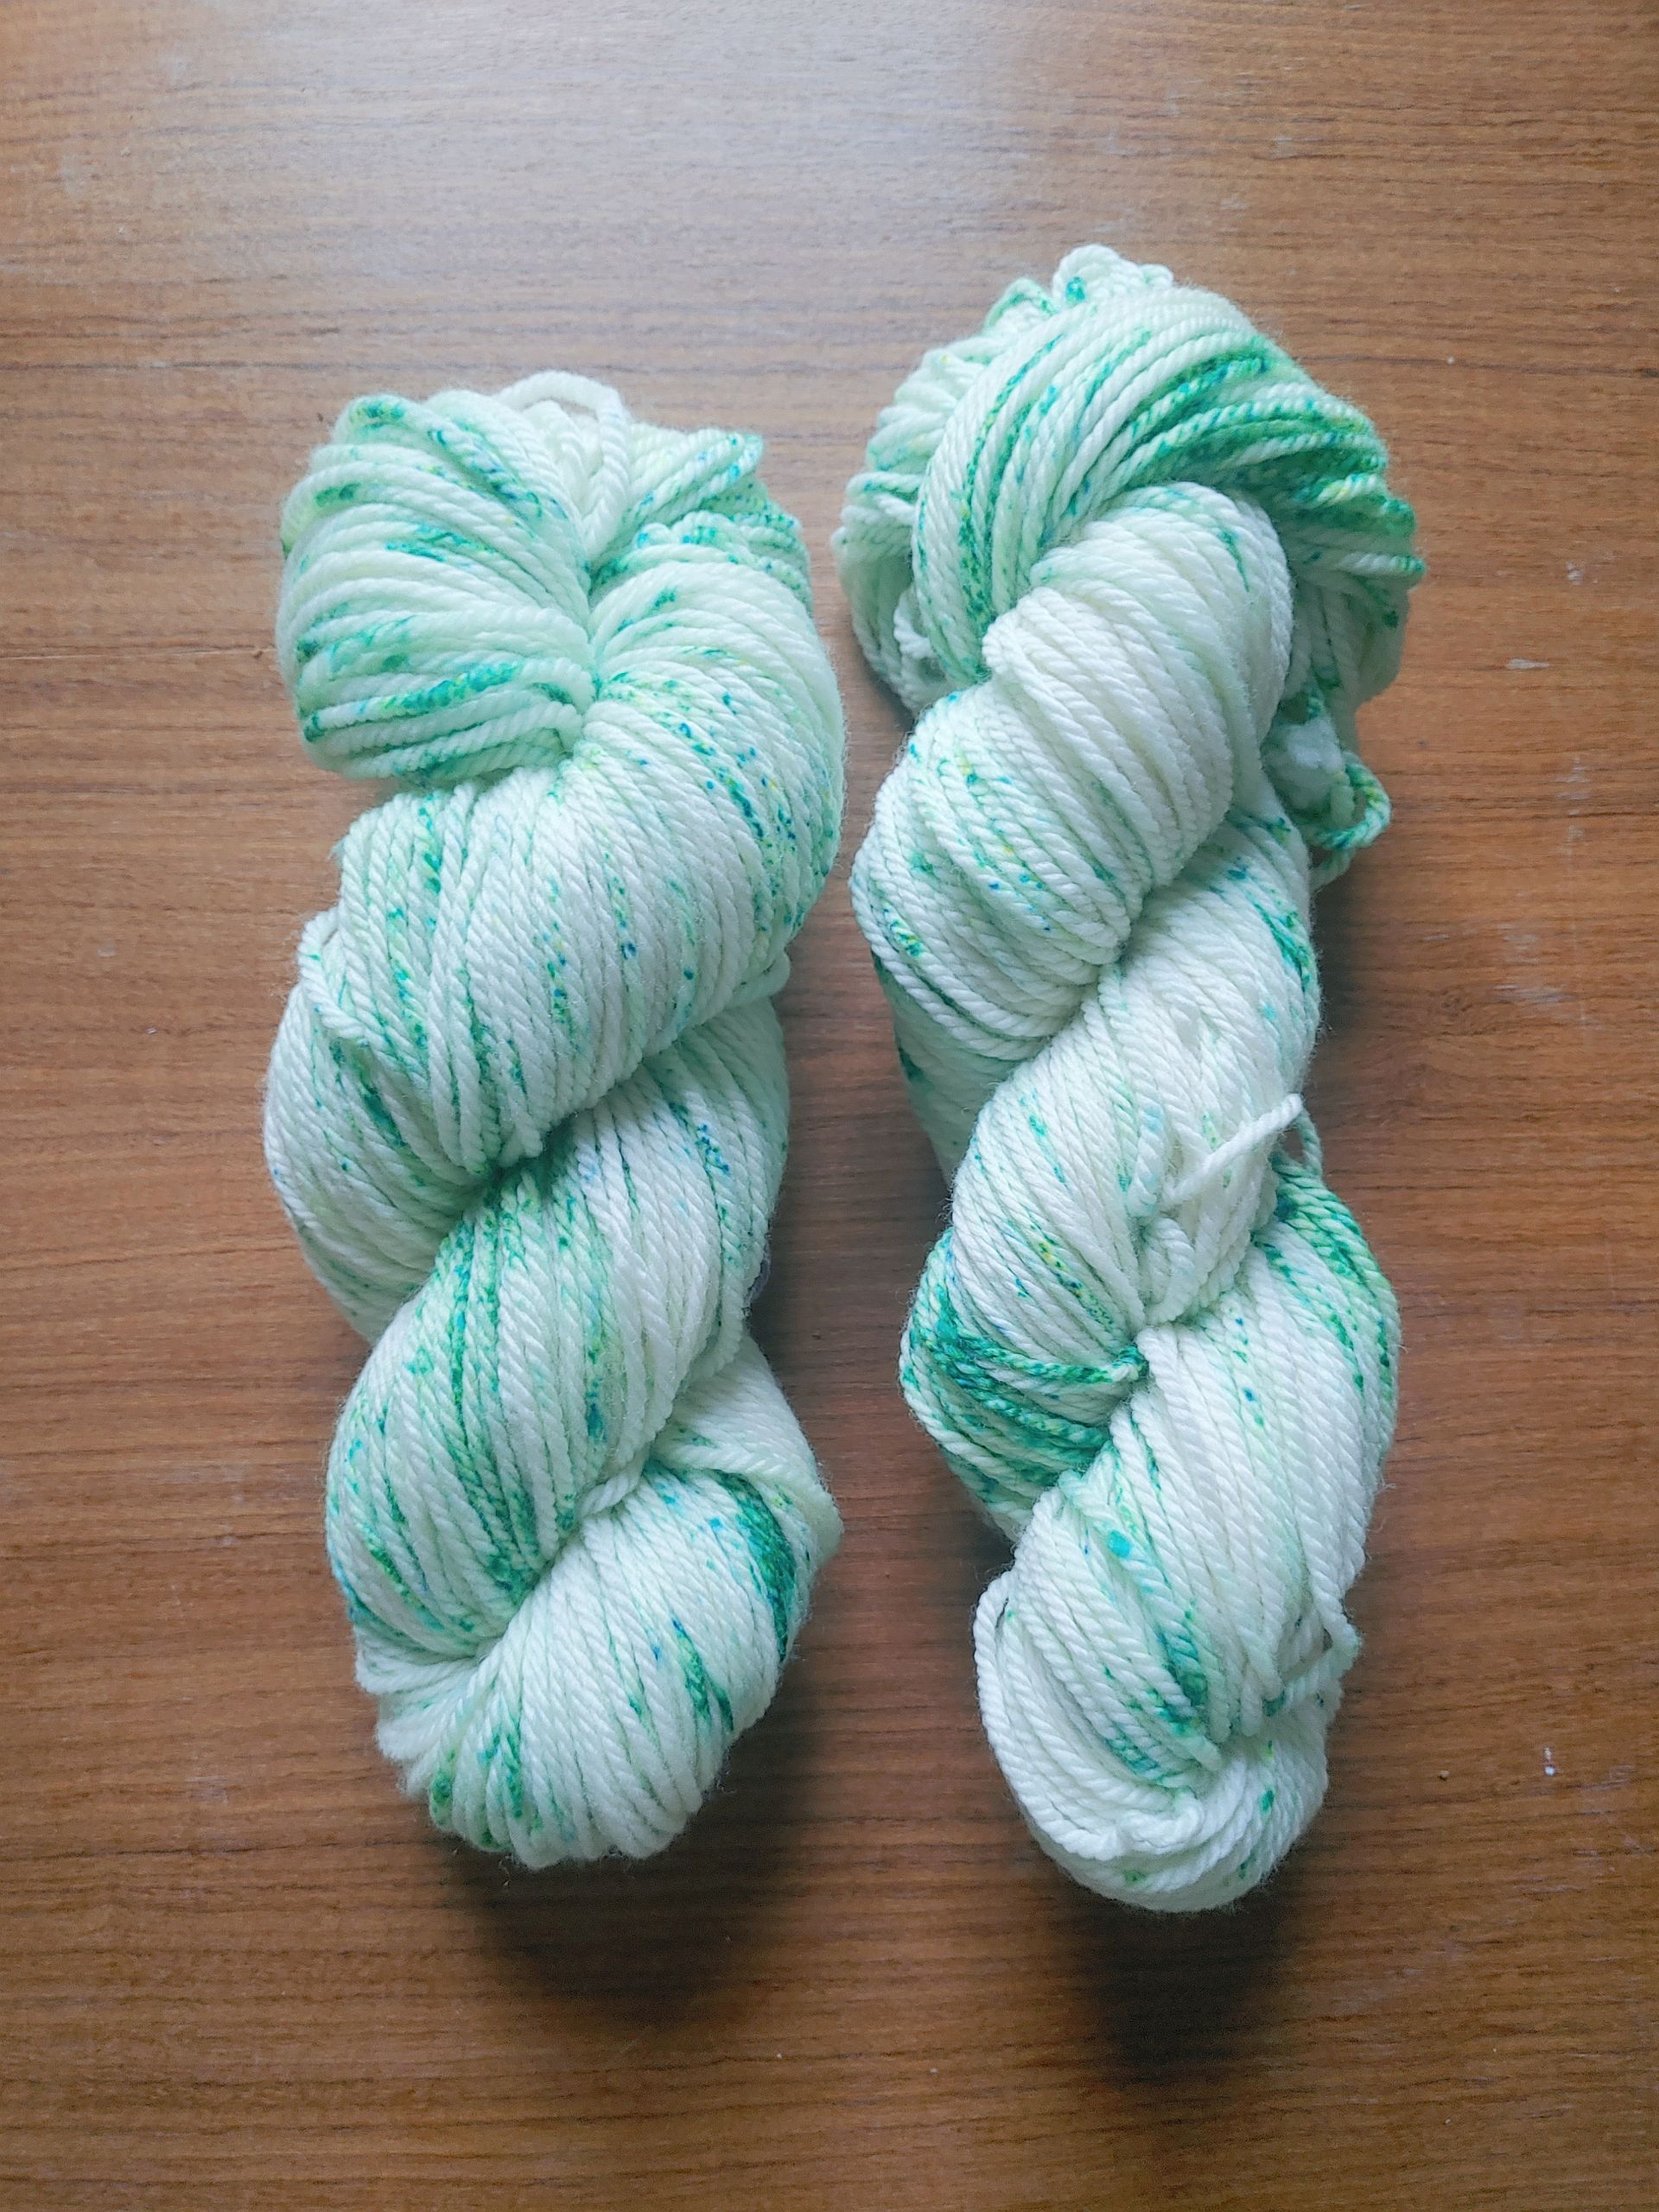
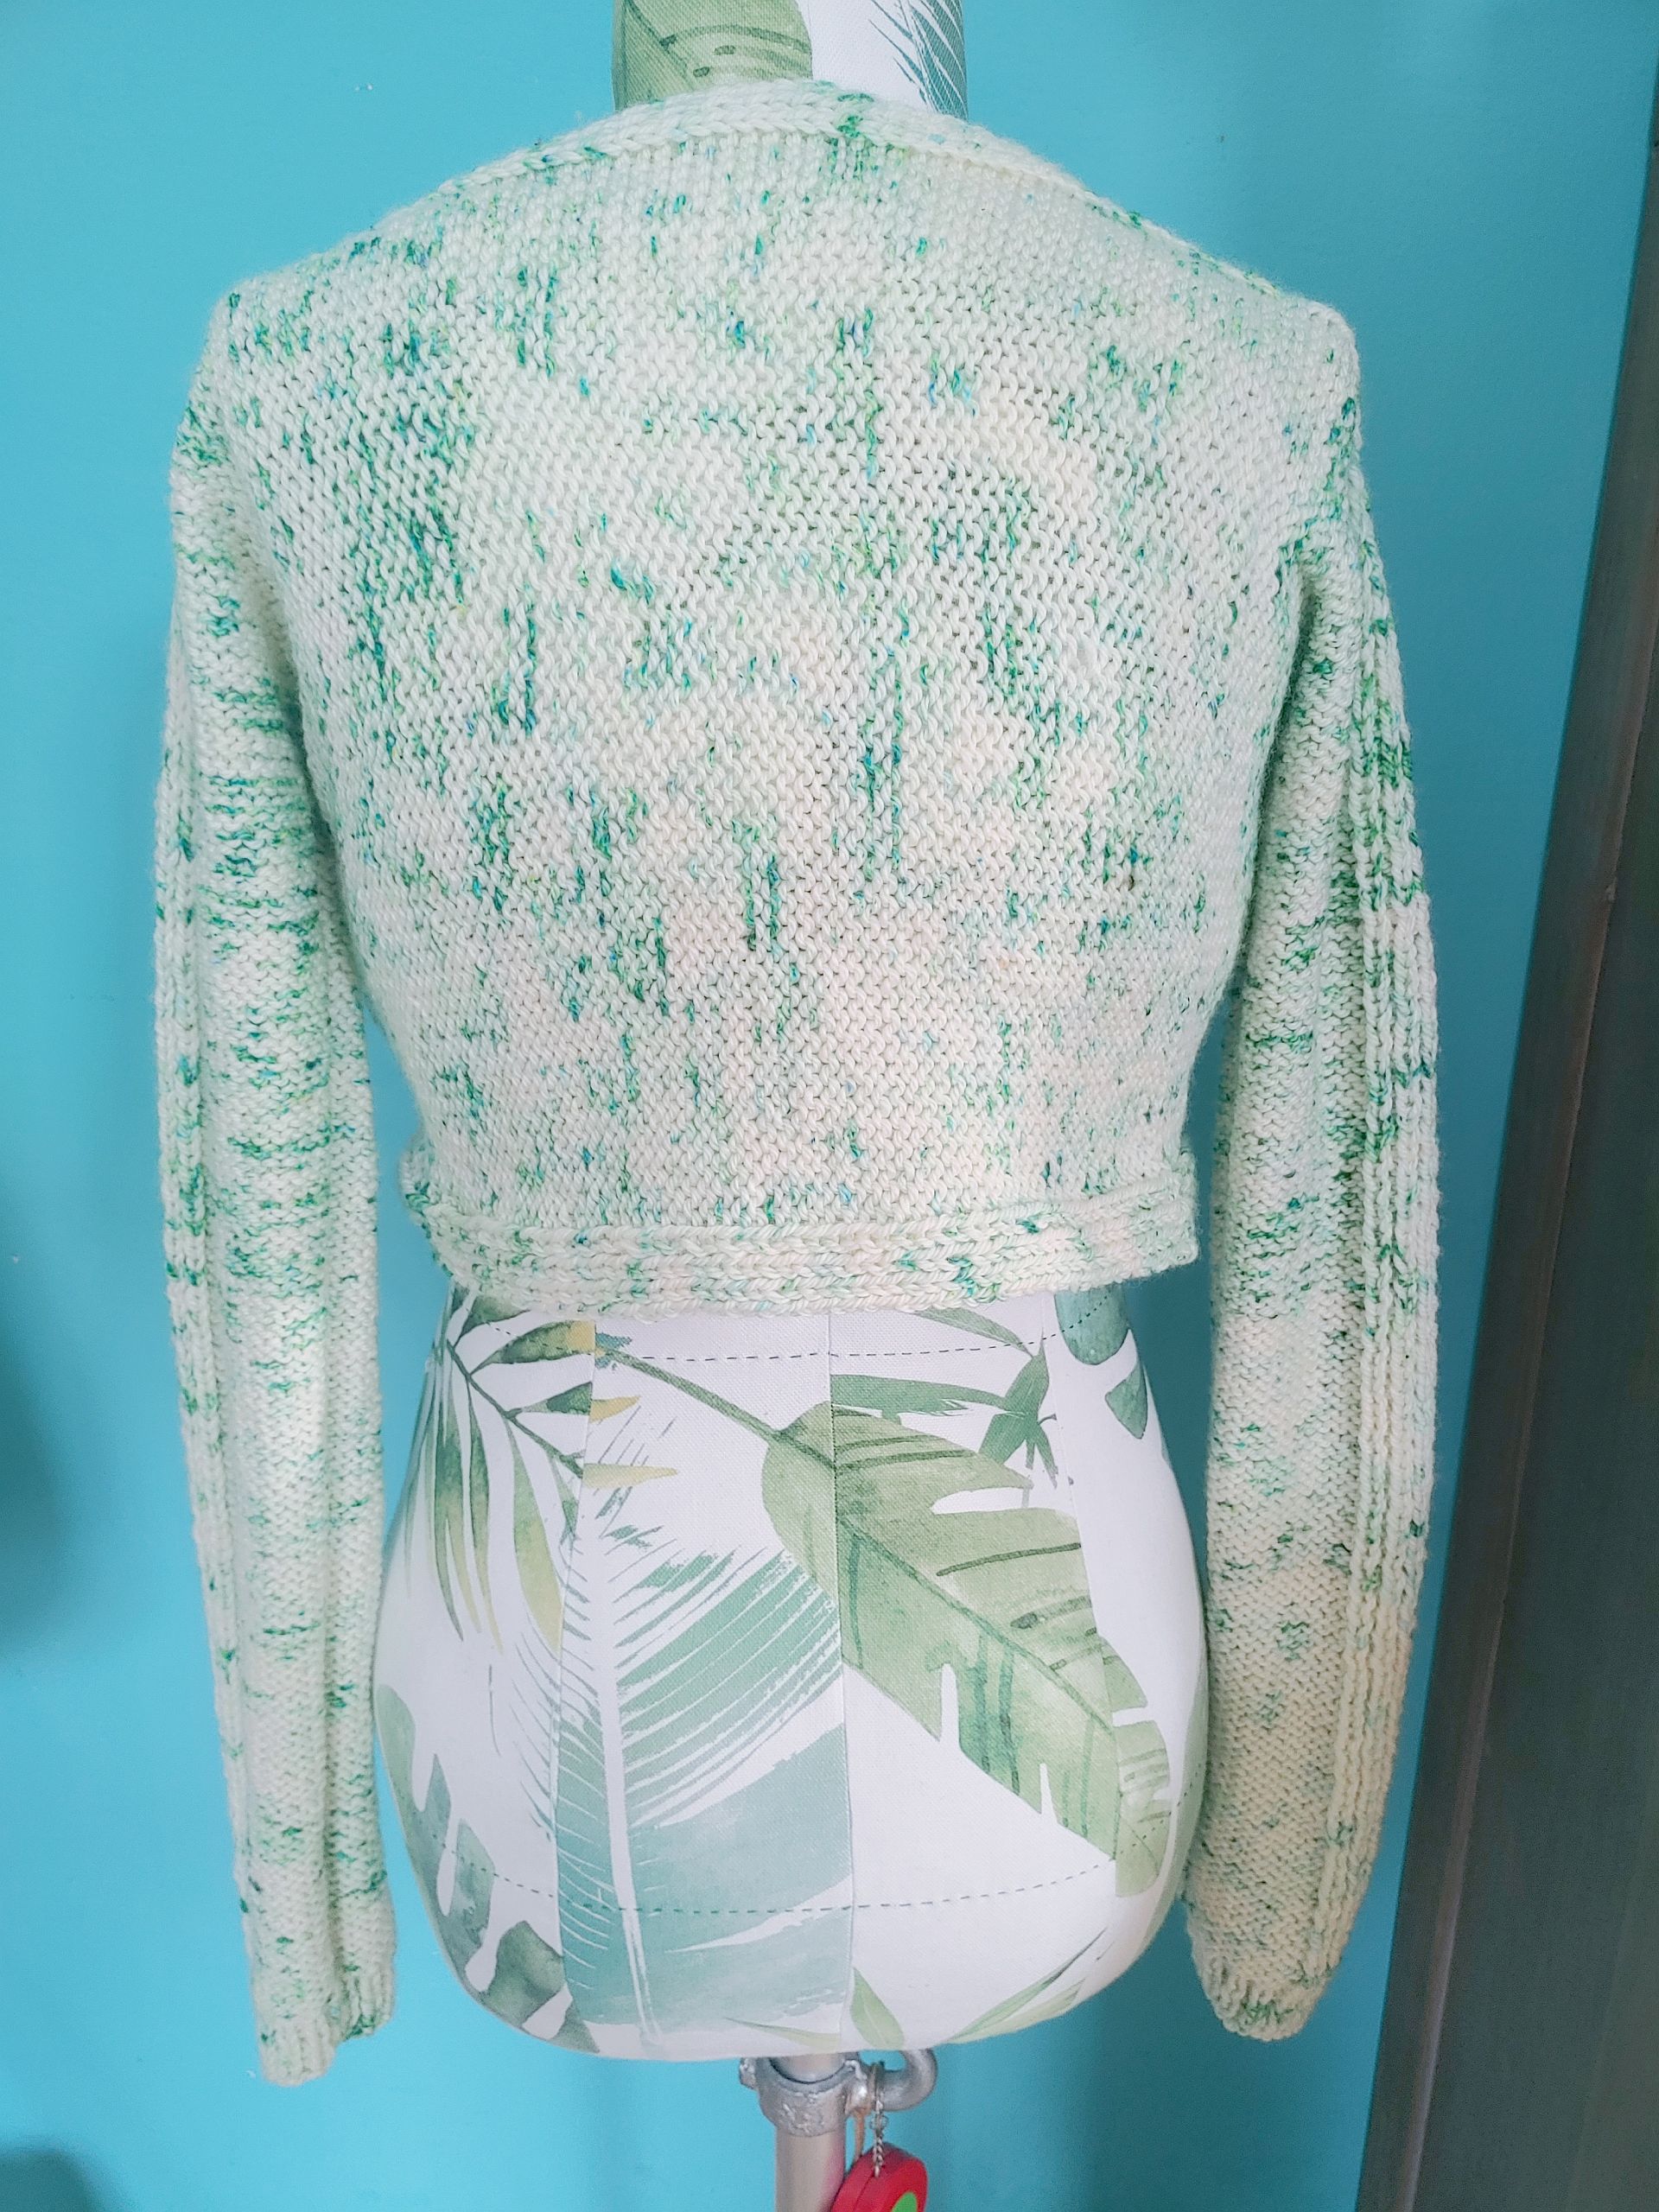
I was looking through Ravelry again, as I sometimes do, and found a crop top sweater that looked really cool. It was the Anna Crop Top from Wiam’s Crafts and I decided that I needed one. So I grabbed some of my Ultra Aran and put it in the chafing dish. The sprinkle effect was created by putting 5 dye colours and citric acid in a little salt shaker and just shaking it all over the yarn. The colours were Jacquard Acid Dyes Spruce, Kelly Green, Chartreuse, Teal, and Emerald. In total, I dyed 4 skeins for the project.
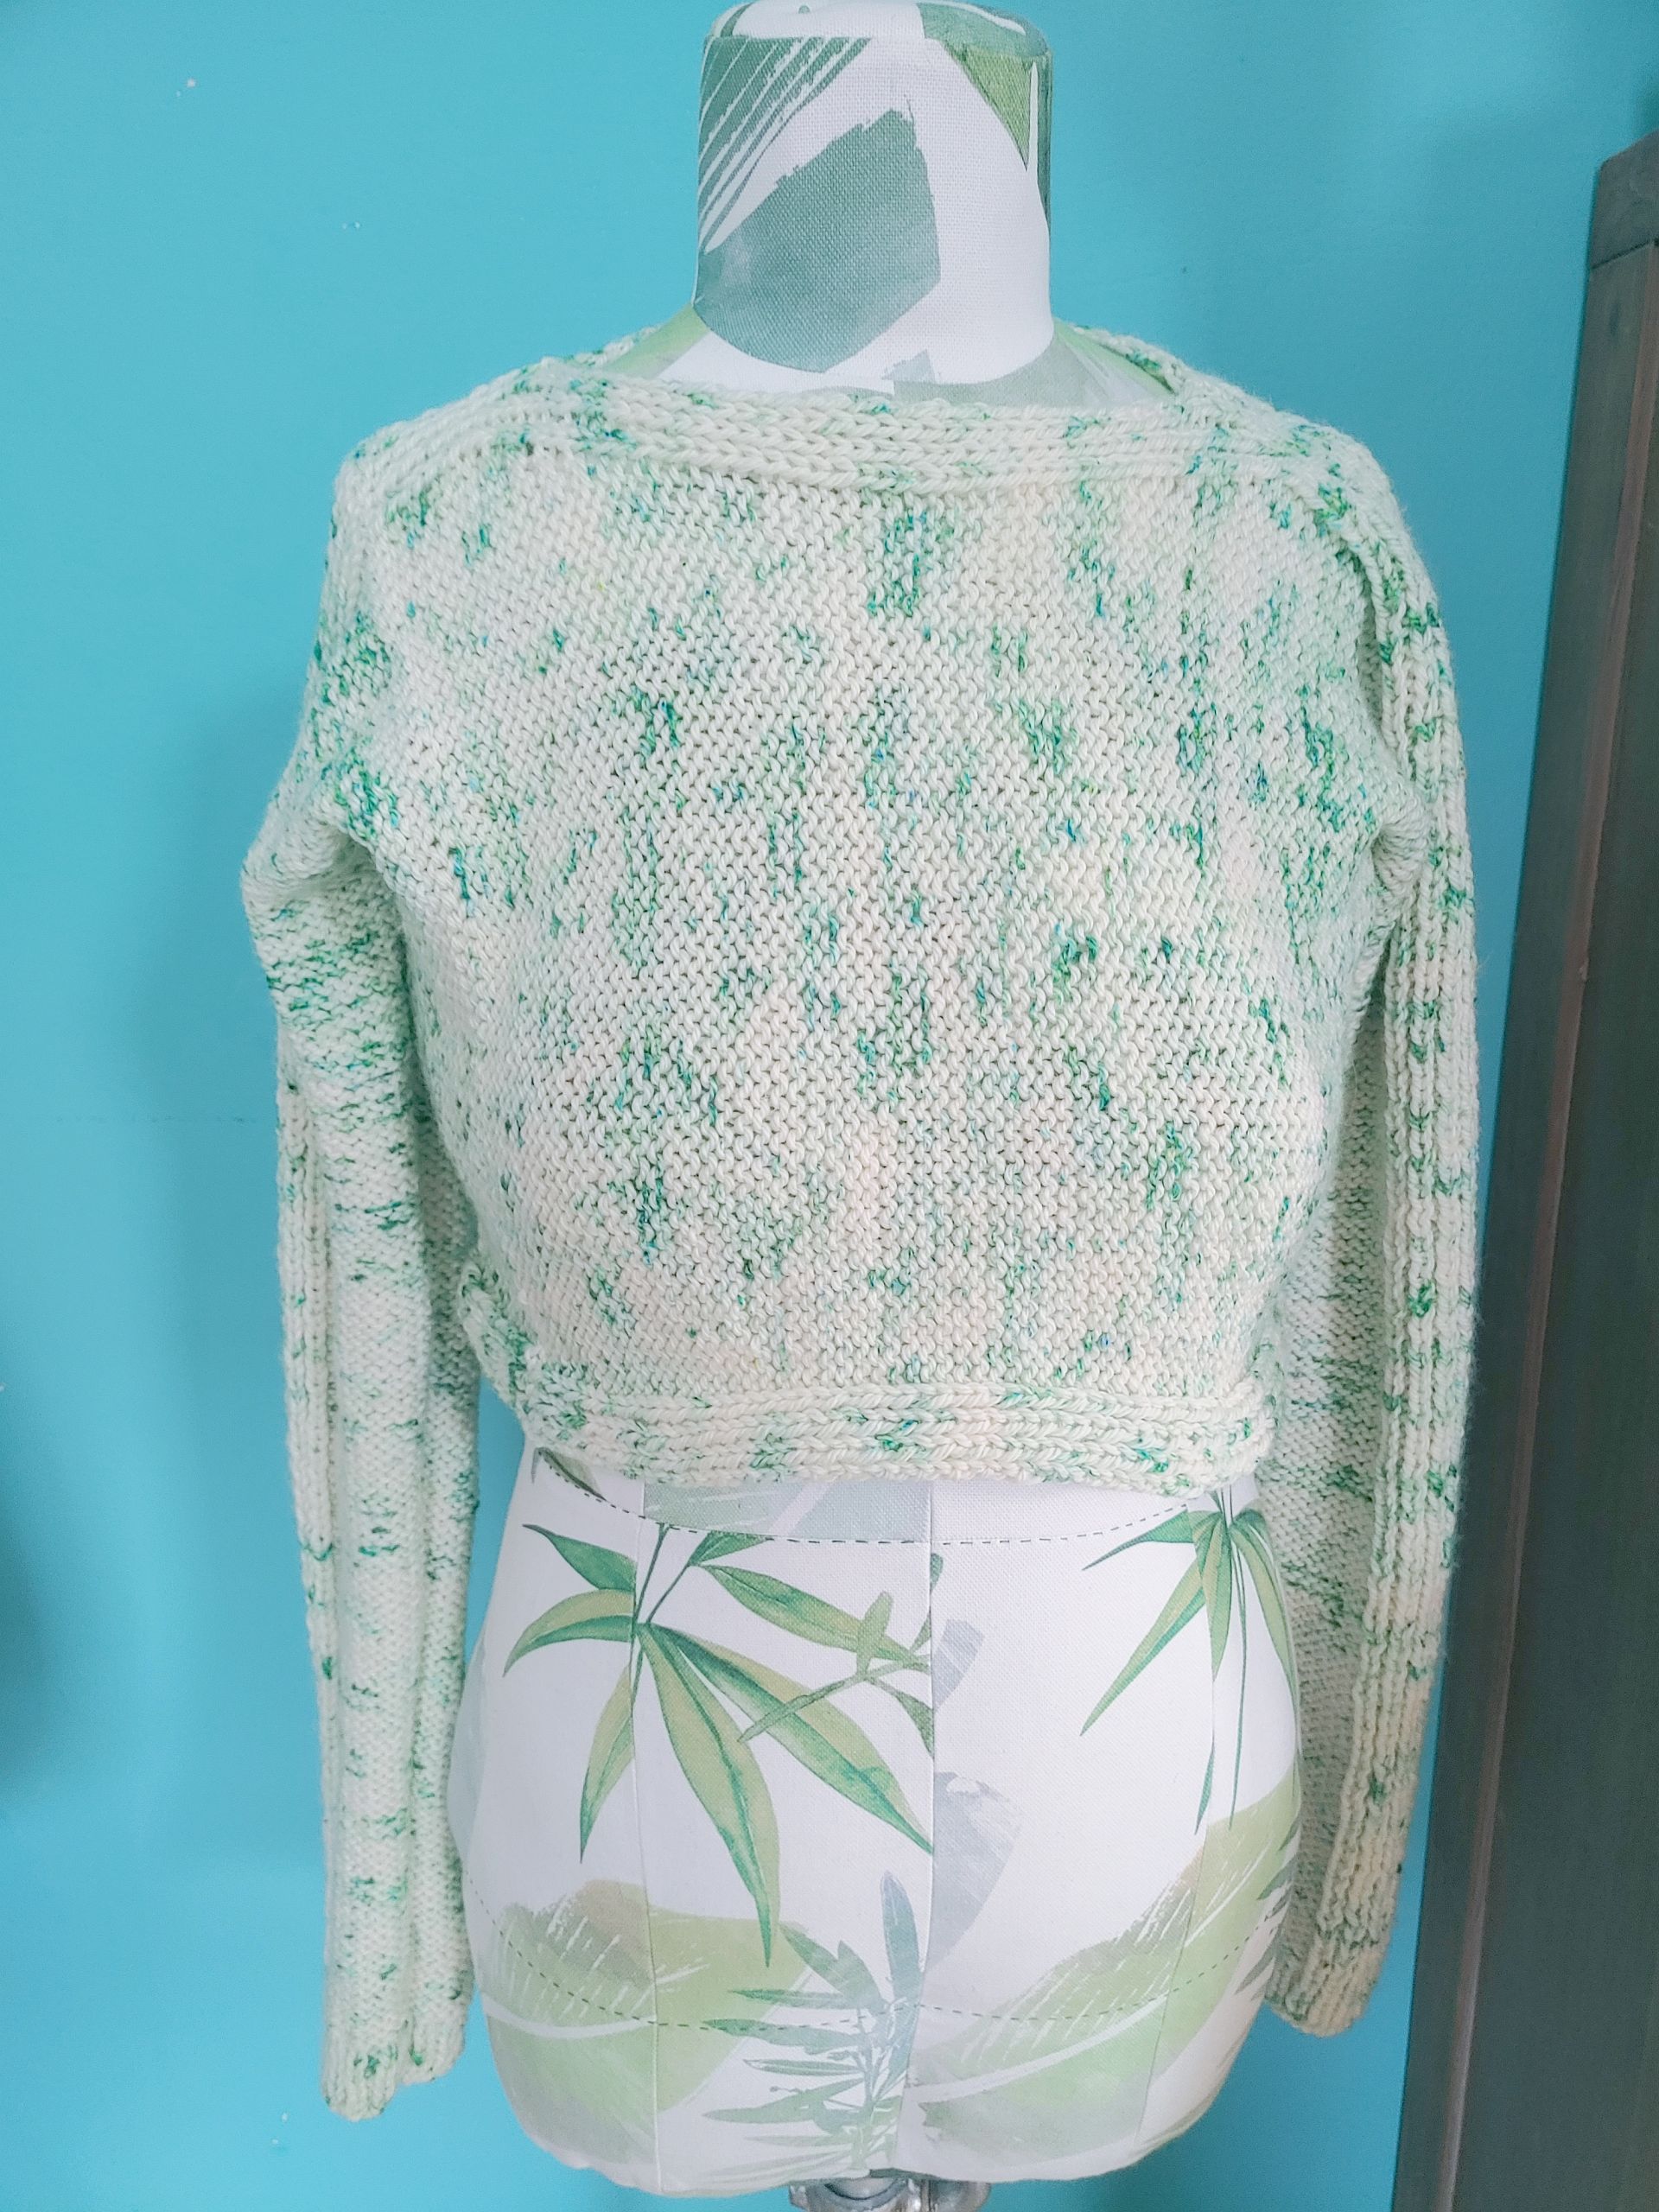
When I started knitting this thing, I was extremely afraid that I’d run out of yarn. So I cast on two sleeves at the same time and hoped that it would work out. I did make a fair amount of changes to the pattern that led to both extra yarn used and less yarn used. In the sleeves, I started them with fewer stitches and decided to do gradual increases. But in the body, I added extra stitches to the bottom because it was very short.
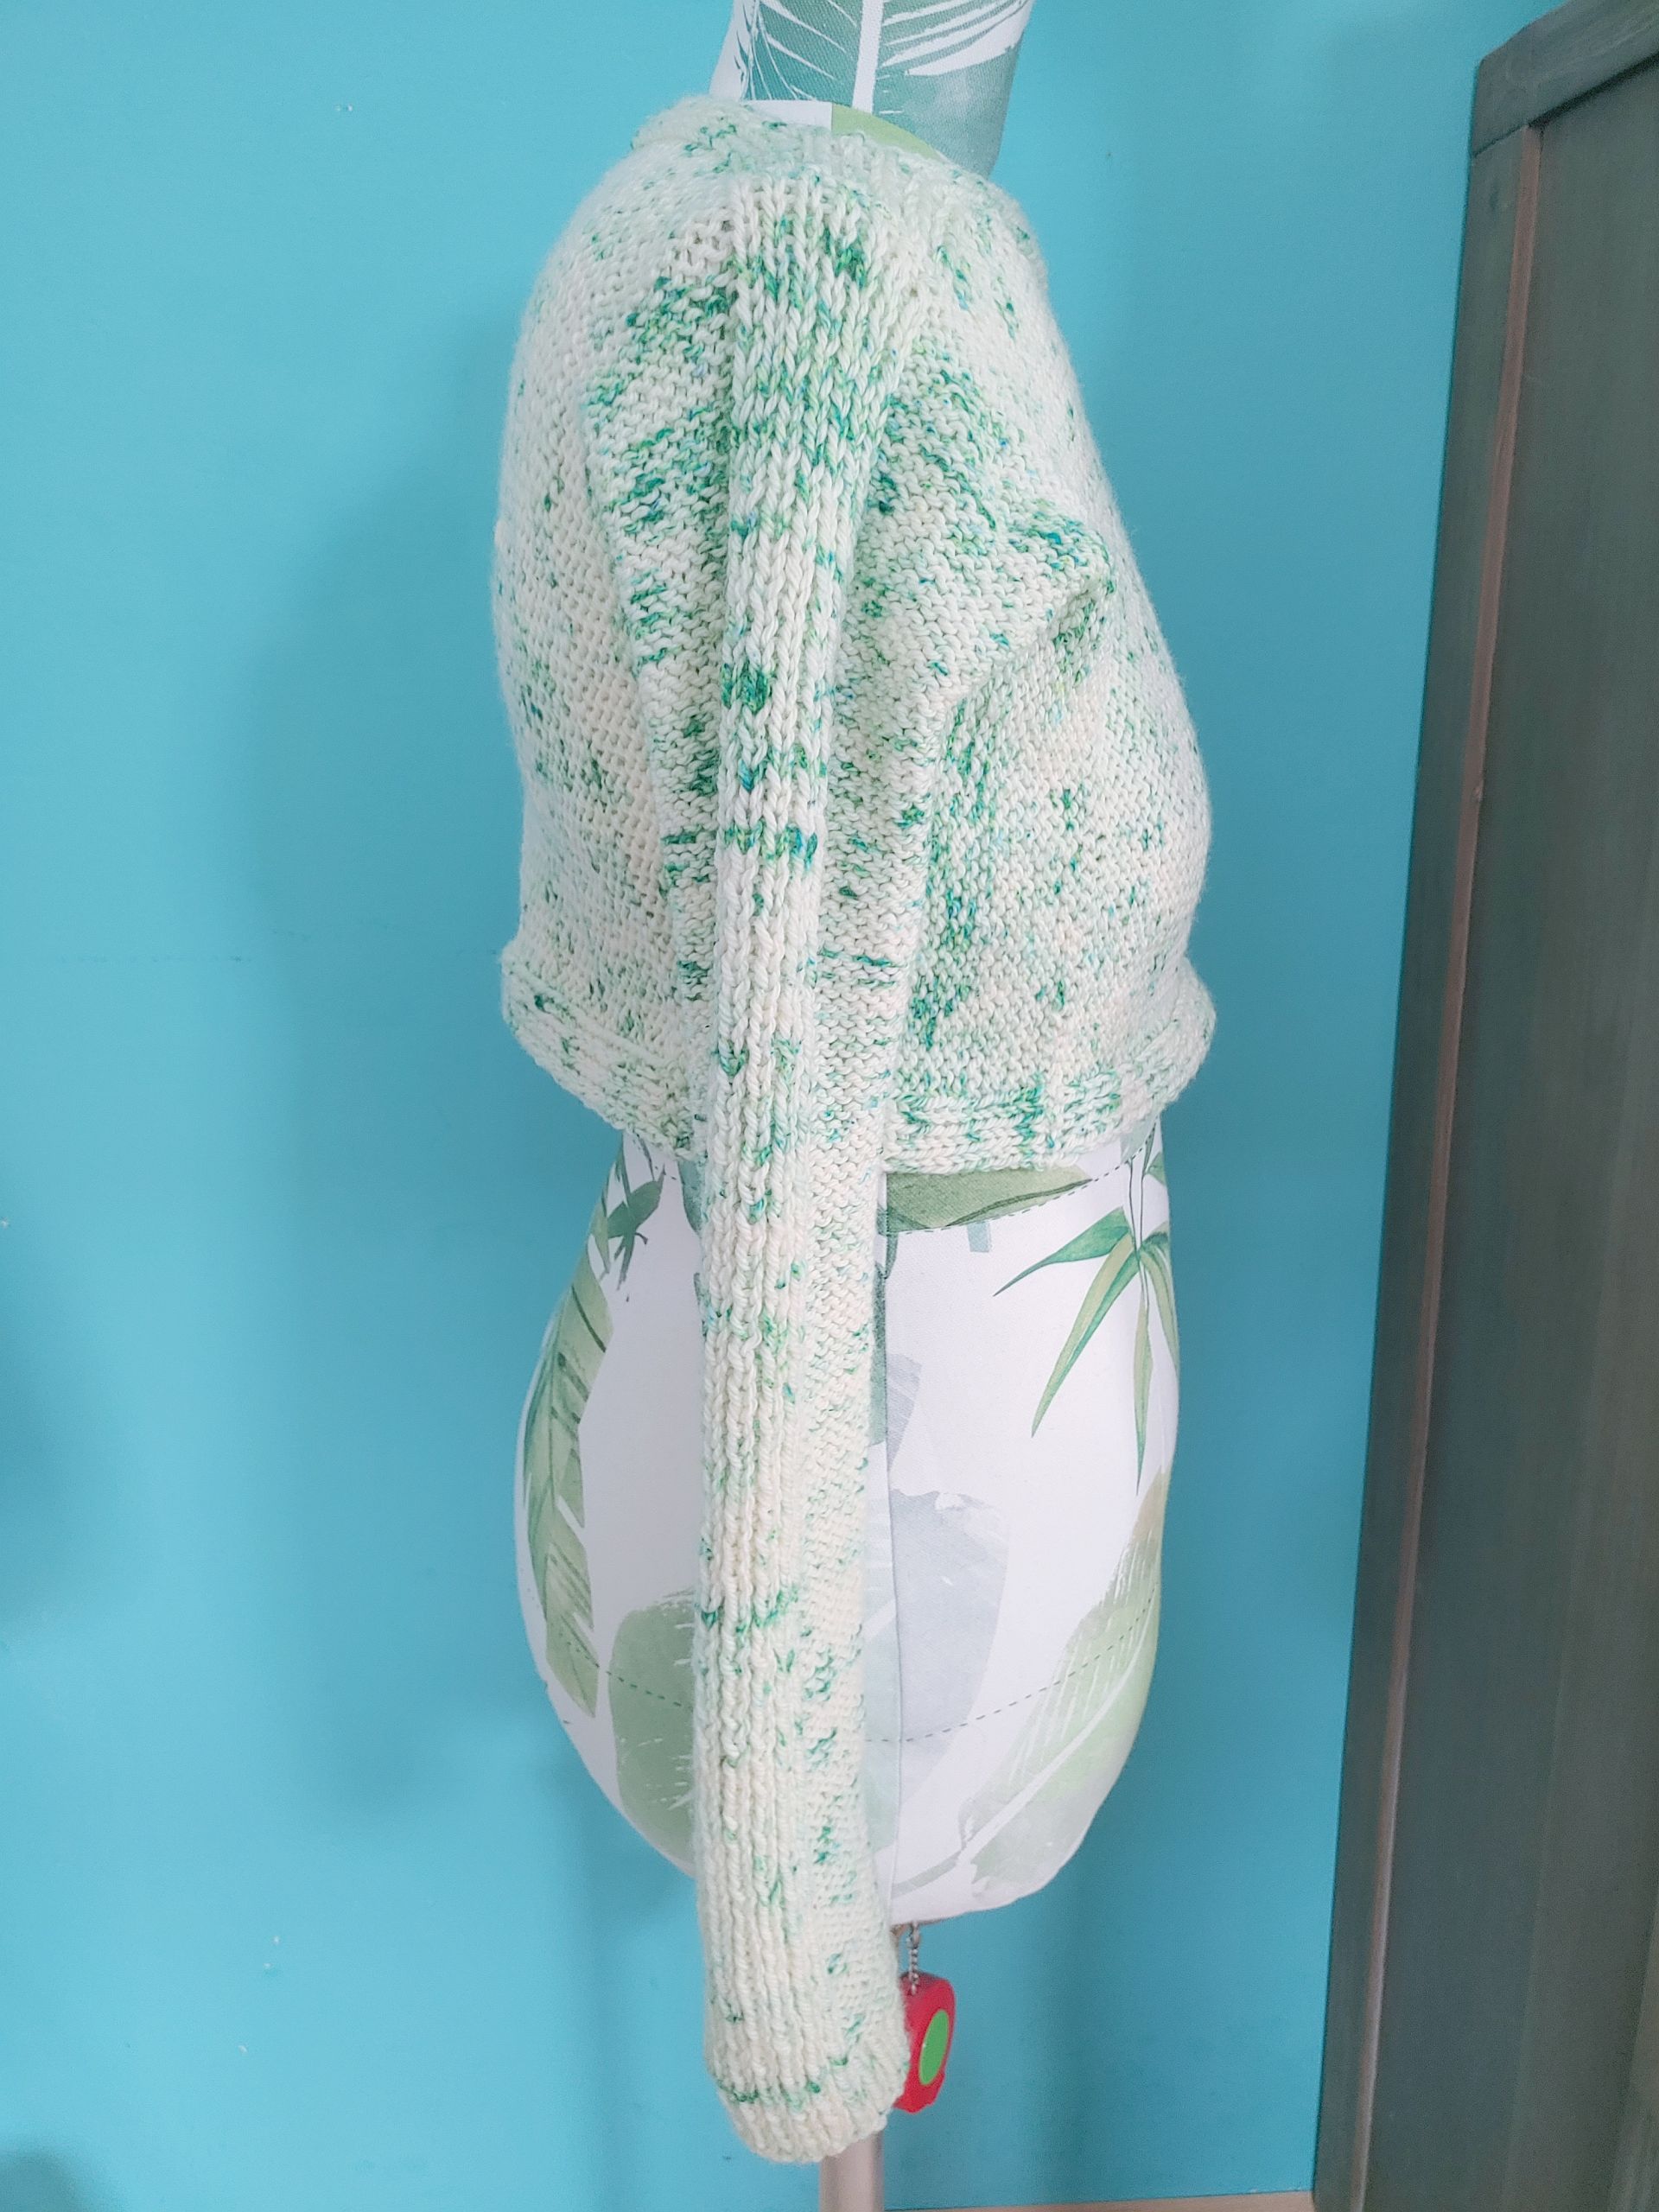
When I knit the right amount of sleeve on both sides, I cast on the total number of stitches that I wanted to end with (a few more than per the pattern). Then some short rows to get the shaping effect. I tried doing the pattern instructions first, but it just turned into a lumpy mess so I gave up. One skein was enough for the full sleeve plus the start of the body. Then I attached another skein to one of the sleeve-body things and continued knitting the rest of the body, front and back. I didn’t want to join it in the middle but on one side, and used Russian Grafting to put it all together.
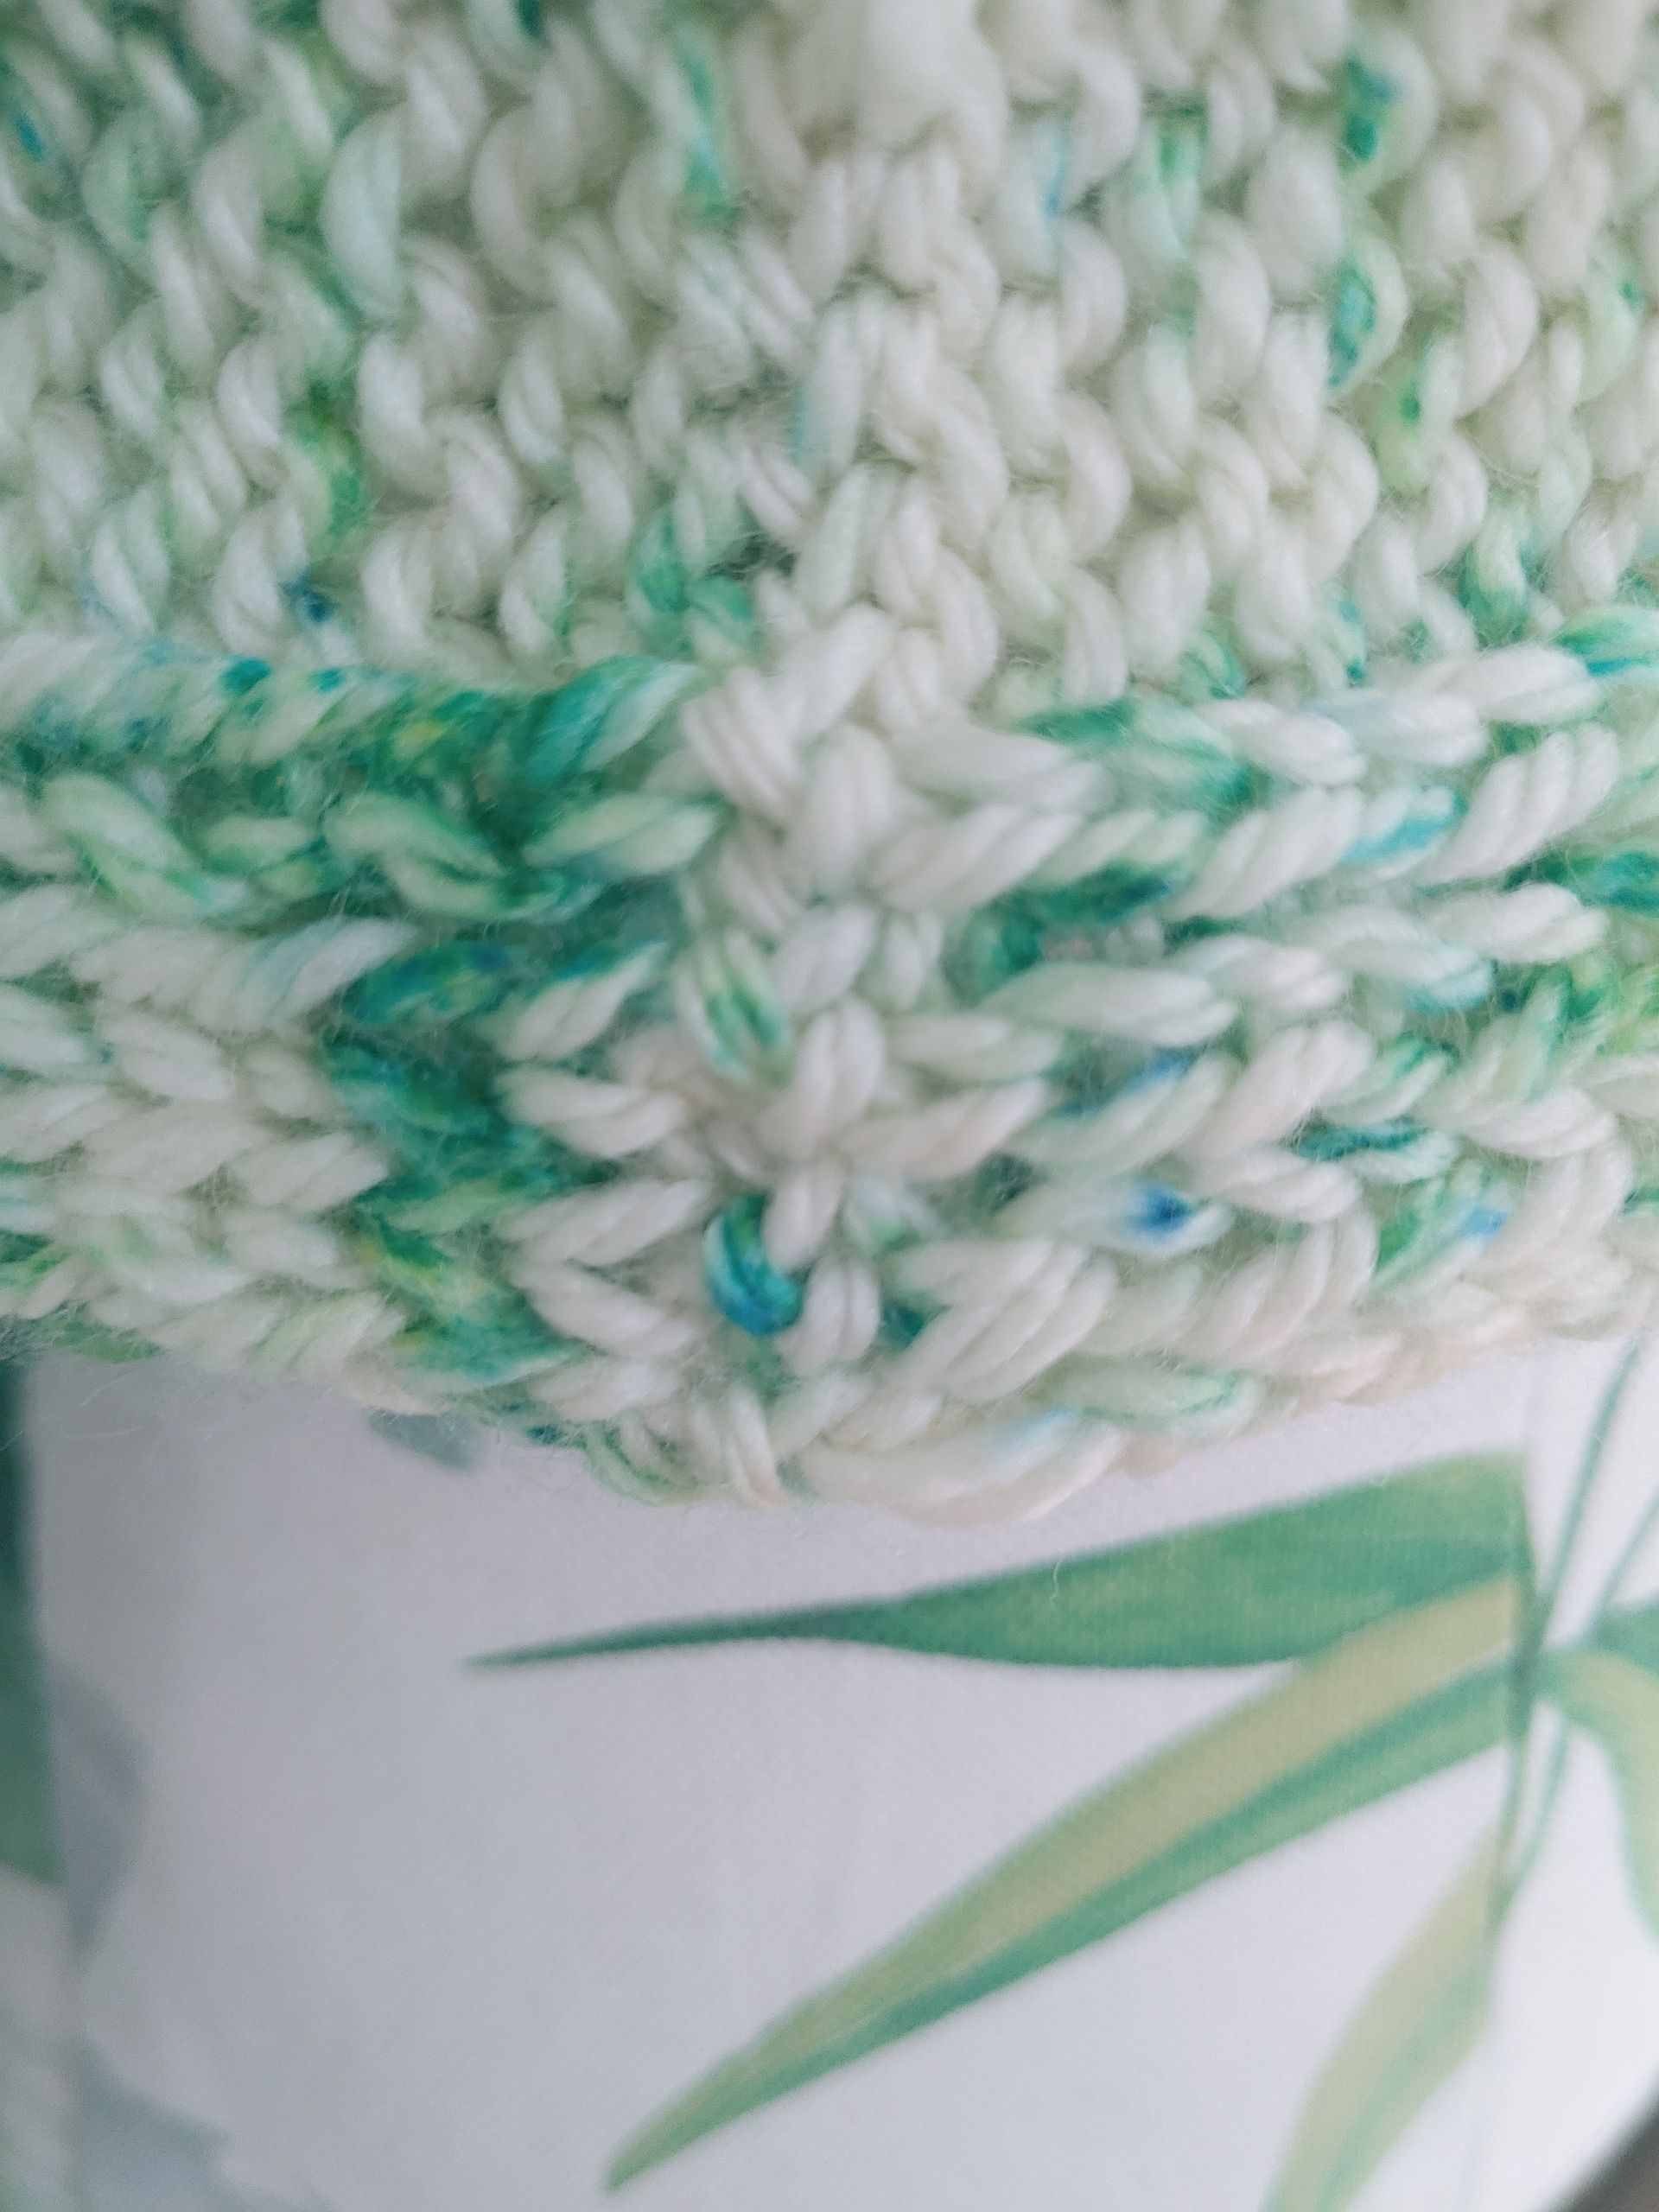
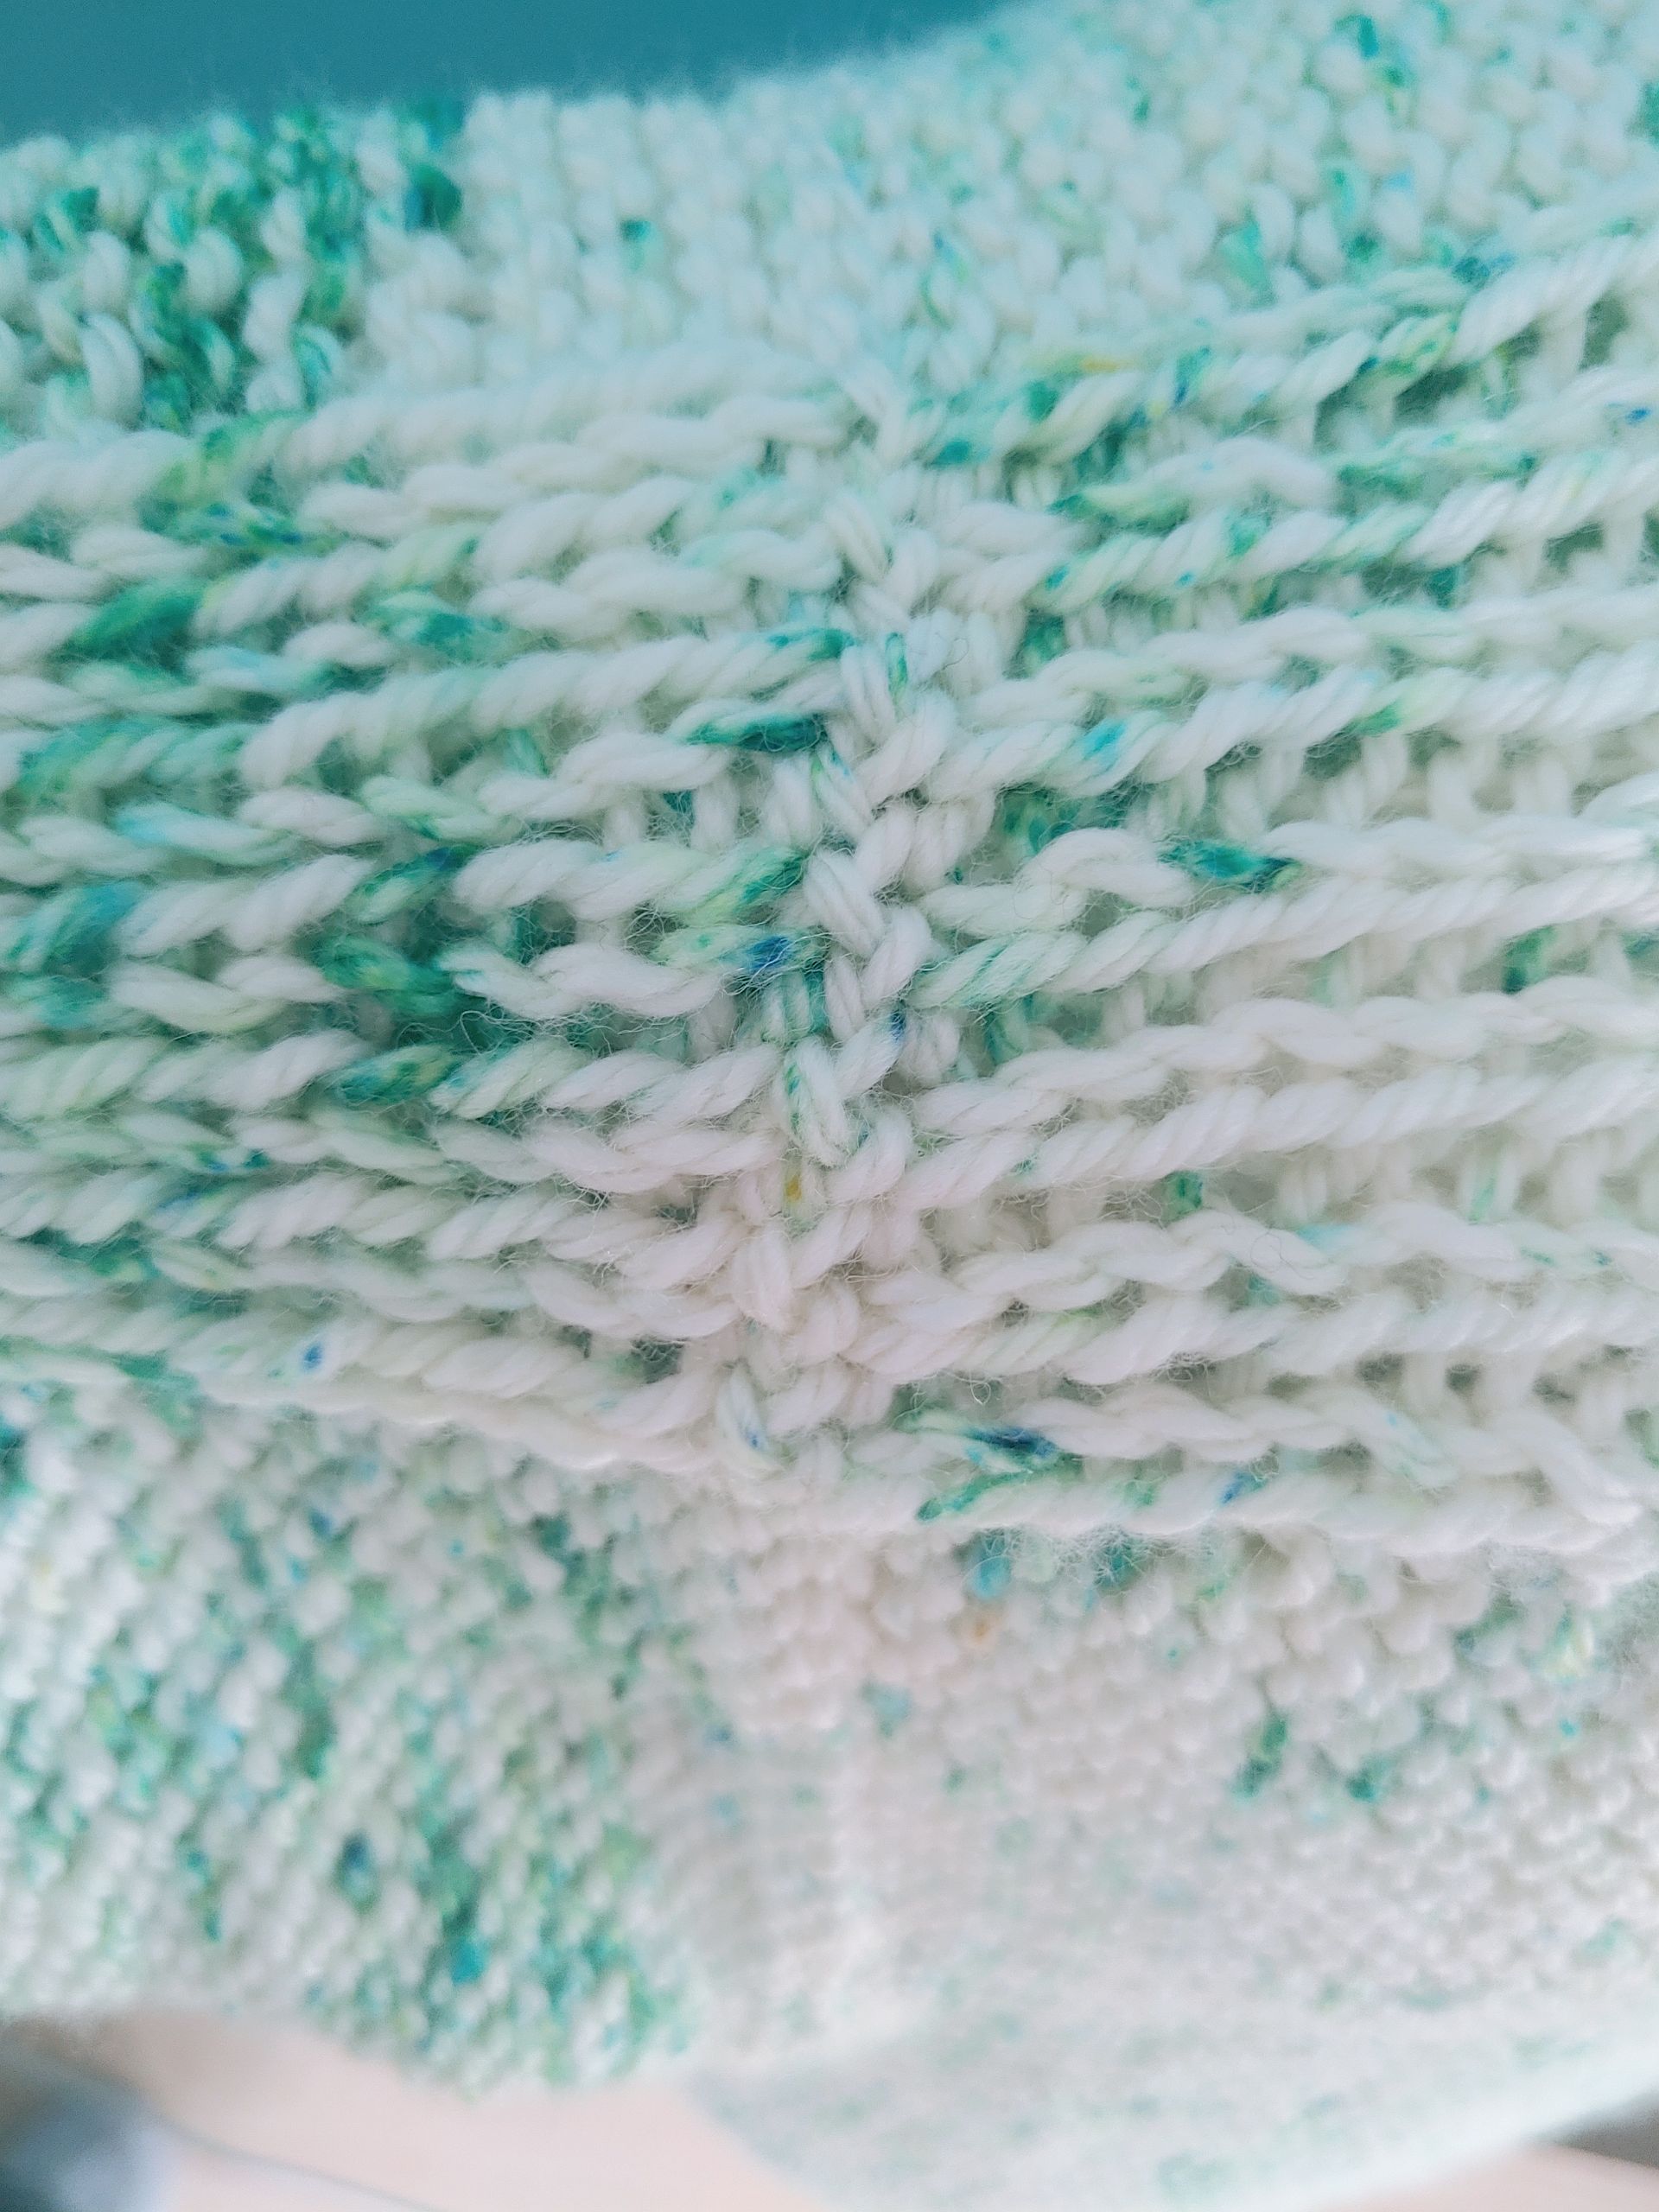
The join is nearly invisible on the knit side, but there is a little interest on the purl side, which is the side that is showing. Still, you don’t see if from any distance. I’ve not really worn it out yet. I tried it with a pair of dungarees that I recently made and am in the process of writing up, but it was still a little too short and I was worried about the cold. It might be more of a spring/summer thing than a winter thing.
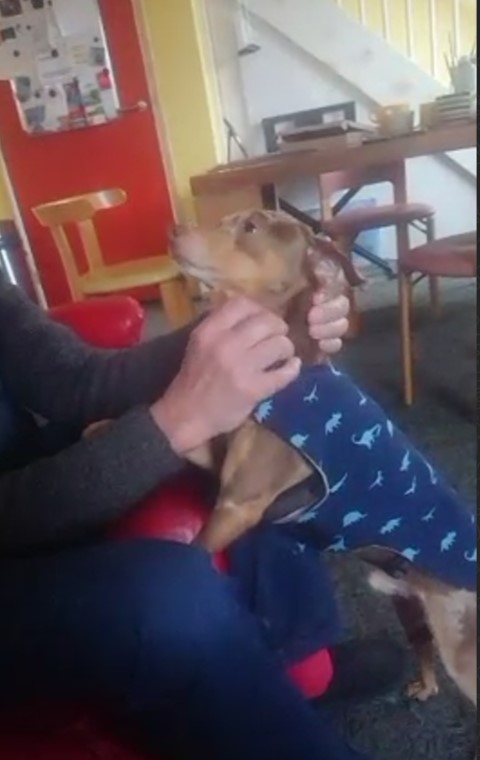
My dad just got a tiny little dog thing, but I’ve been told that it’s regularly quite cold. So in order to help the creature feel more comfortable outside, I was asked to make him a little coat. I looked online for a pattern and found one from Wholefully. Apparently commenters weren’t always super happy with it, but I decided to give it a try anyway.
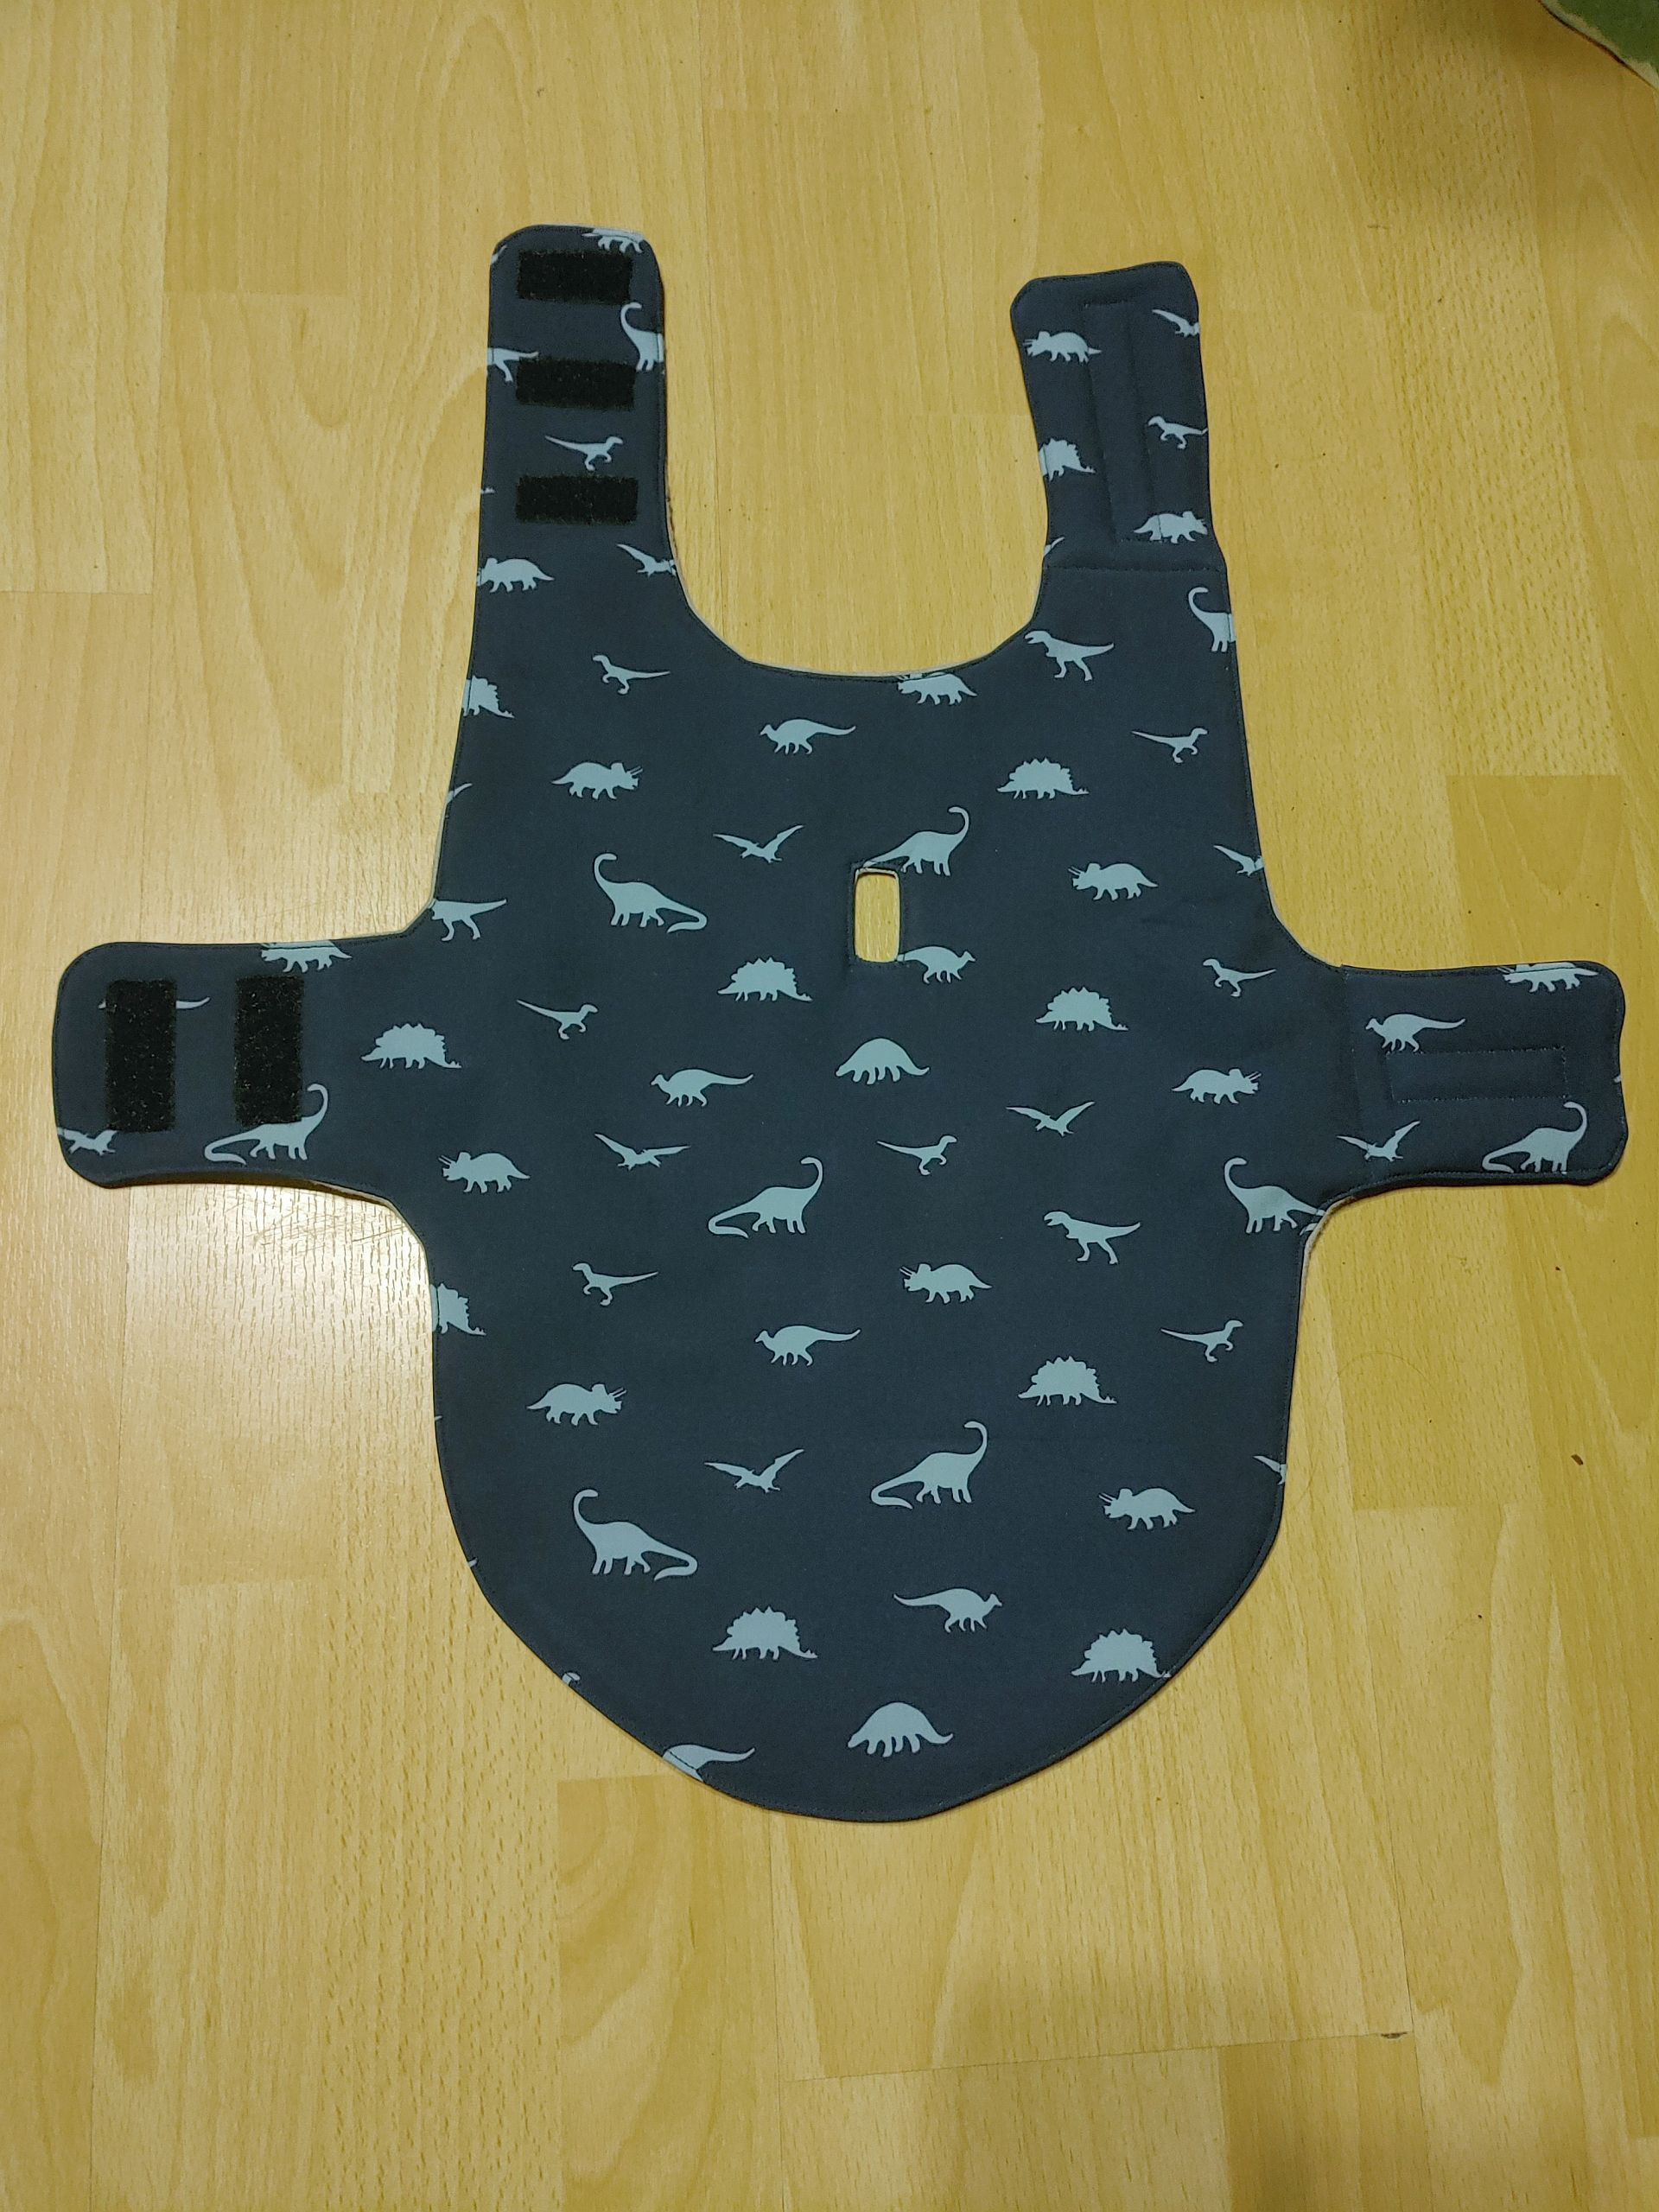
Since my dad and Timmy (the dog) live quite a ways away, the dog was measured by Cathelijne and then I made the coat from some other leftover fabric I still had laying around. For the outside, I used the scraps of my first dinosaur coat, in hopes that it would also provide some protection from the wind and rain. For the inside, I found some fleece for extra warmth.
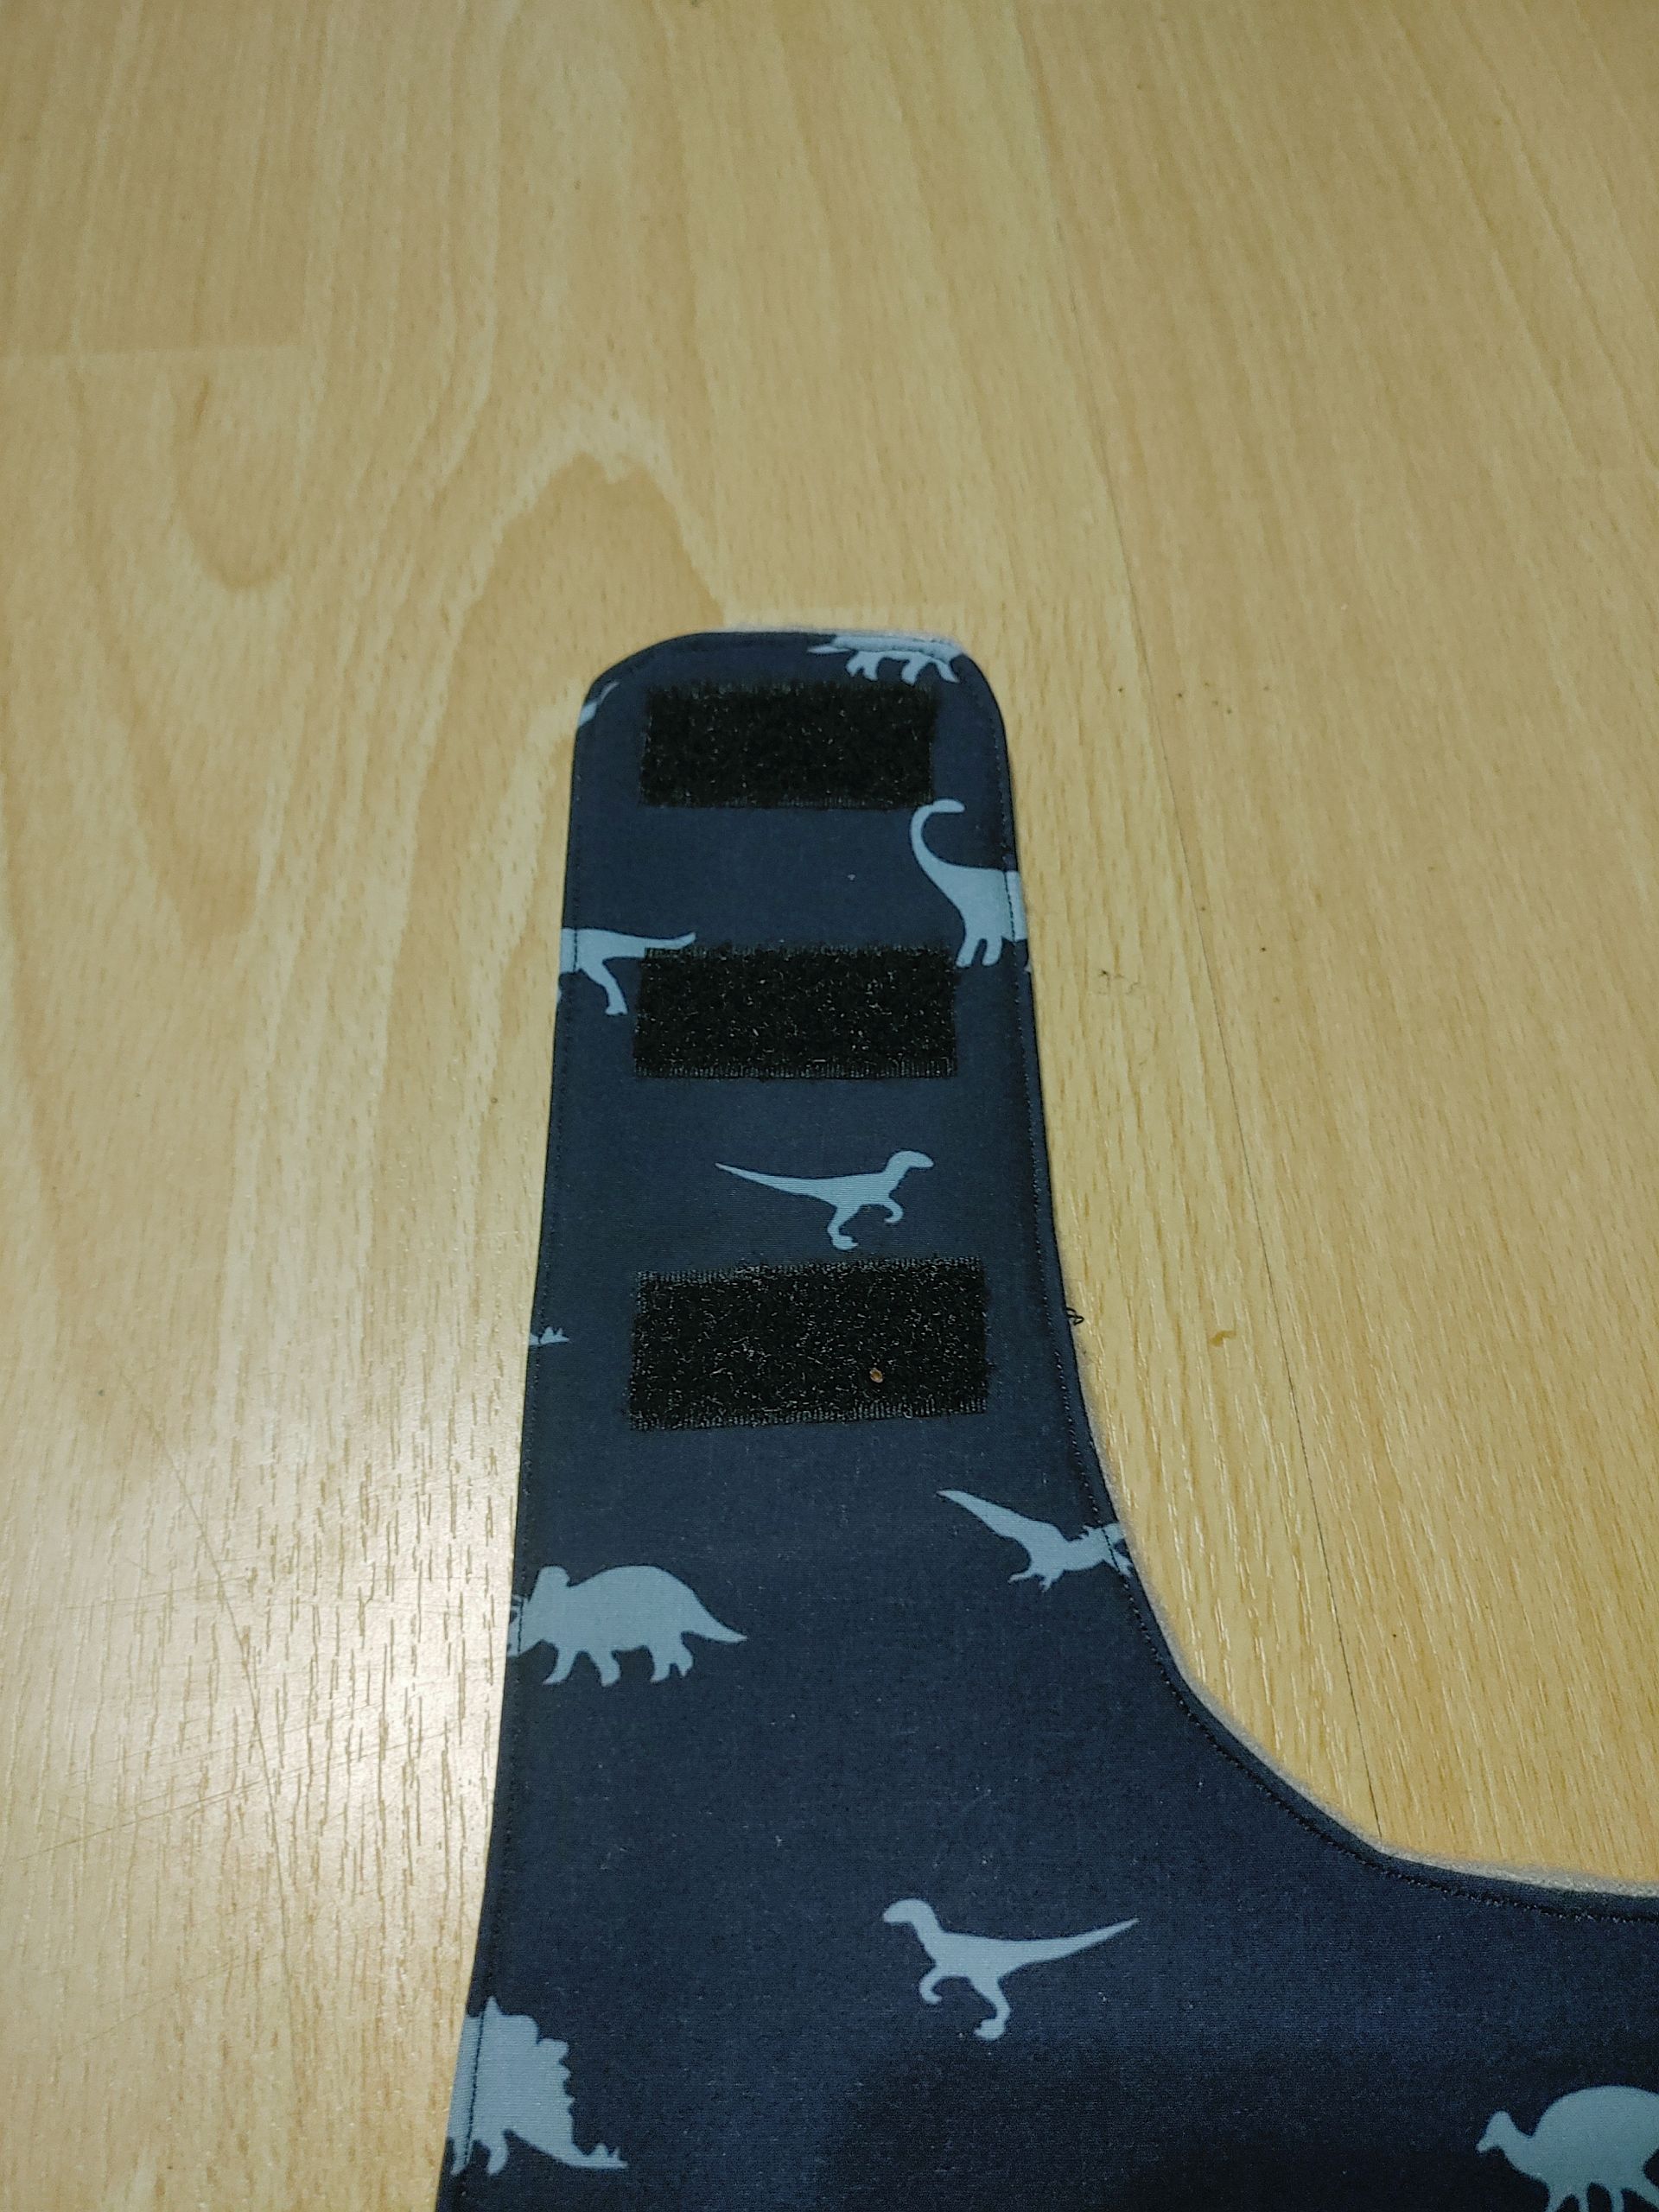
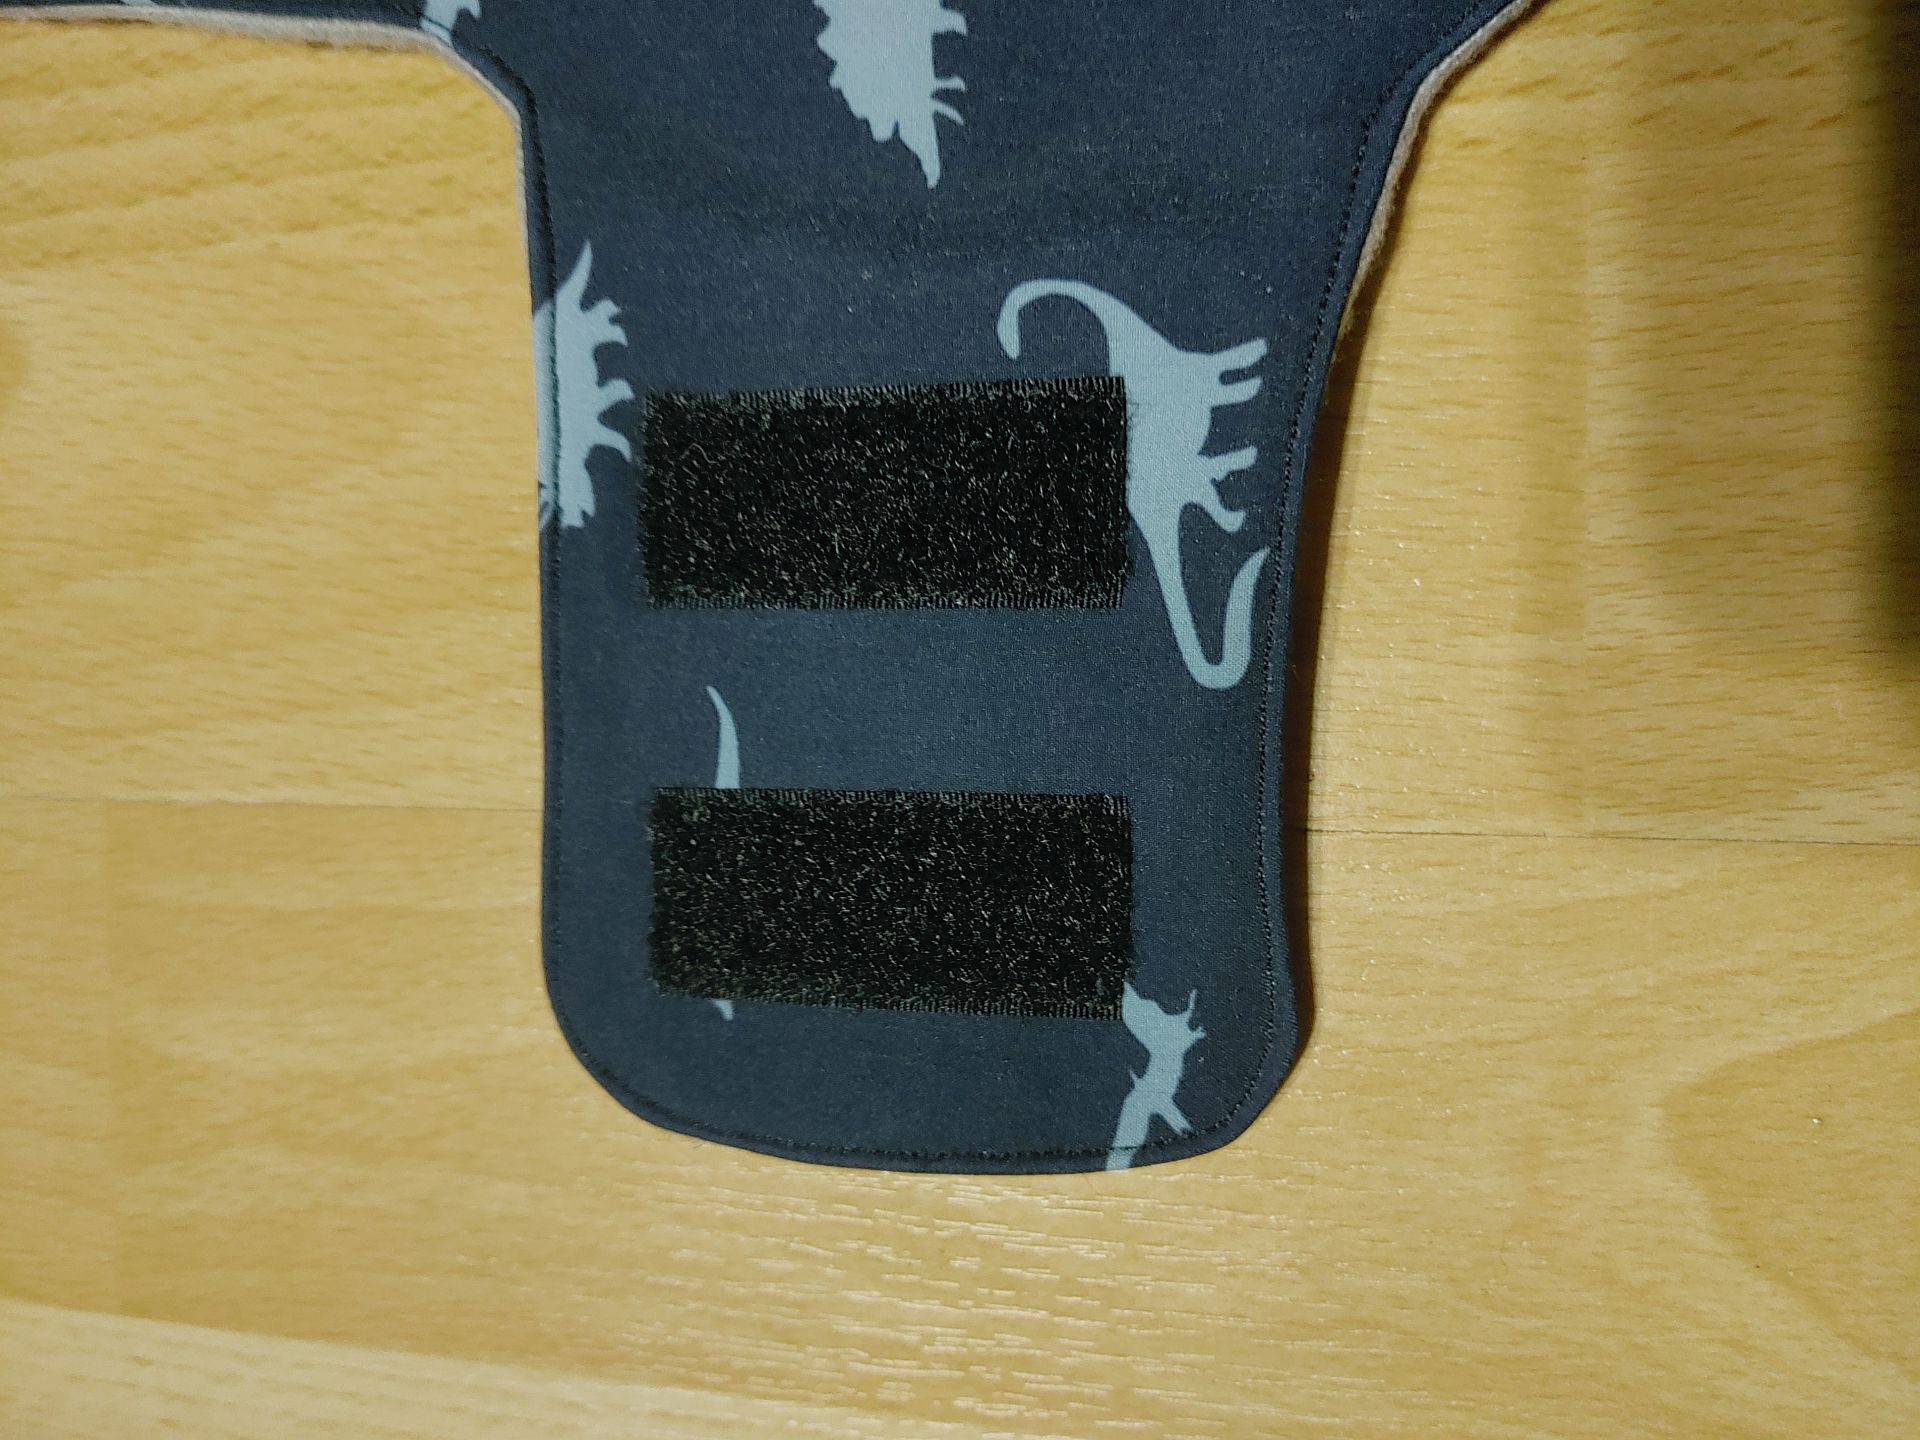
I put in the measurements and drew out the pattern on some paper, then placed it on my fabric where it happened to fit perfectly on the tiny bit that I had left. As this is the third thing made from that dinosaur fabric, it’s been used more than expected. For the closures, some Velcro was attached to the front flaps and the tummy flaps. I lined the Velcro bits with some extra dinosaur to prevent it from sticking to the fleece. Lastly, a hole was added in the back for the leash to go through.
The whole thing was snail-mailed and unfortunately the tummy flaps were a little bit too short. I seem to remember that it fits when Timmy is wearing the coat by itself, but not when he’s also wearing the harness. So I’ve made some notes on the pattern so that if I were to made it again, I can add some length to the tummy flaps. Cathelijne has made a Velcro solution to make it fit now.
I am not a warm-blooded person. I’m more a lizard in disguise and since that blue coat that I’ve been dreaming about hasn’t materialized yet, I’ve been wearing my dinosaur coat most winter. Sadly, the weather has been quite miserable and my office is also a cold, cold place. To catch two birds with stone, I decided to make a vest to wear over my clothes and under my coat.
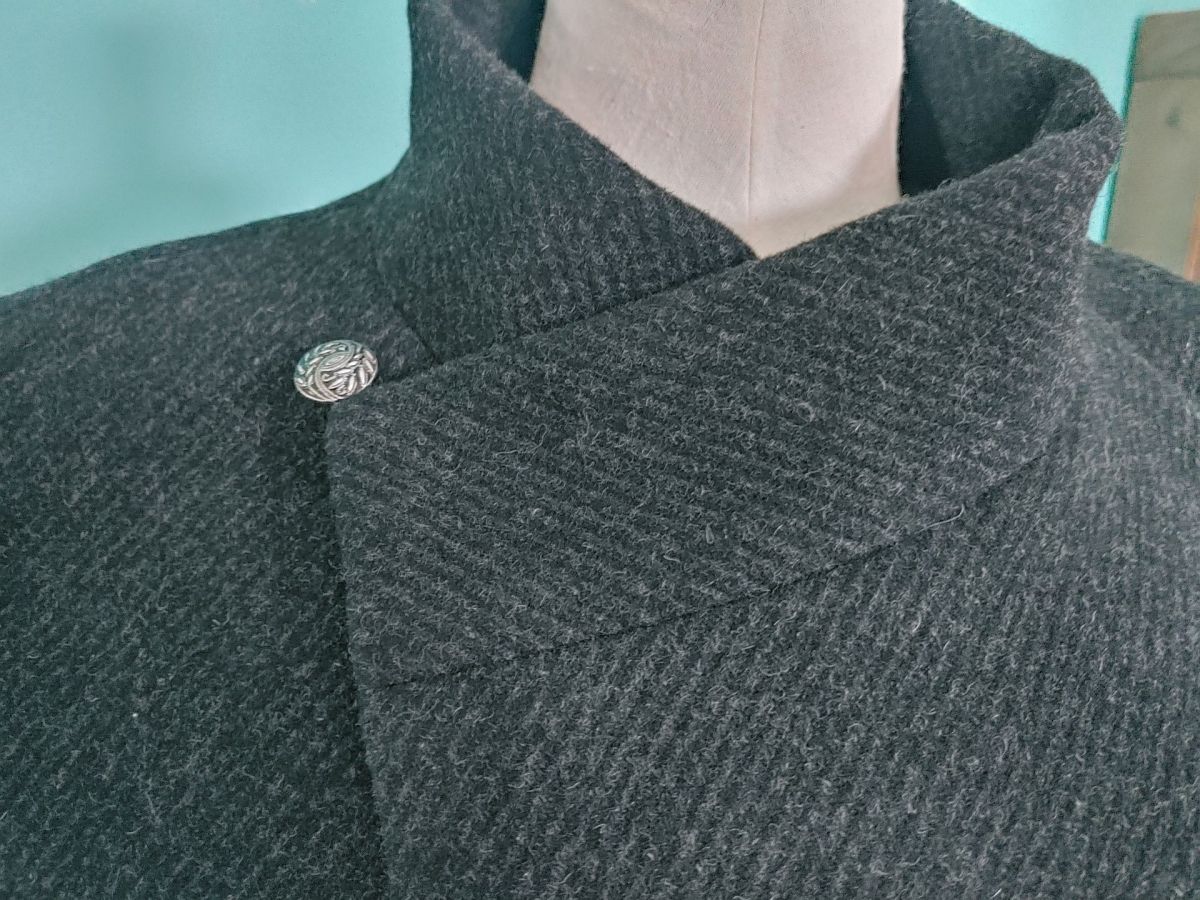
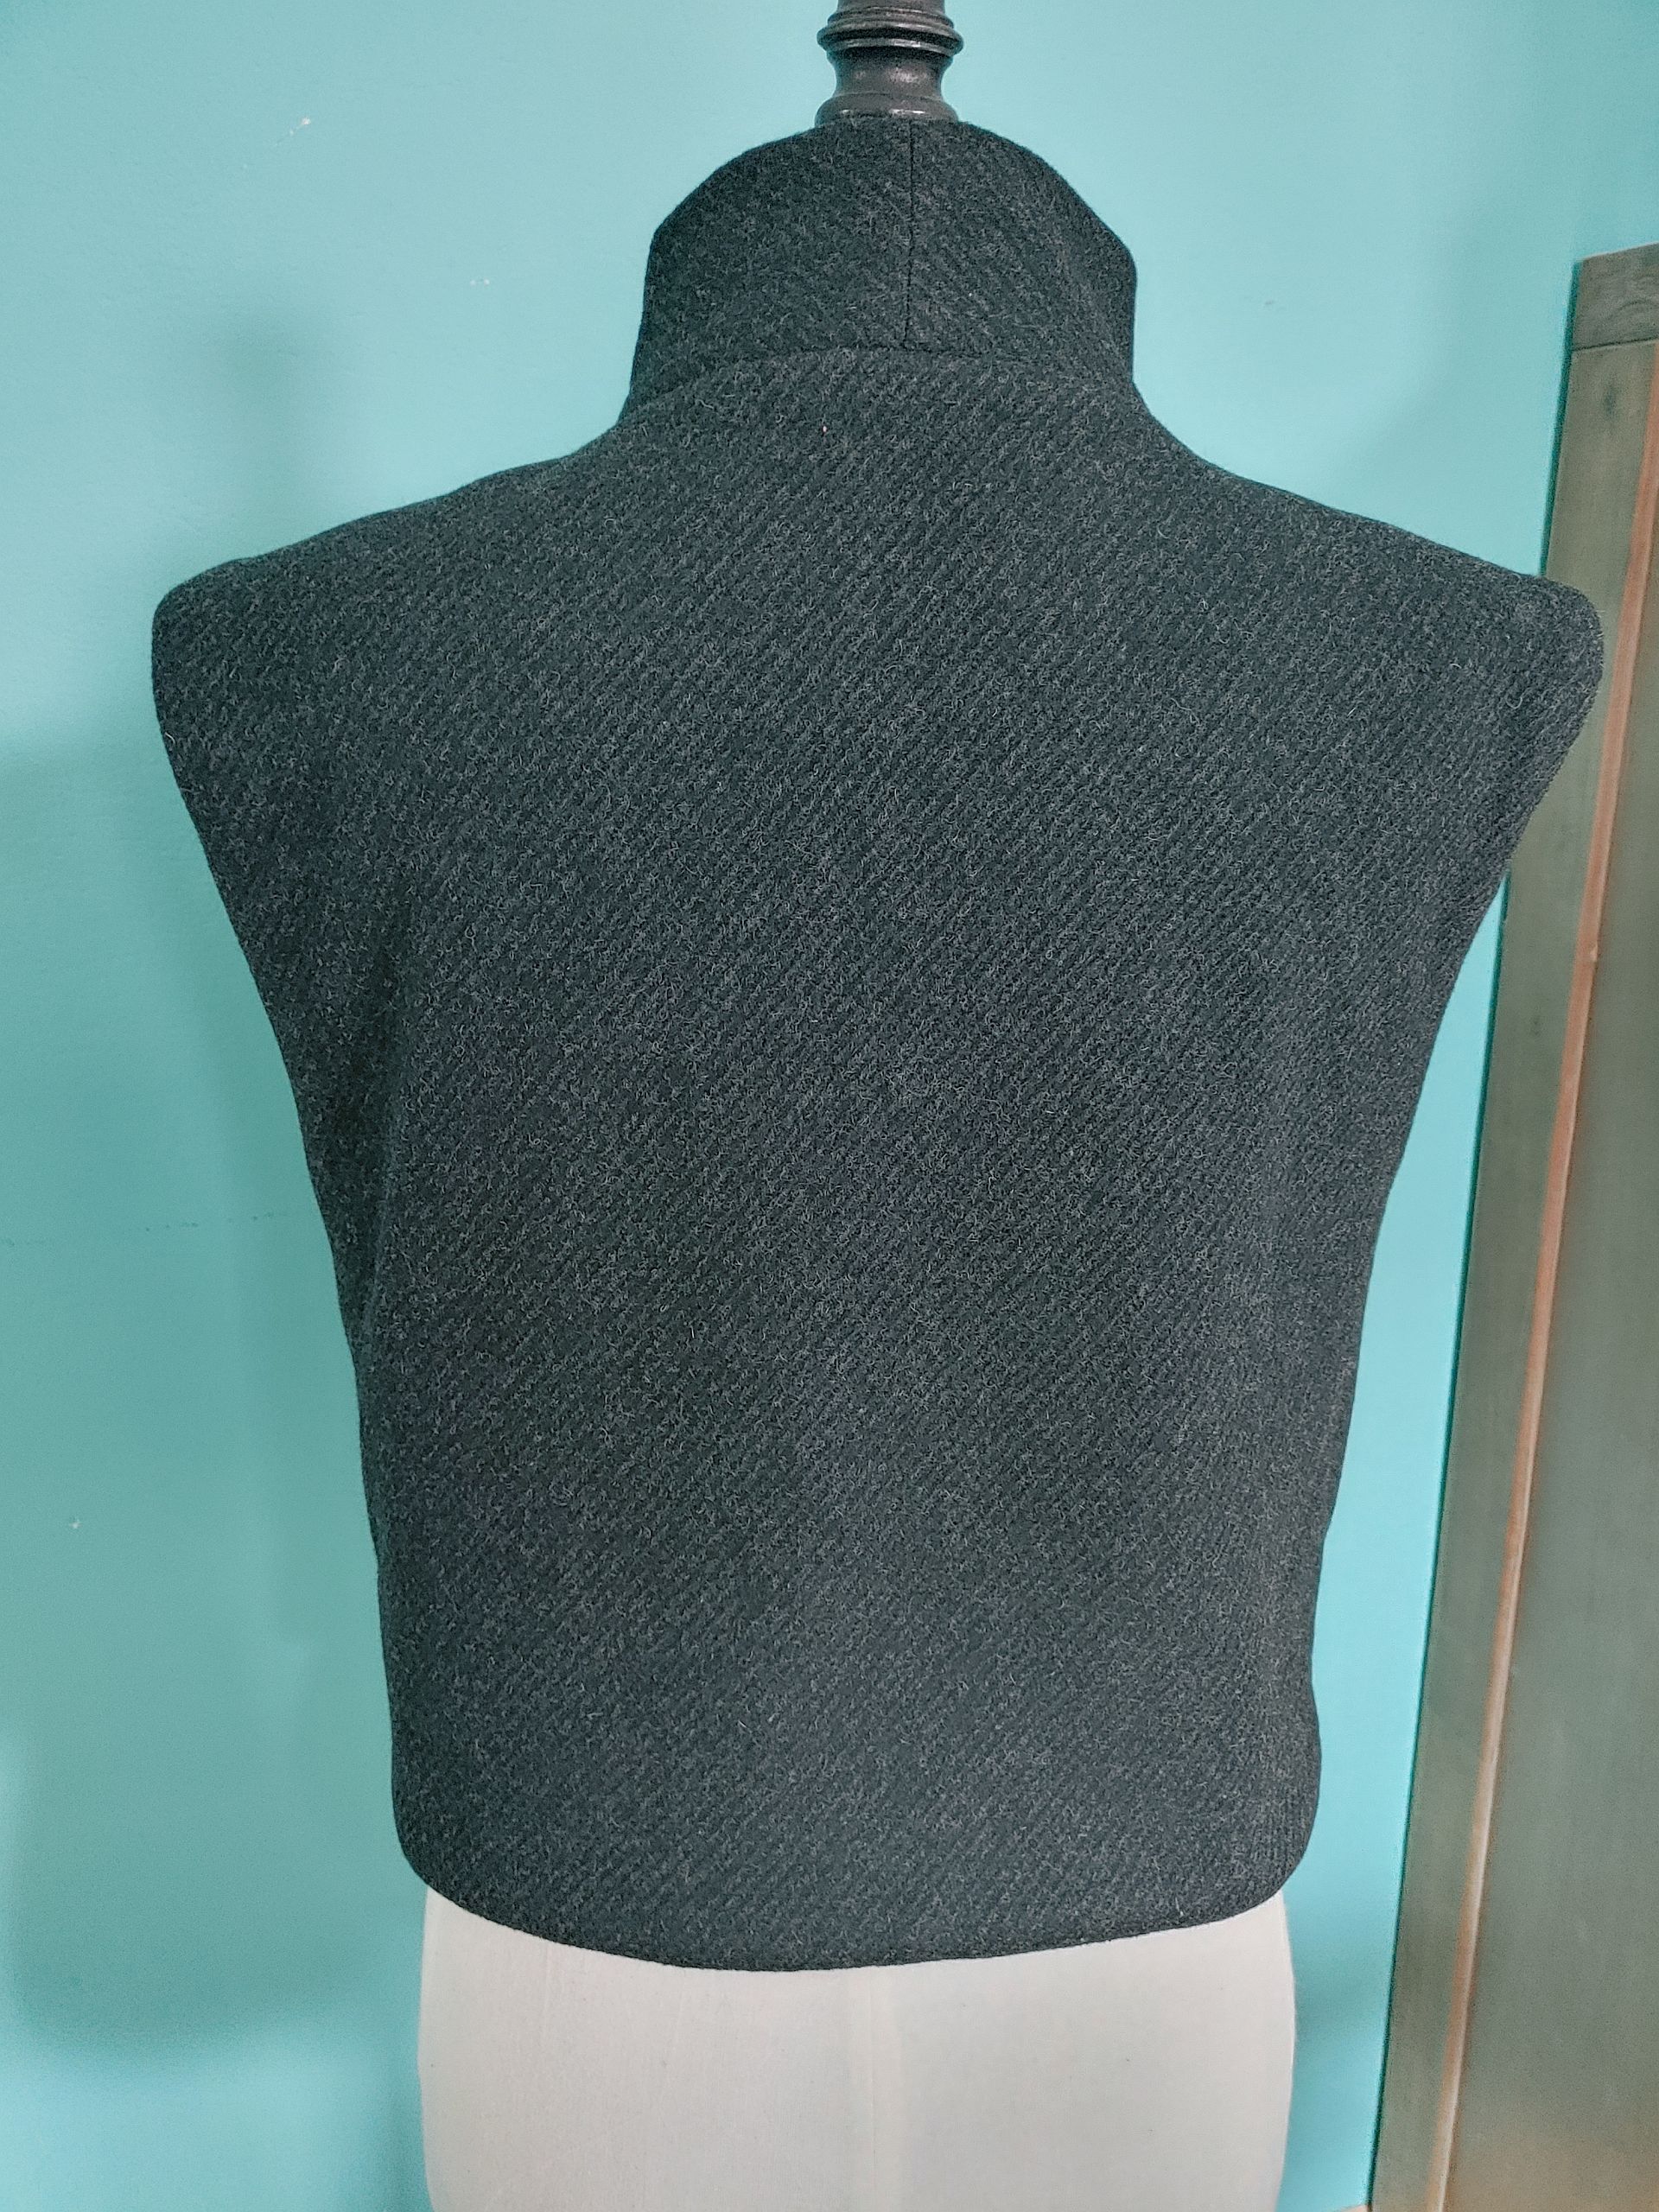
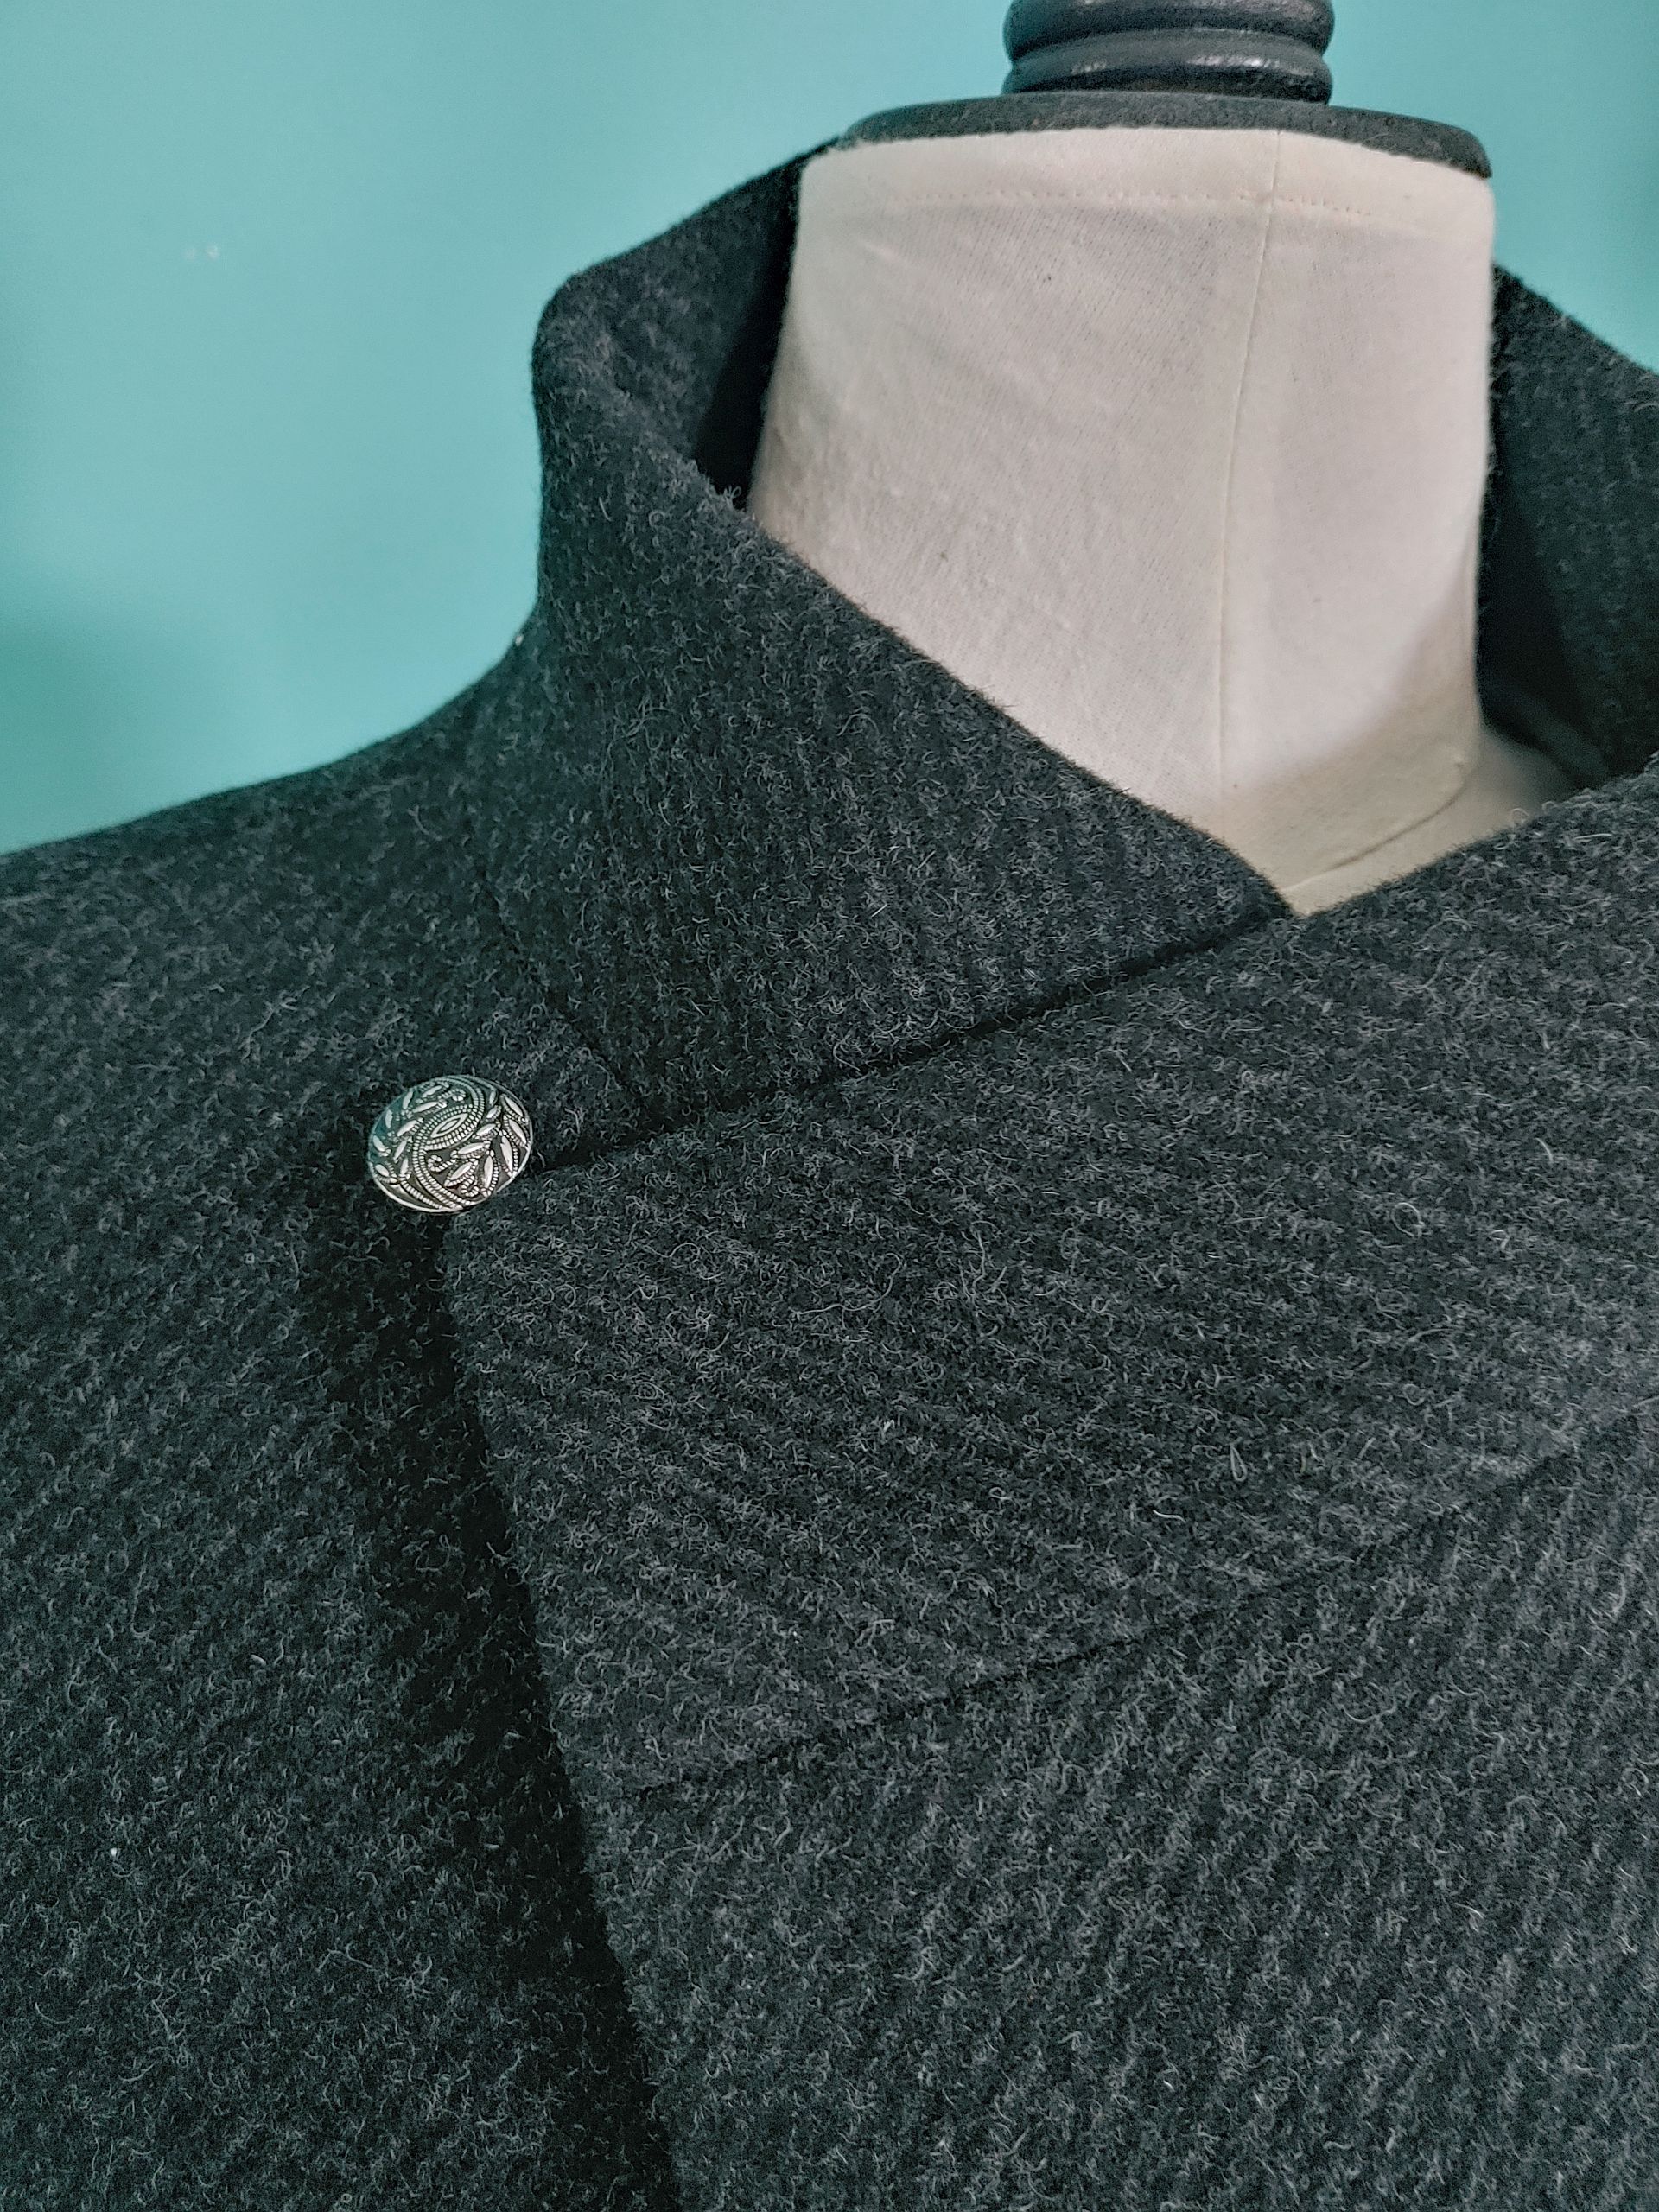
I settled on the fur vest from Model 28 in Simplicity Naaimode 31, also known as view D of Simplicity 8218. I went through my stash and decided that I wanted neutral colours, black and gray maybe? So I pulled a number of options and started putting the pattern pieces on. In the end, I chose a thick gray fabric that had some bits cut out already and a thick black fabric that also had some parts cut out before. I think I inherited these when a friend tried to de-stash.
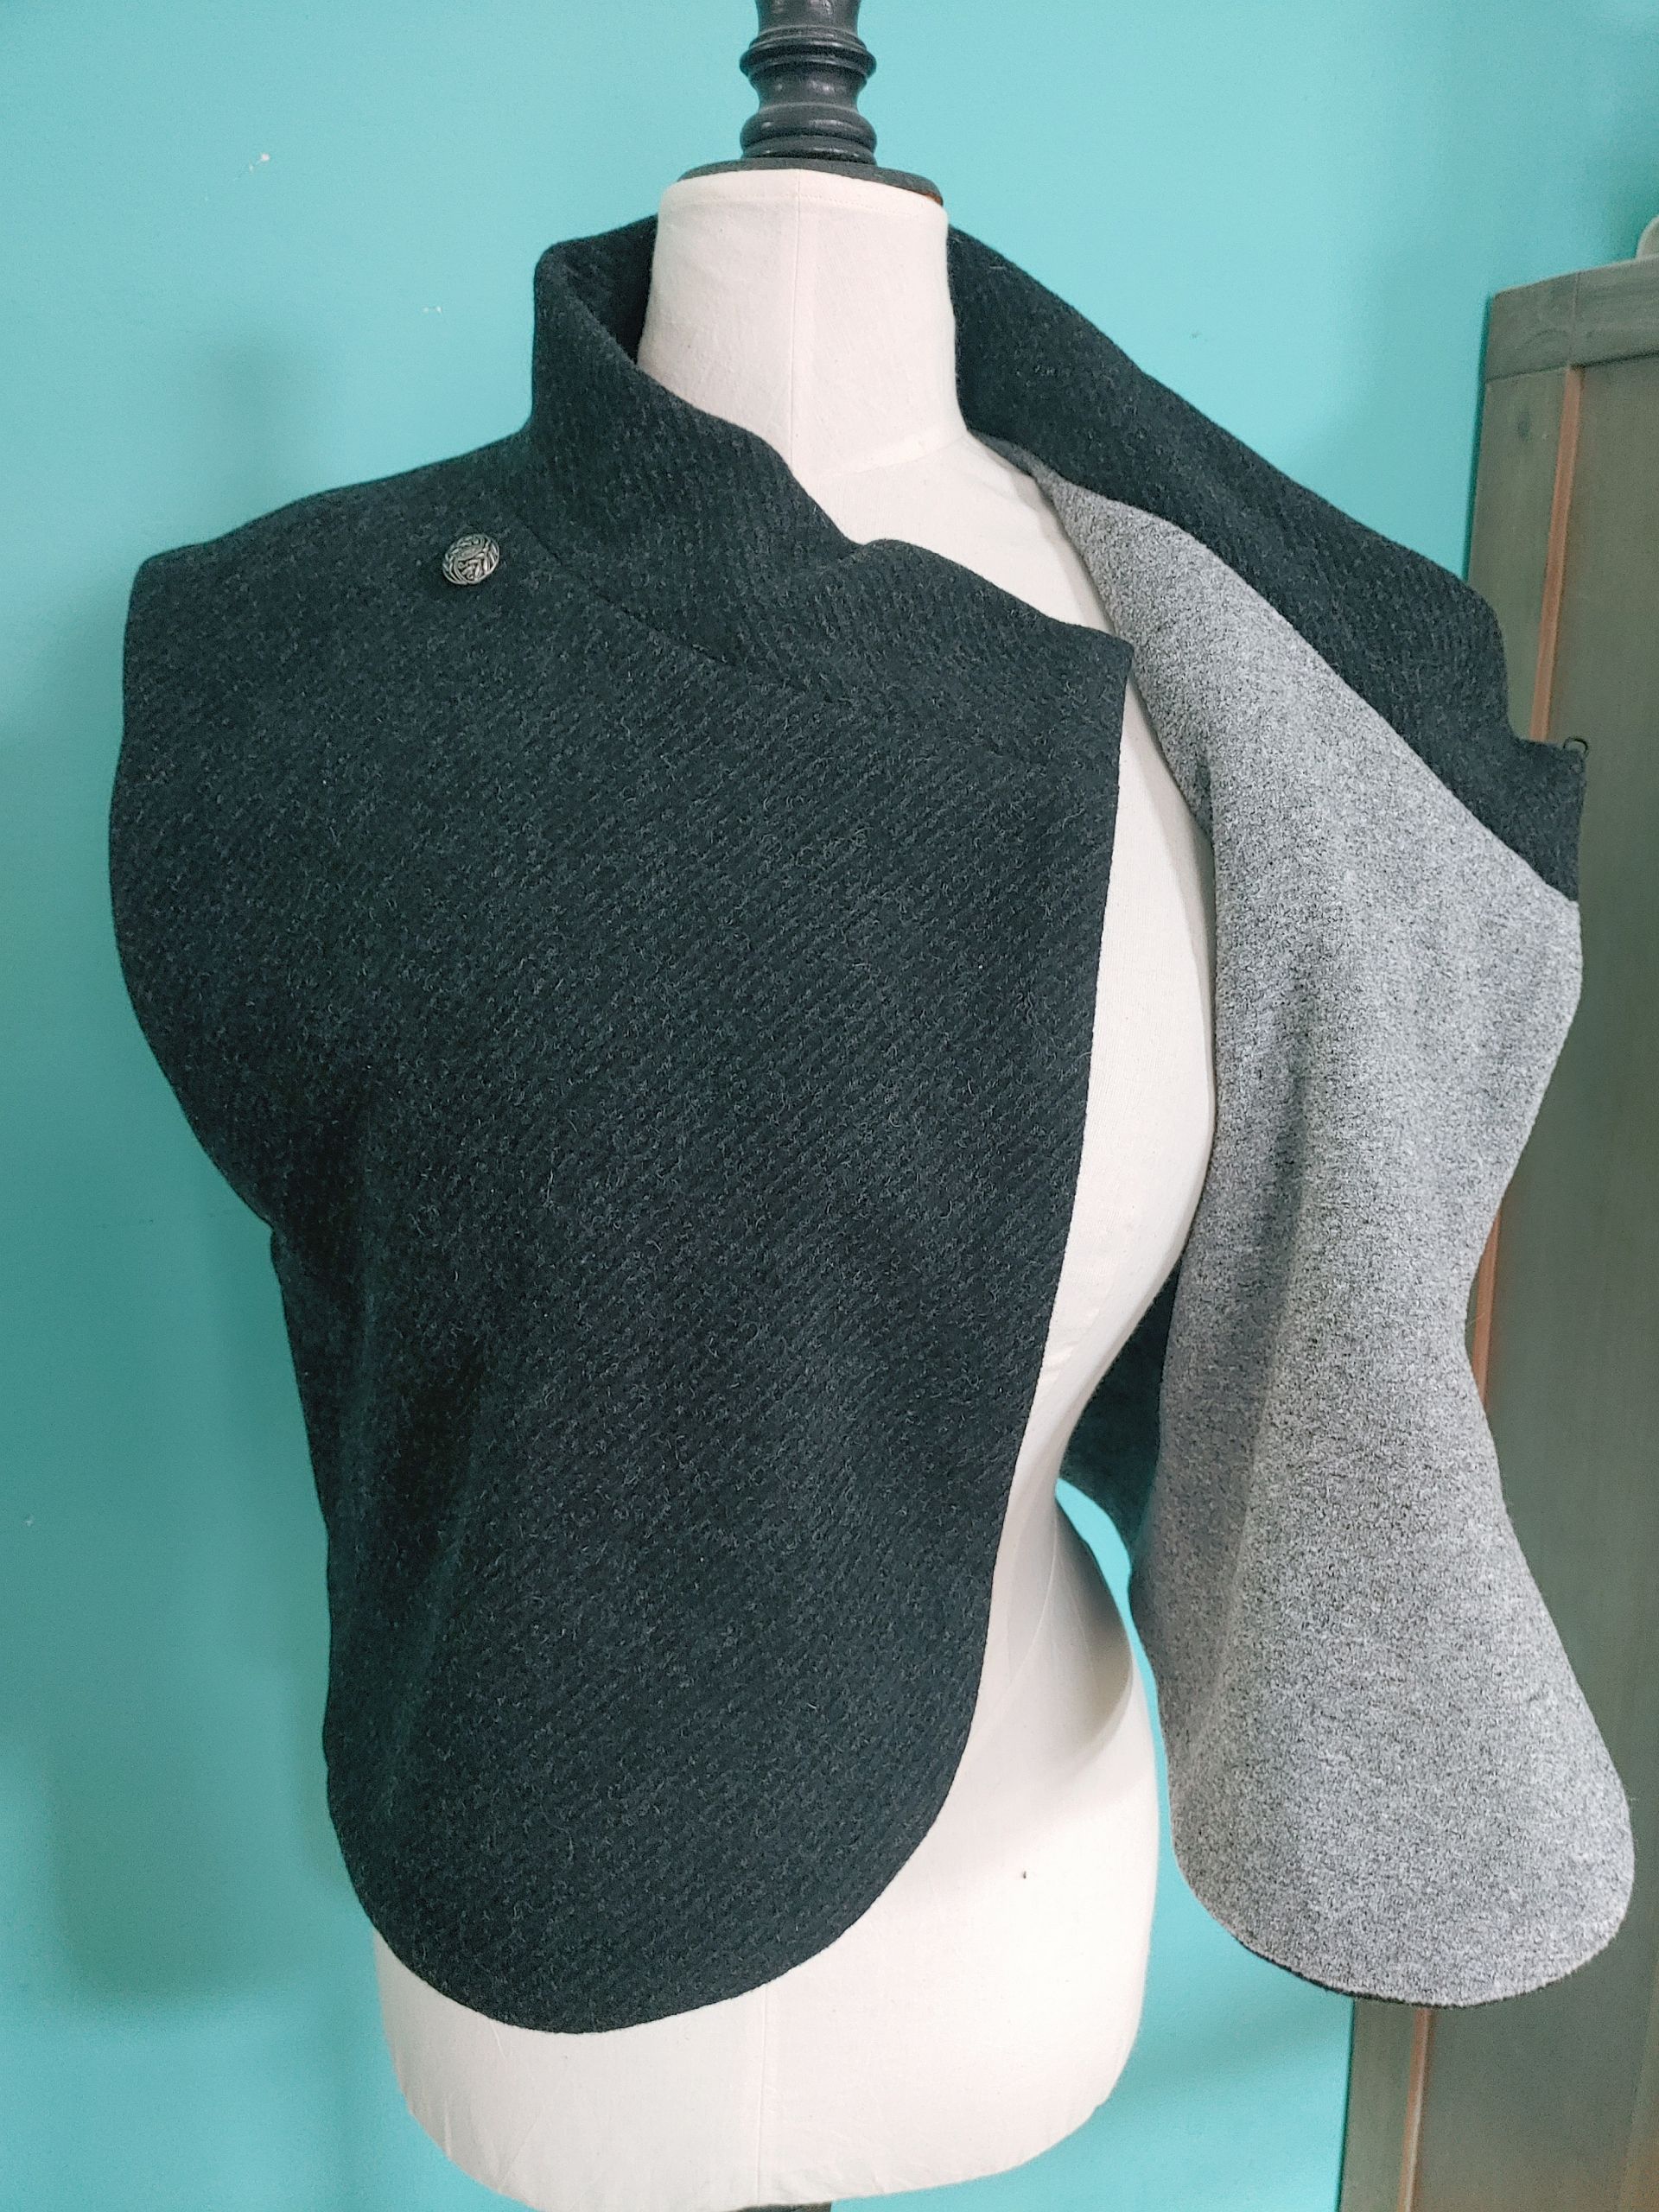
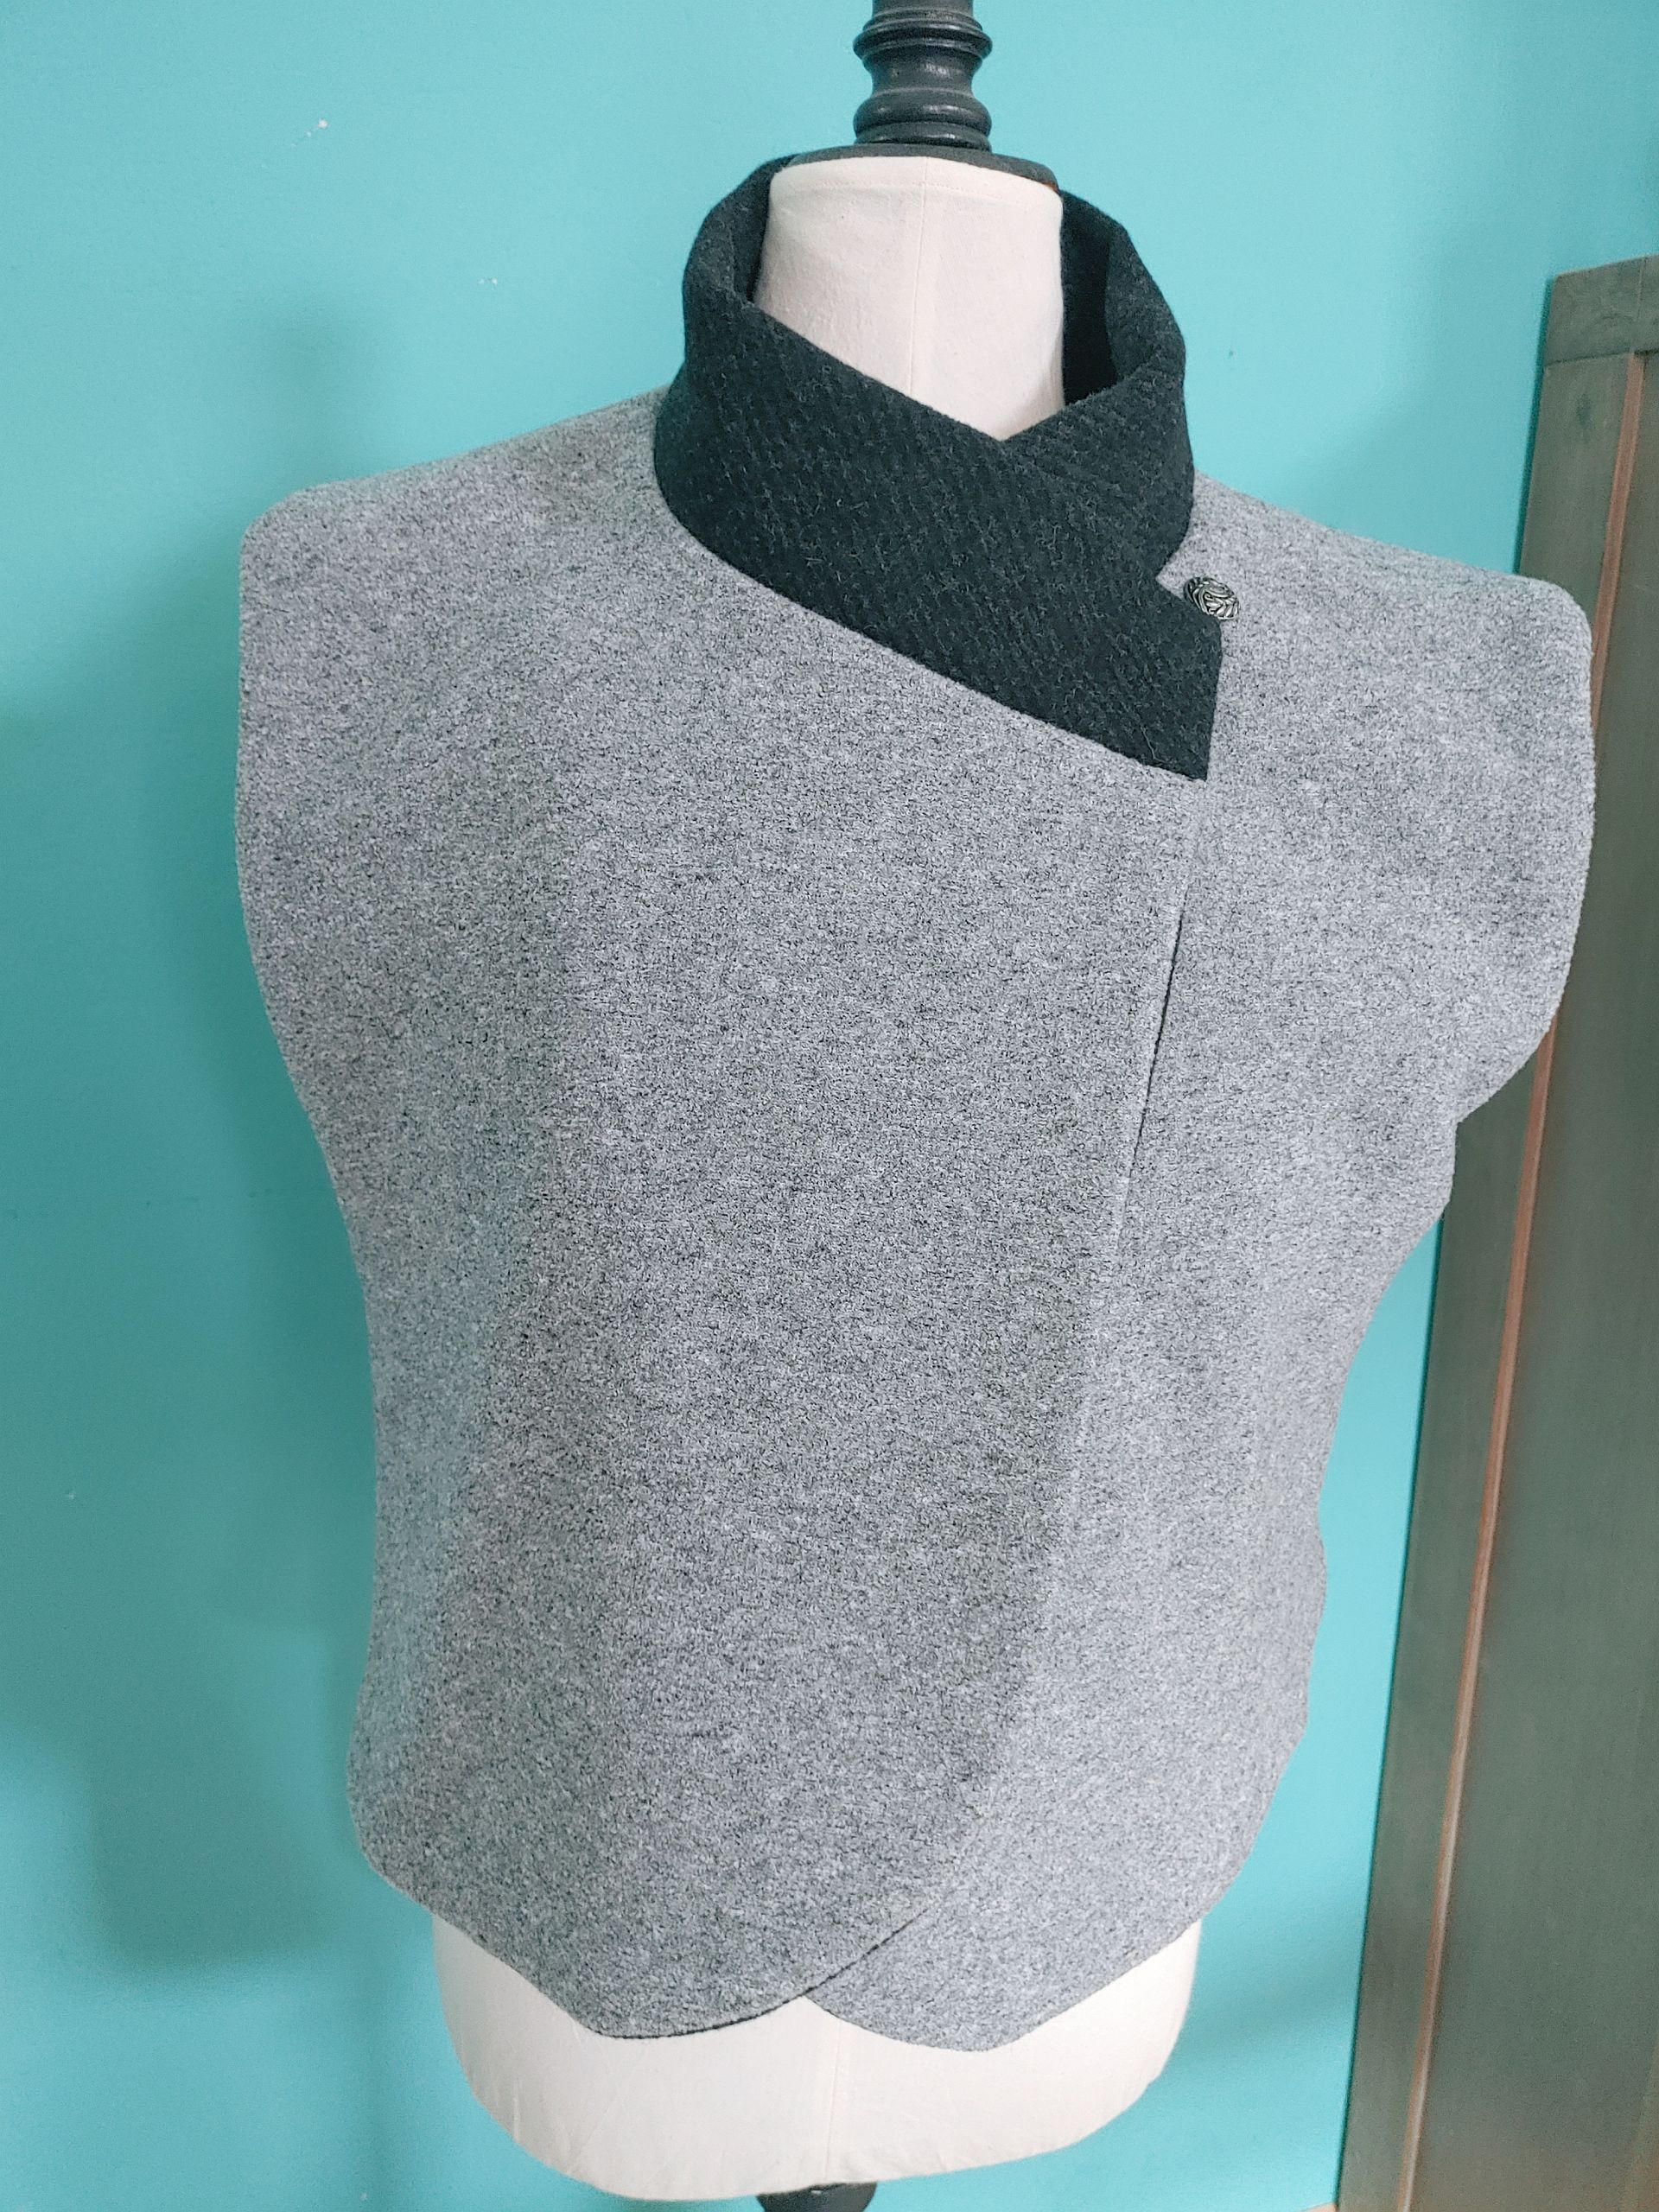
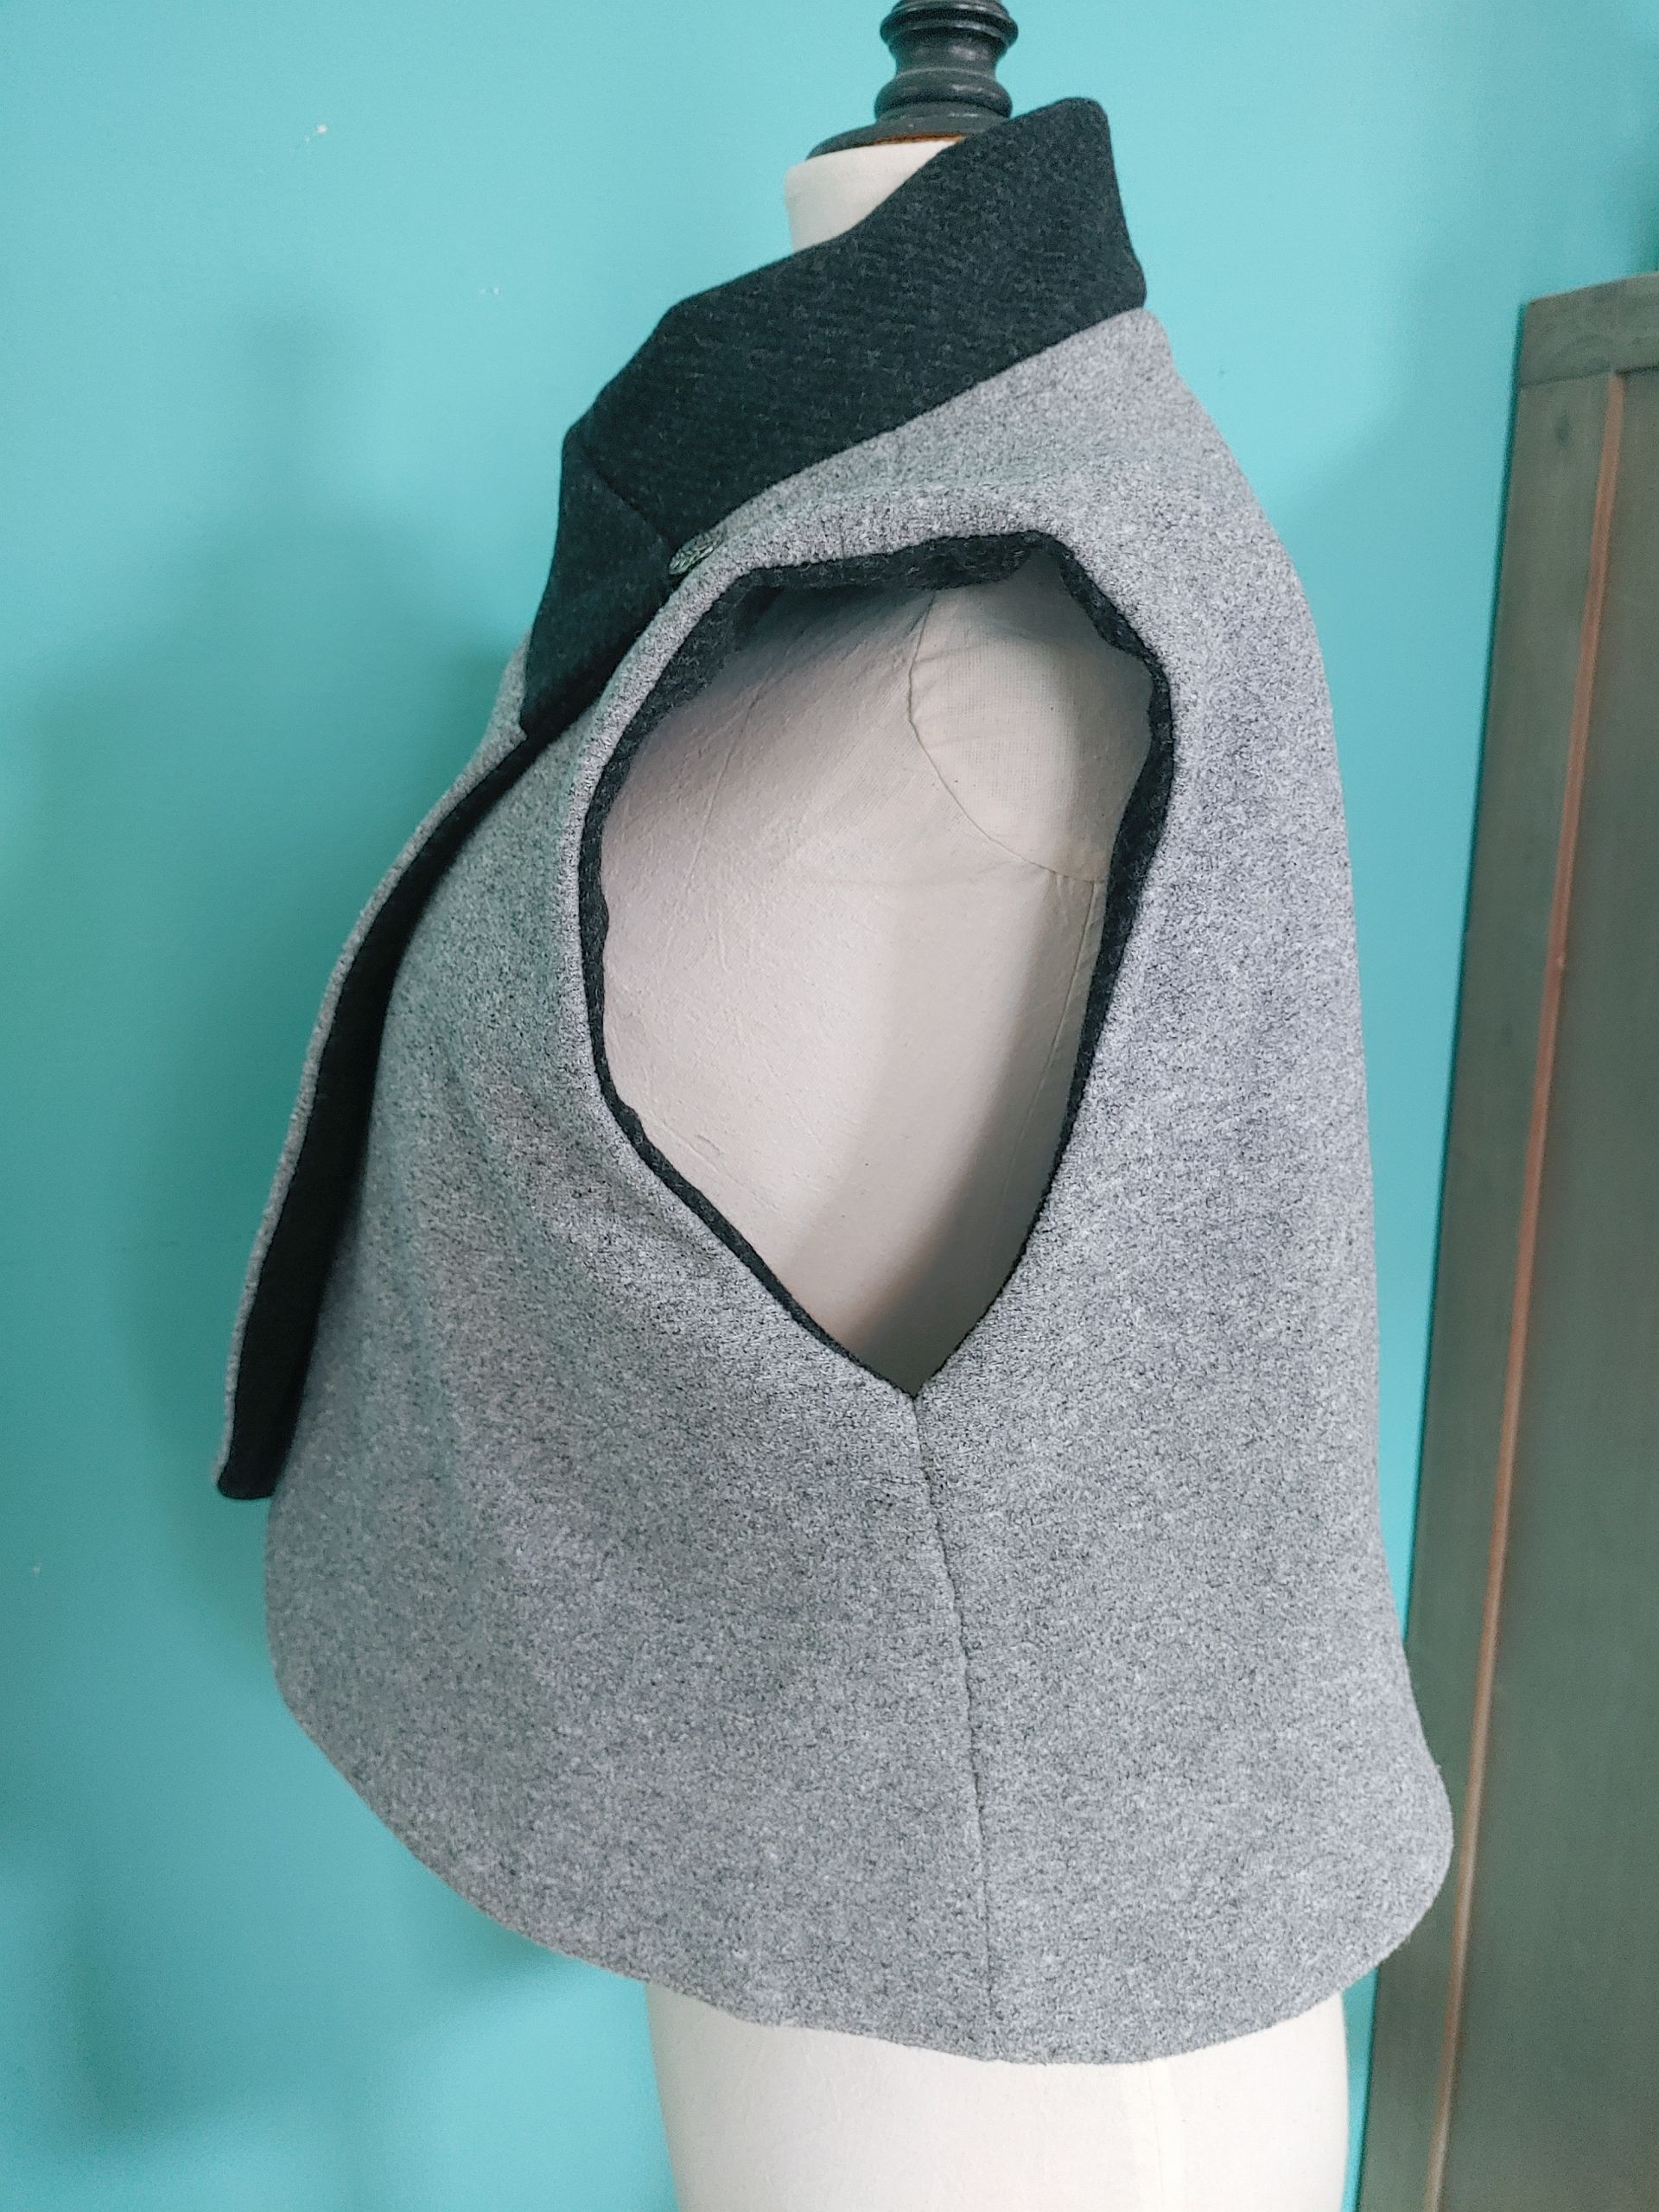
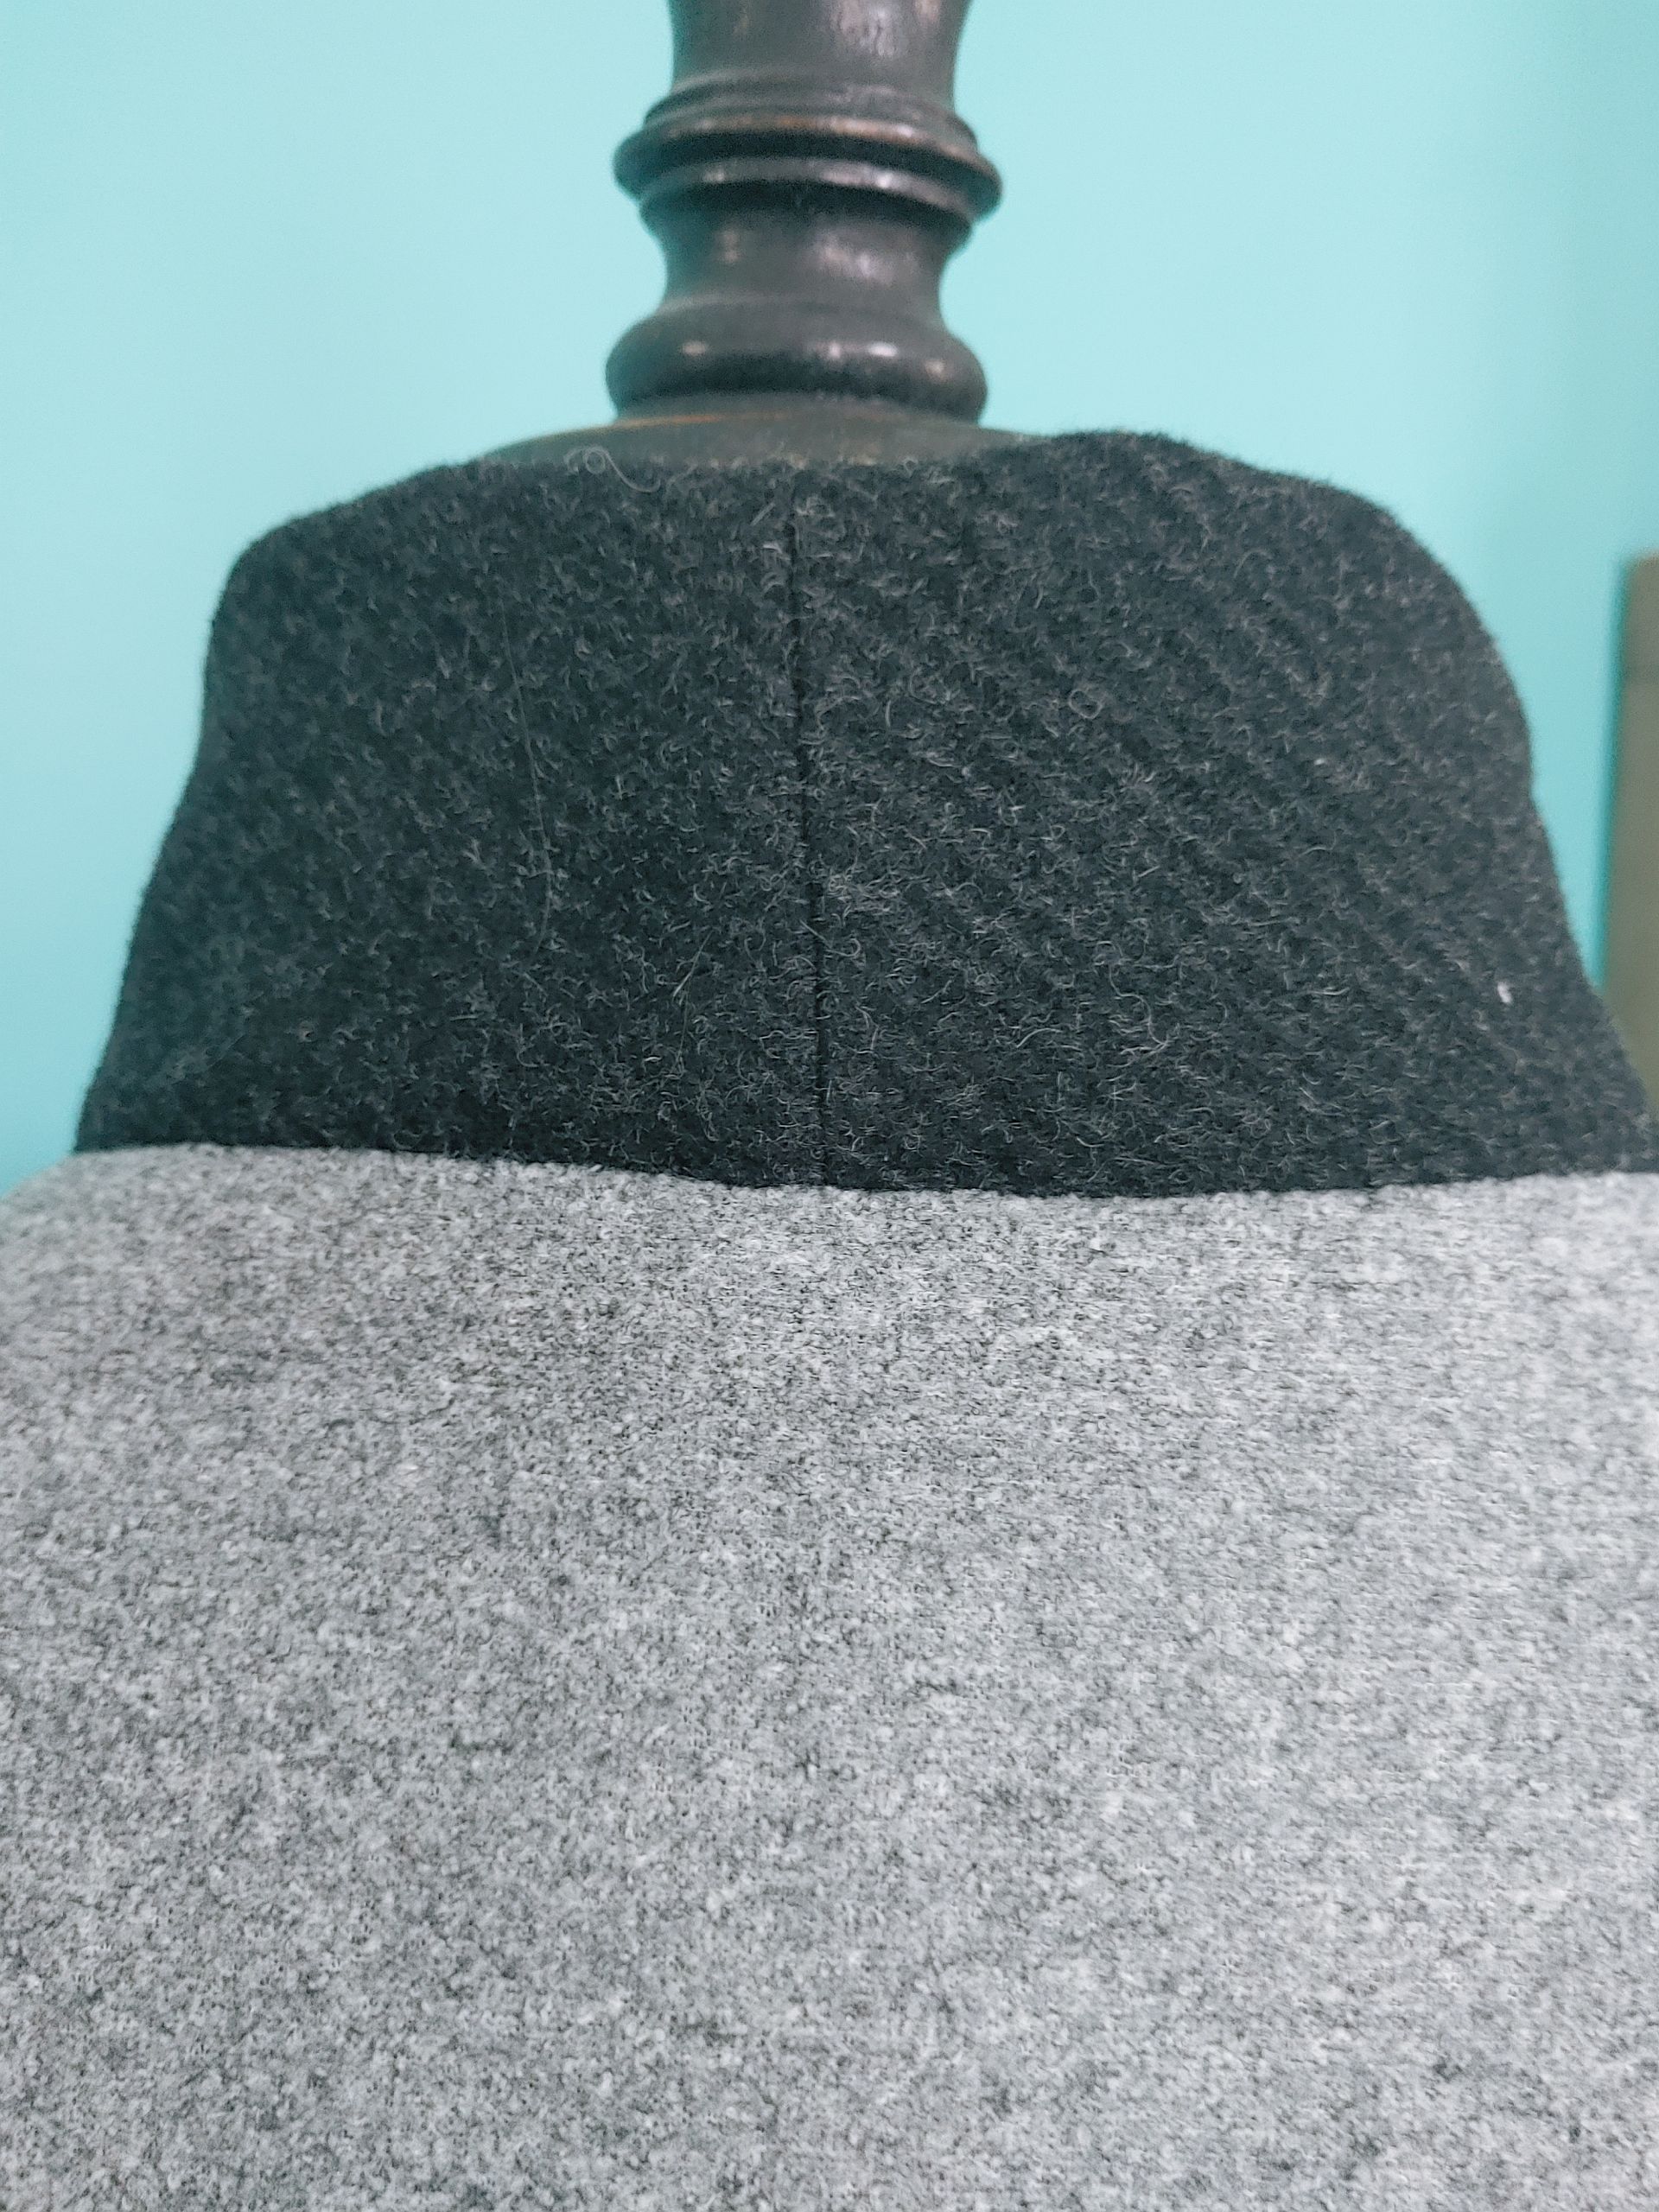
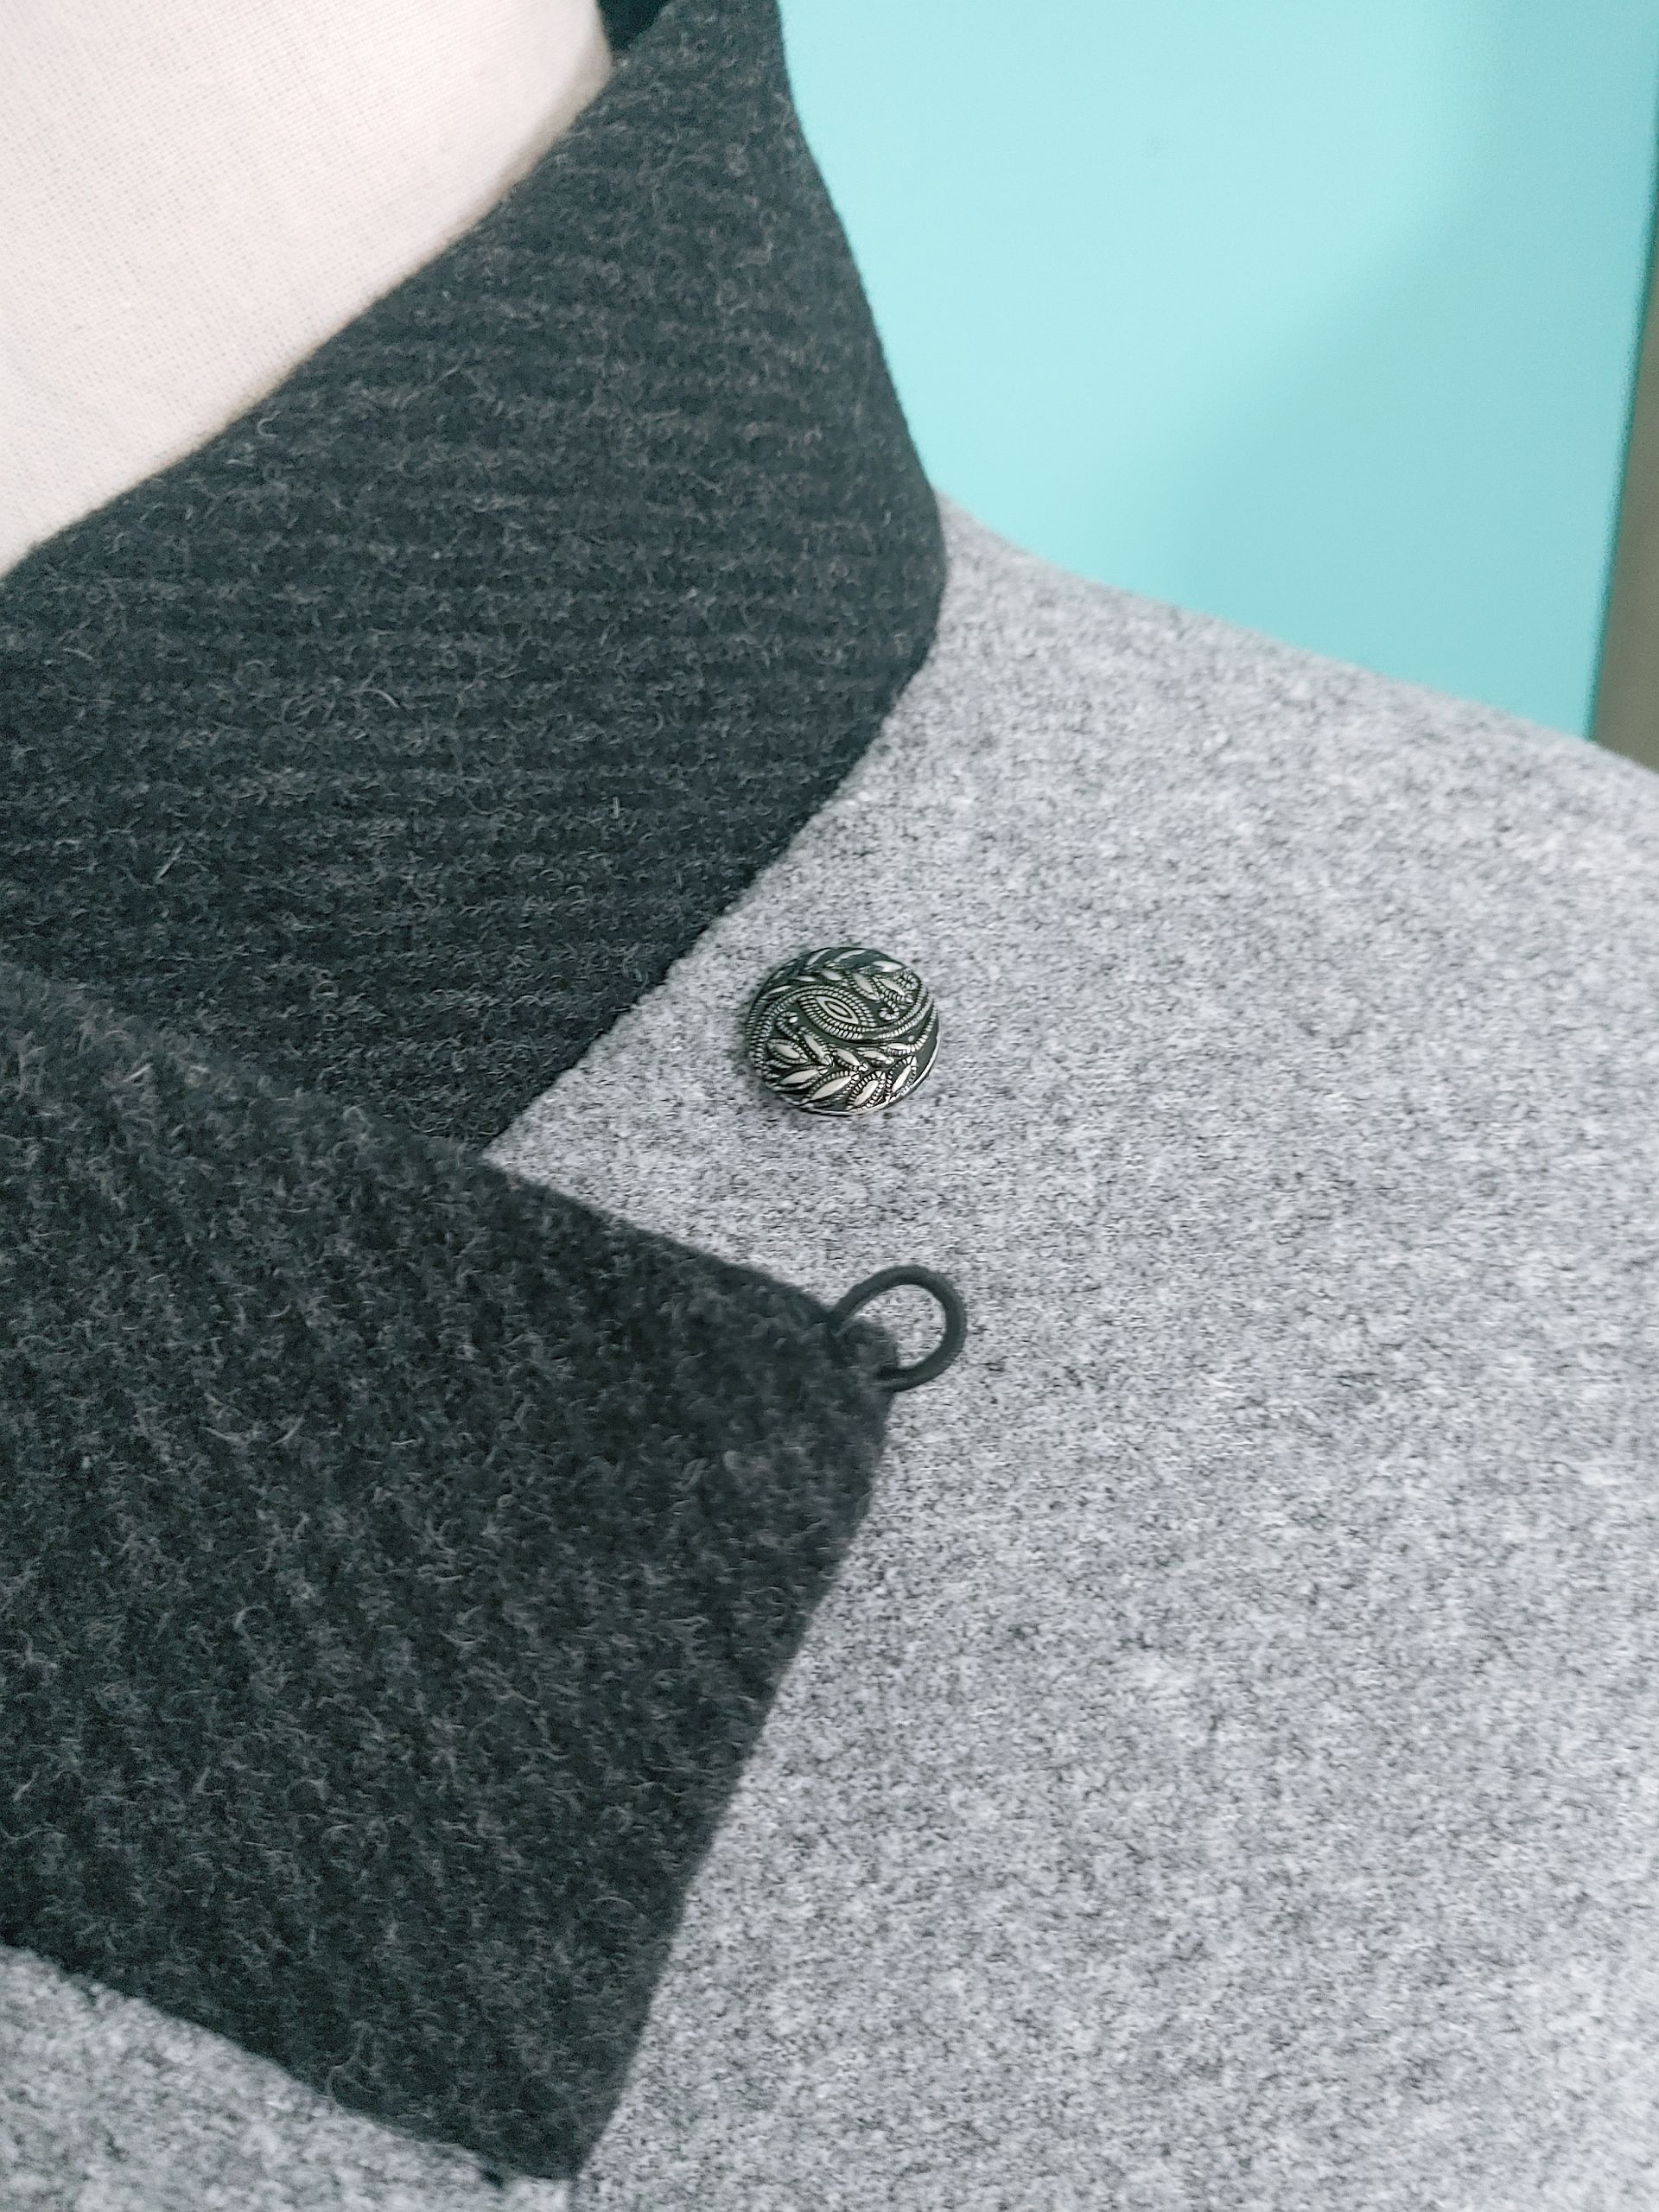
For the outside, I chose the black and I cut the two fronts, the back and the collar. The gray was the inside and since the collar was a folded one, only two fronts and a back were needed. Since everything is enclosed, I thought that it would even be possible to wear the gray on the outside. To achieve this, I added a little elastic loop to one edge. Then two buttons were positioned, one on the inside and one on the outside to keep the little vest closed. I think the buttons are very cute.
I have worn this thing a lot over the course of the past few months, it’s truly been a warmth saver and makes me so much more comfortable. It’s also slightly more elegant than the oversized bodywarmer that I’d been wearing before. All in all, good project!
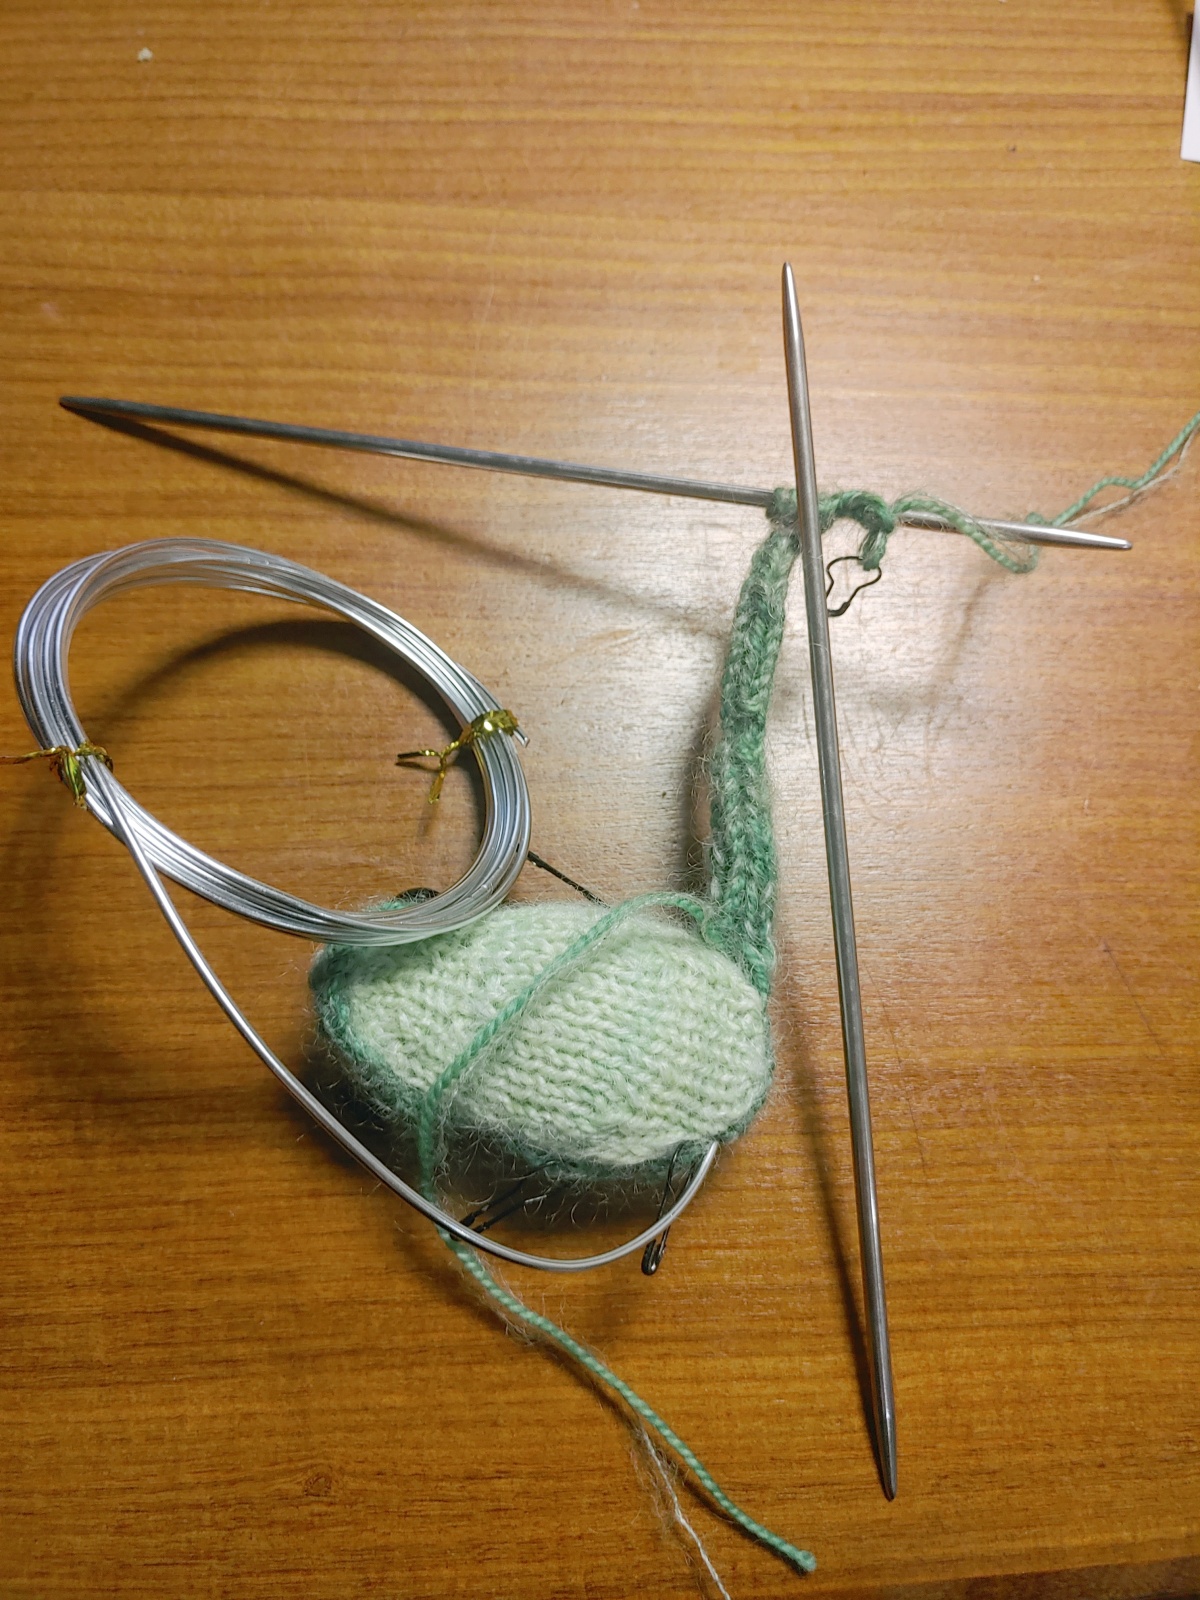
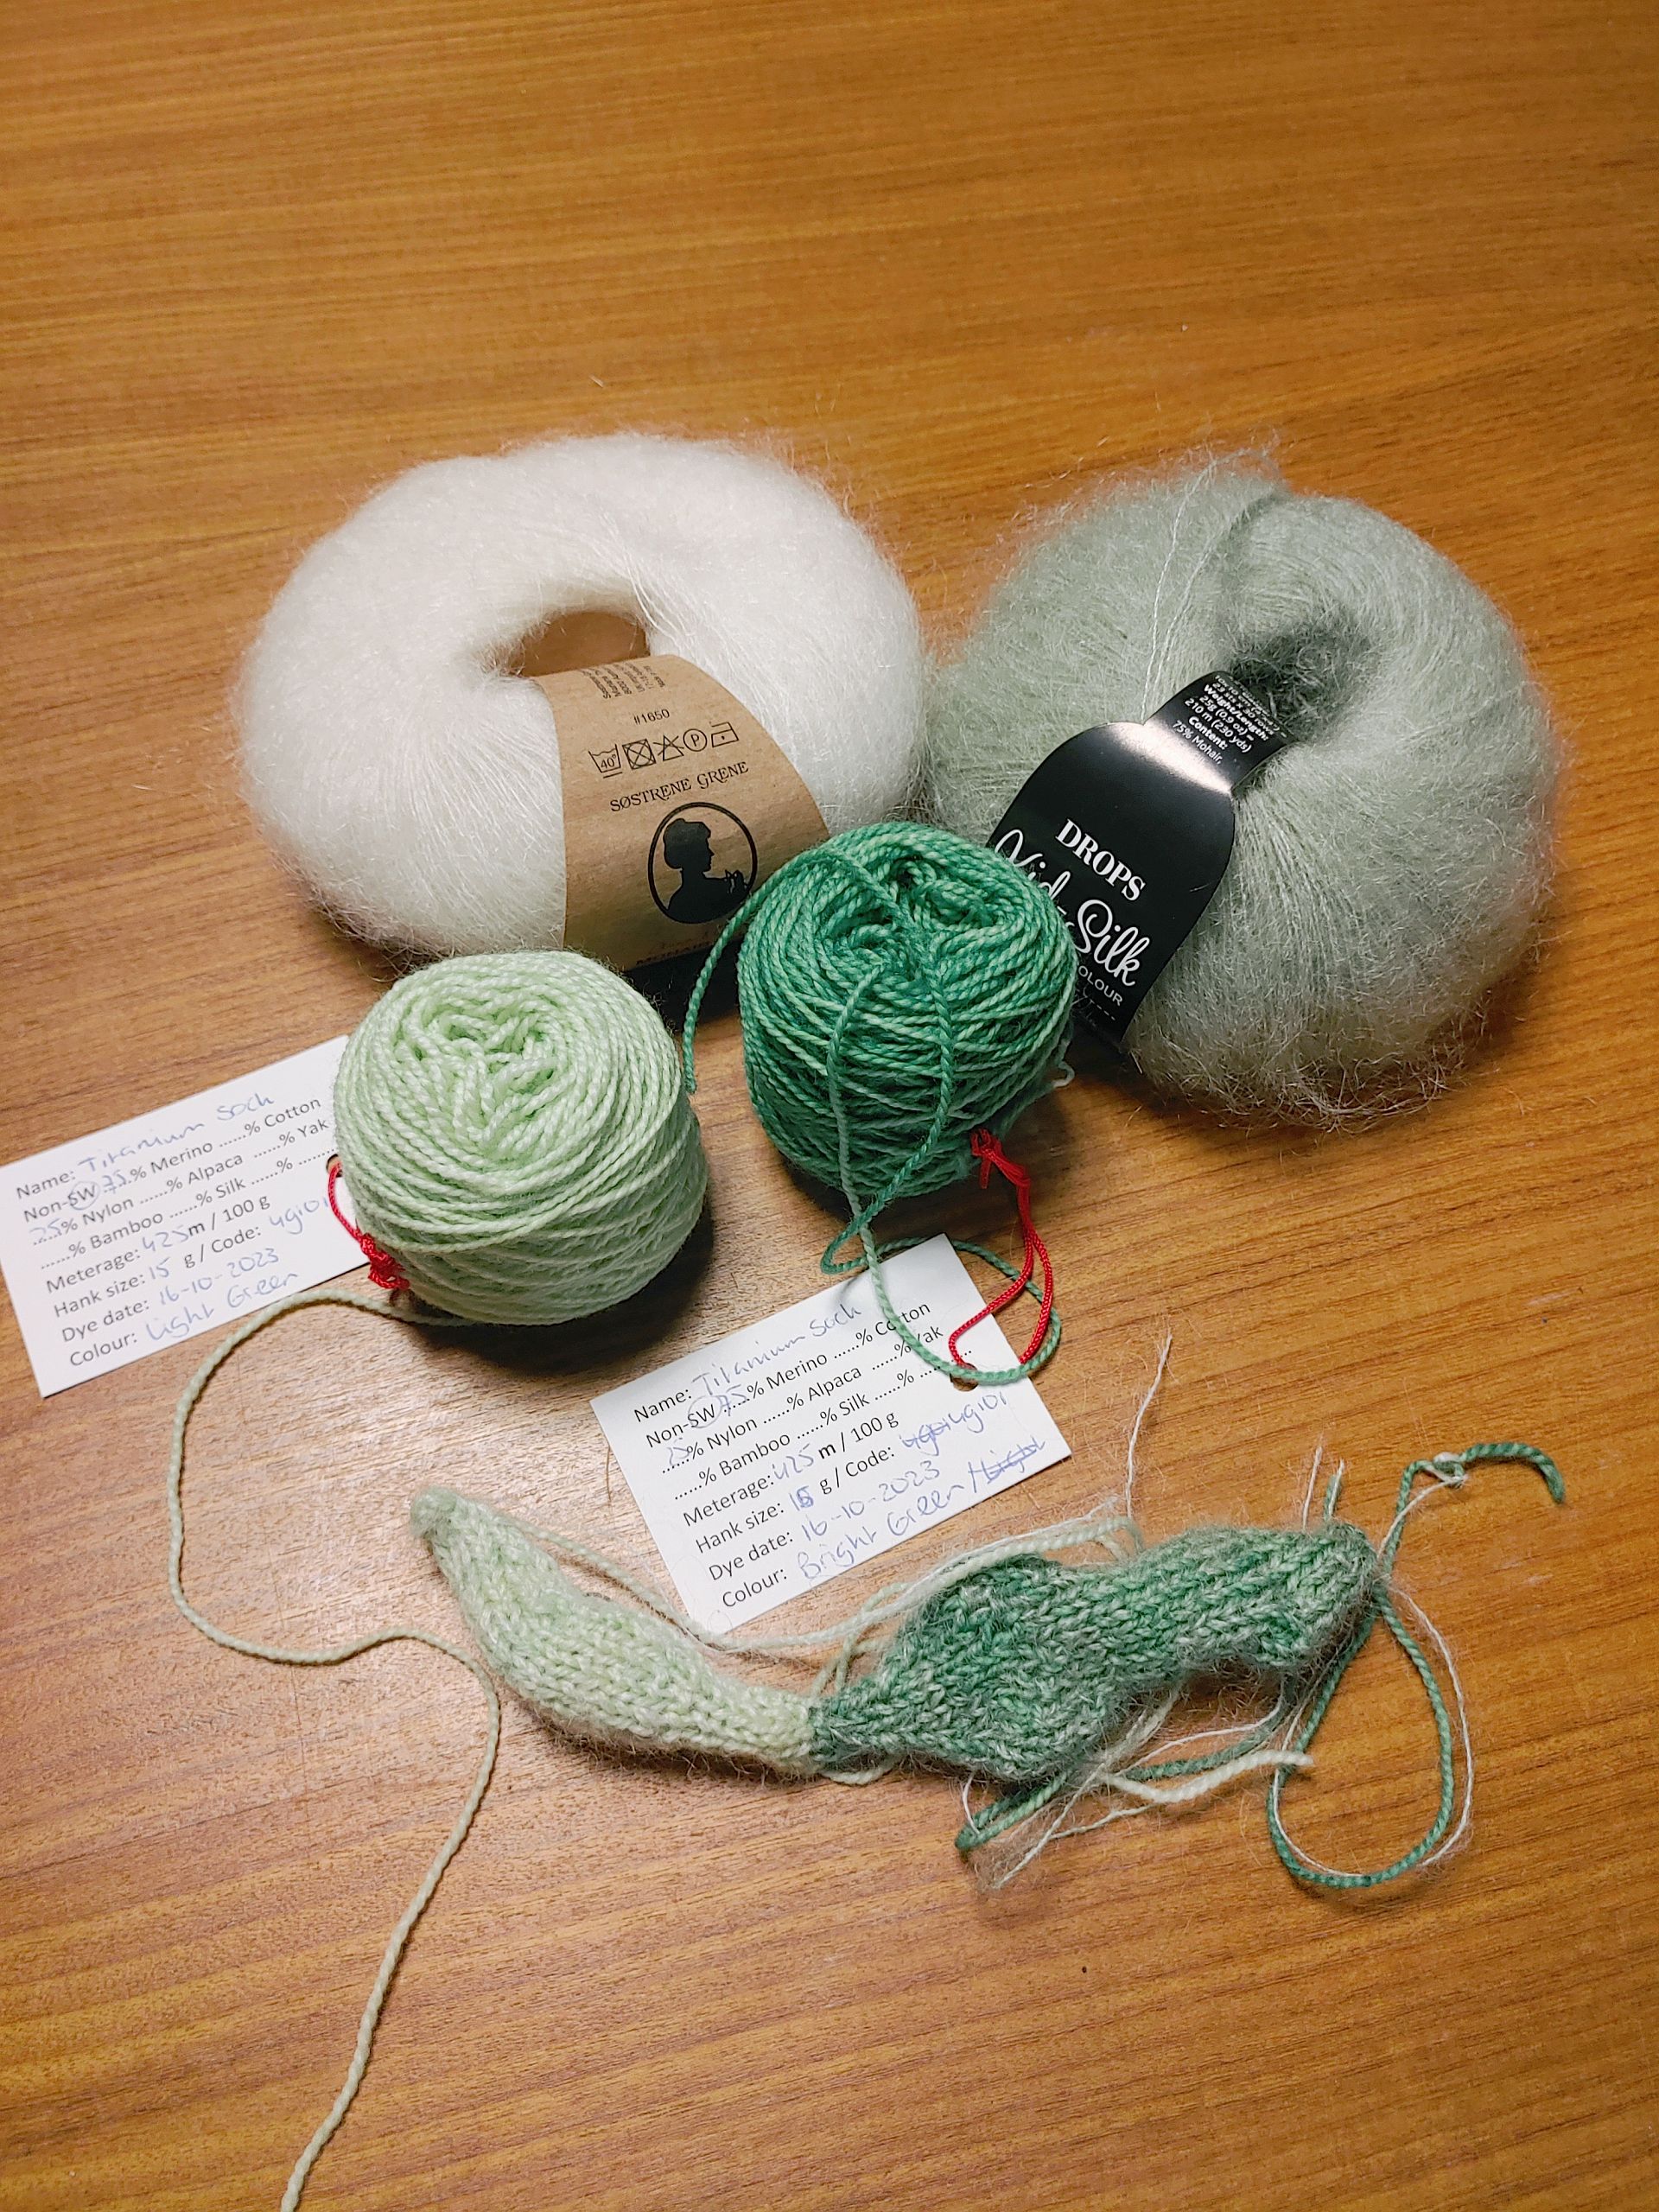
The first frog was great, but he was more toad coloured than I wanted. So I decided to get on a new frog. This started by dying some yarn bright green and slightly lighter green. I think I measured ten grams from a skein of Titanium Sock yarn and then dropped it into a green bath. It didn’t exhaust entirely, so I dropped 10 more grams in to make some light green yarn.
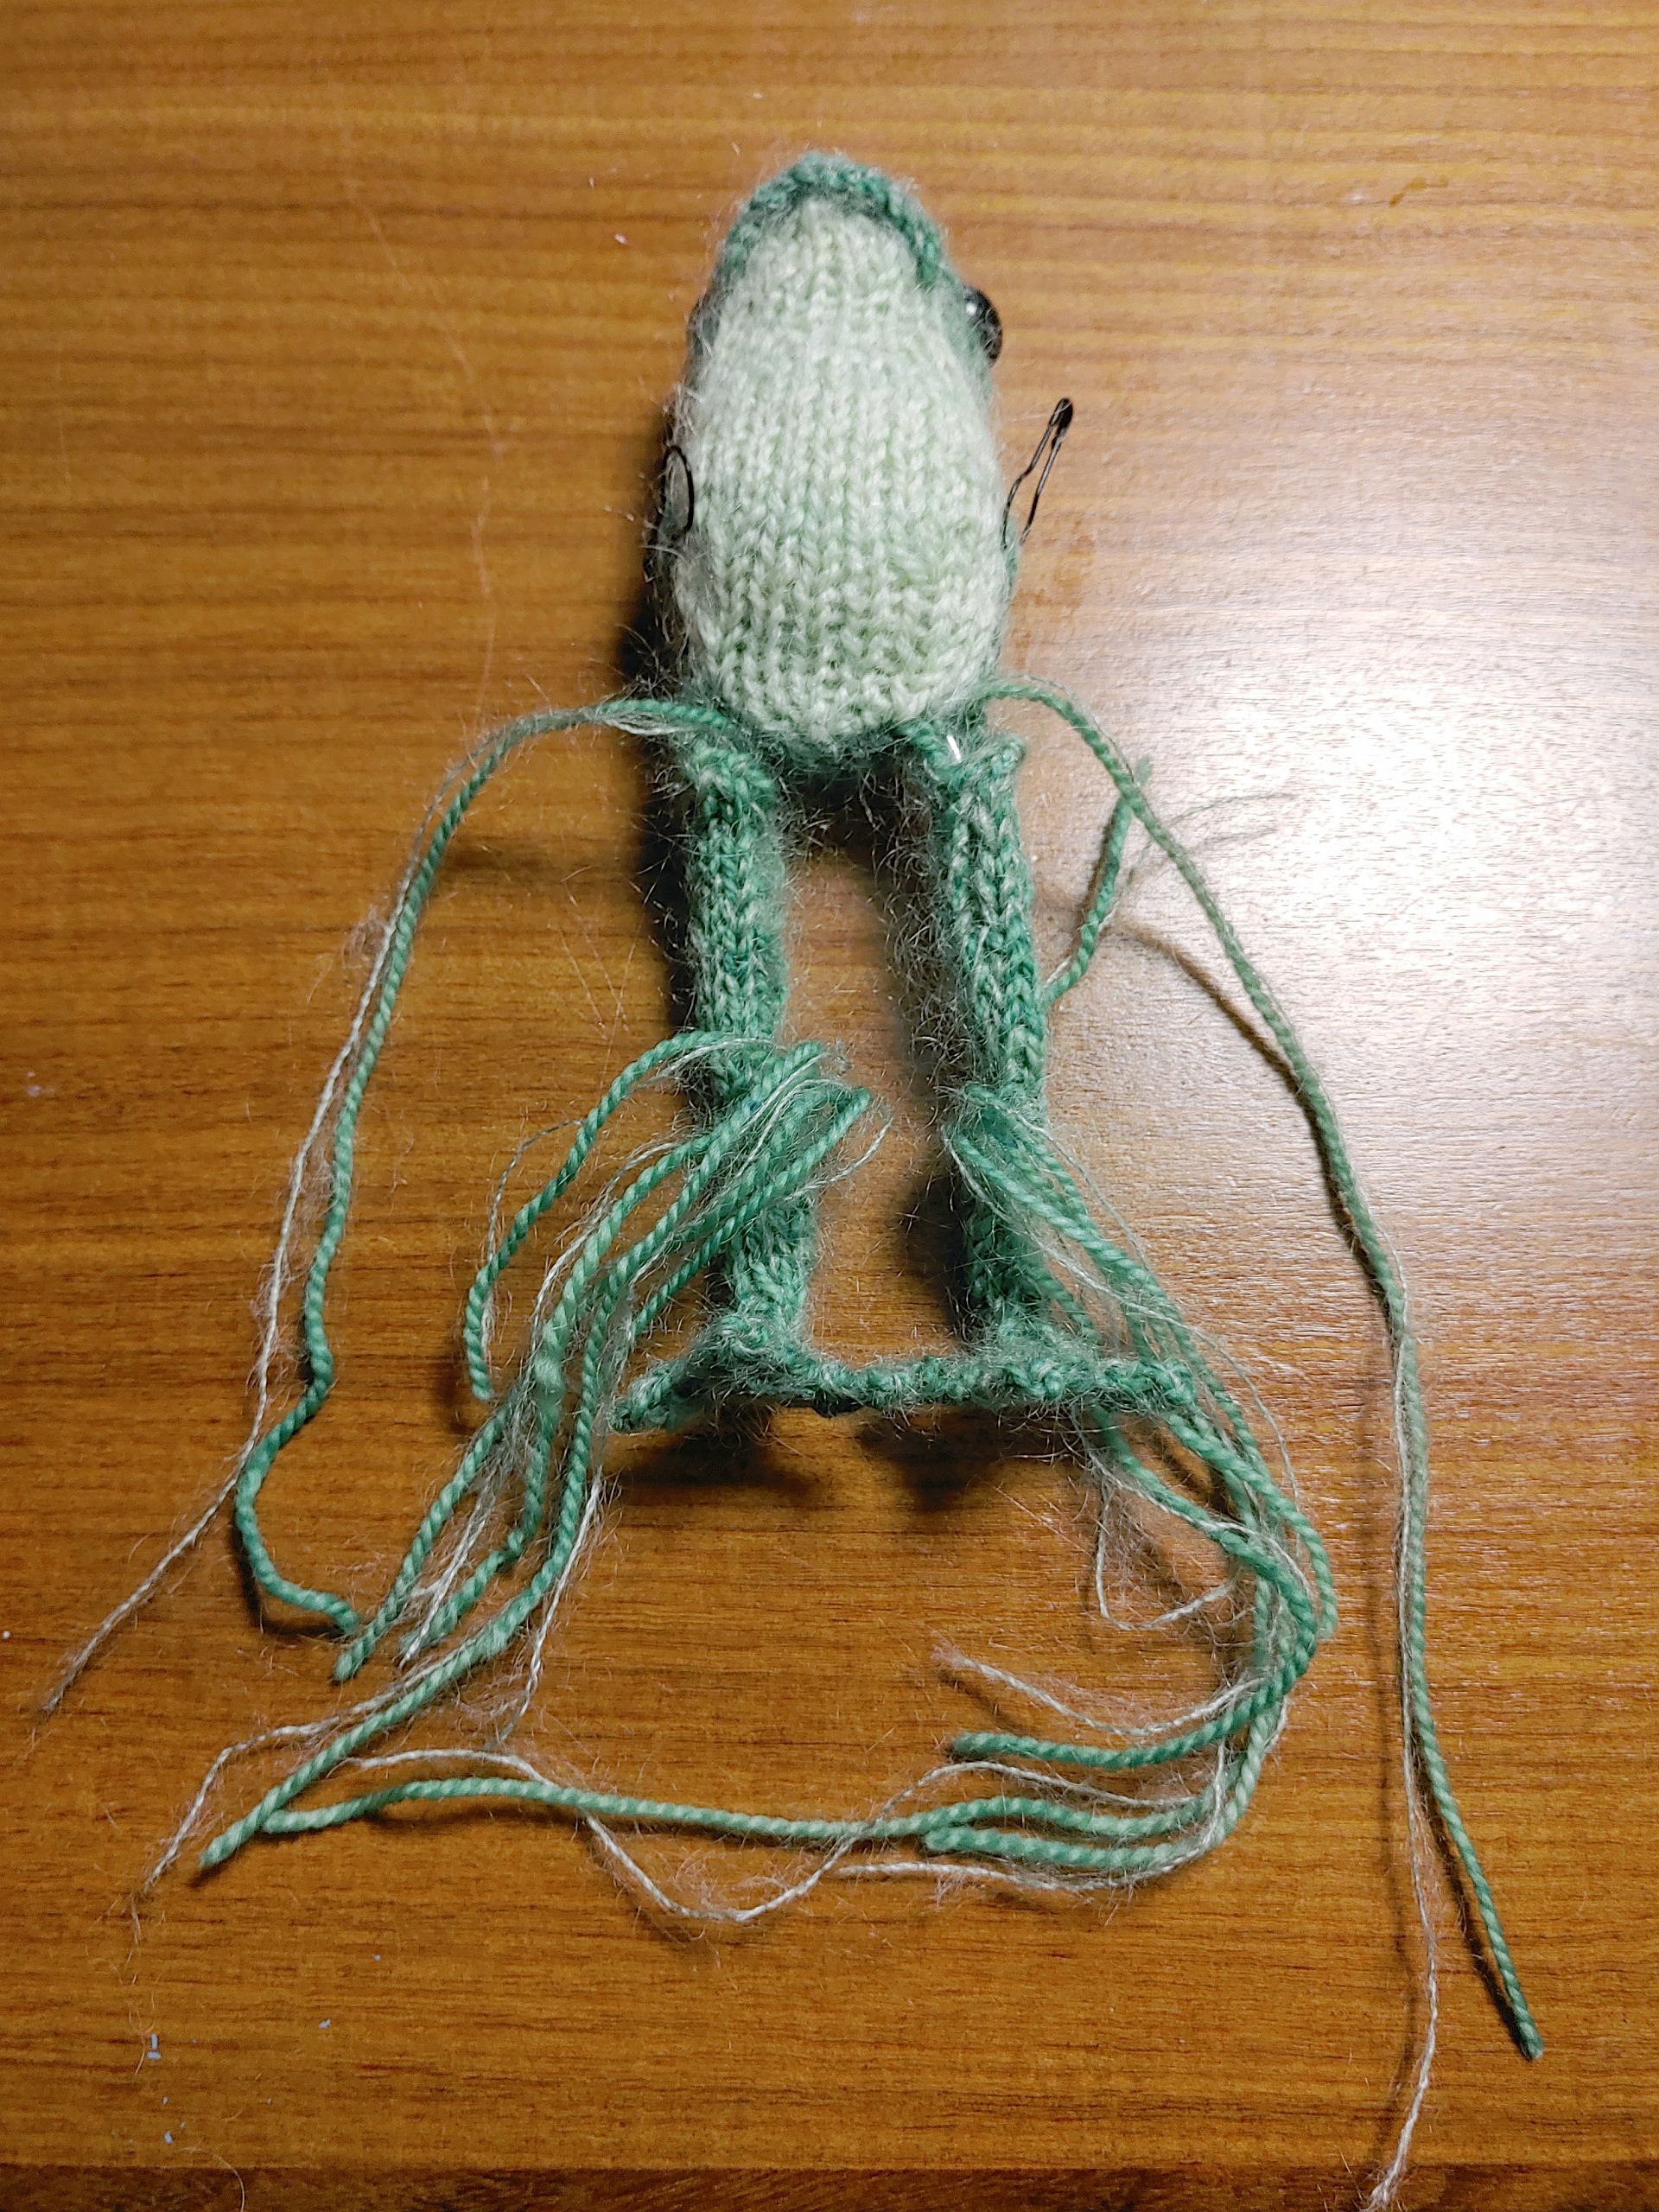
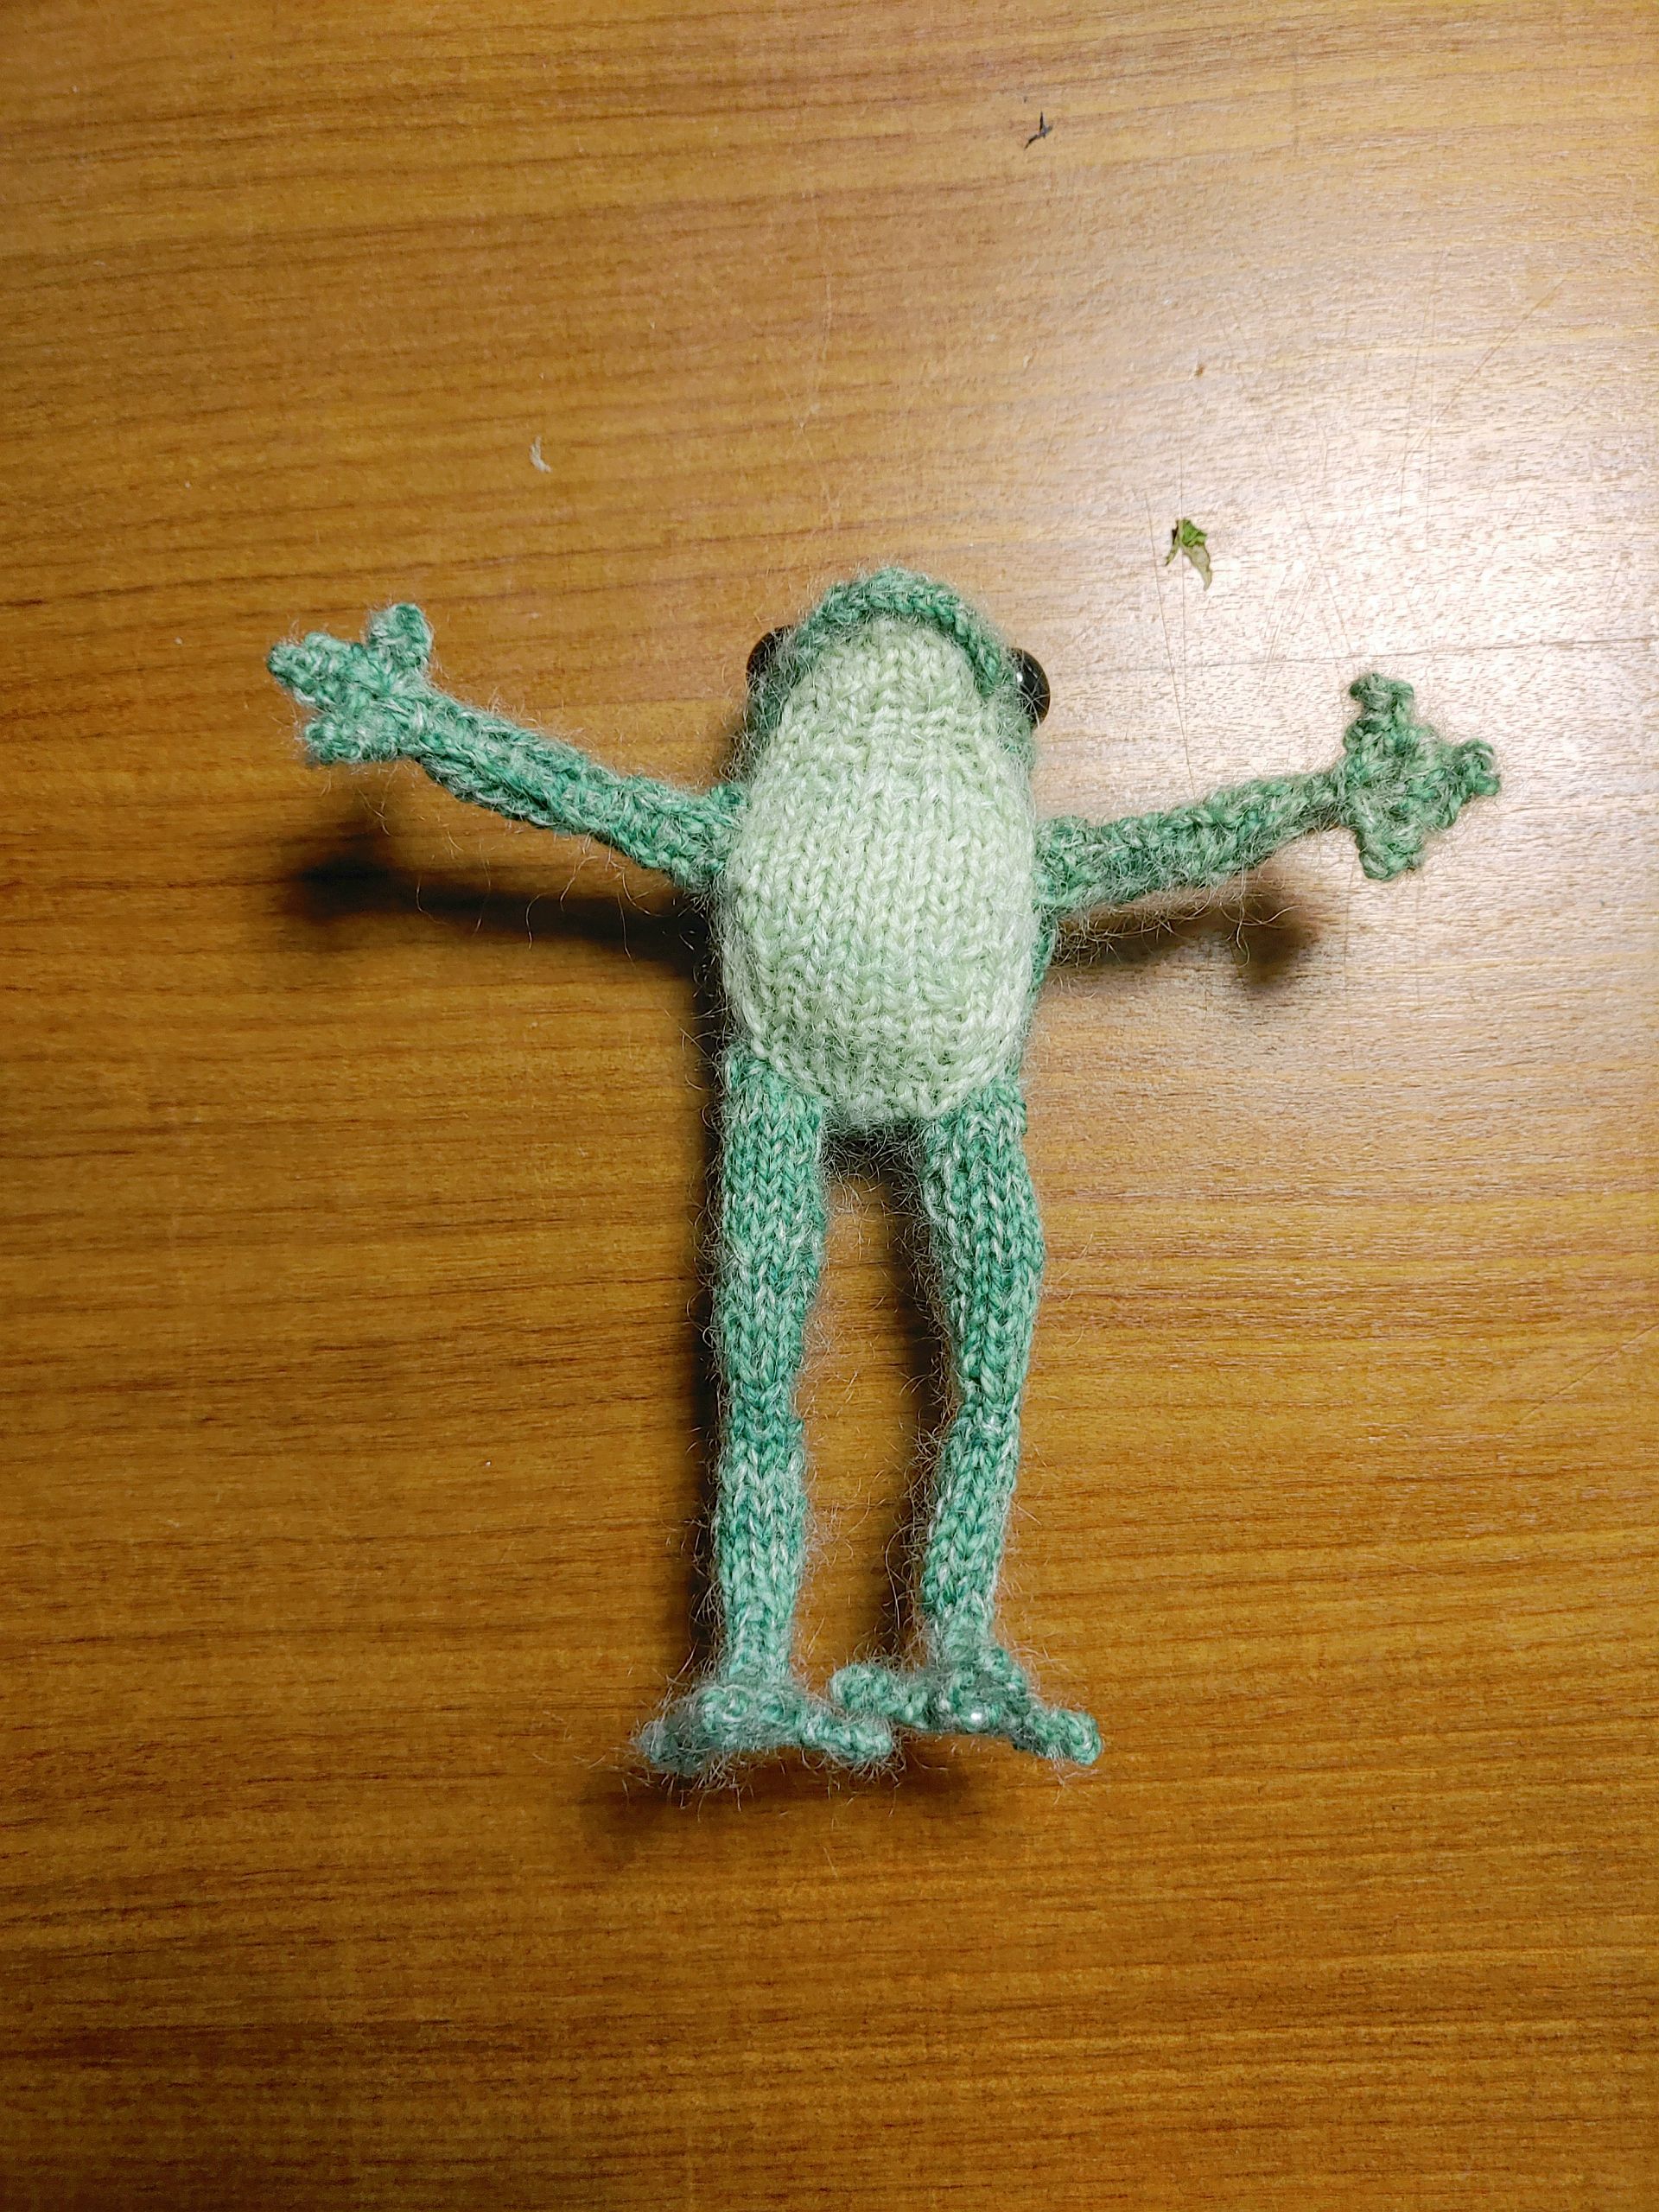
As usual, the actual knitting time for a frog is very short, however, convincing myself to finish adding the arms and legs took several weeks yet again. I started him on October 22 and finished on November 26. The back, arms, and legs were done with a combination of the bright green sock yarn and DROPS Kid-Silk in 18 Apple Green and the tummy was the light green sock yarn and Søstrene Grene Mohair Blend in 1650 Blanc. He’s got wires in his arms and legs and is posable. I’ve not tried to pose him yet because I still want to make some clothes.
The original frog has since found a new home and I’m more than happy to have this one hanging out on the dinner table!
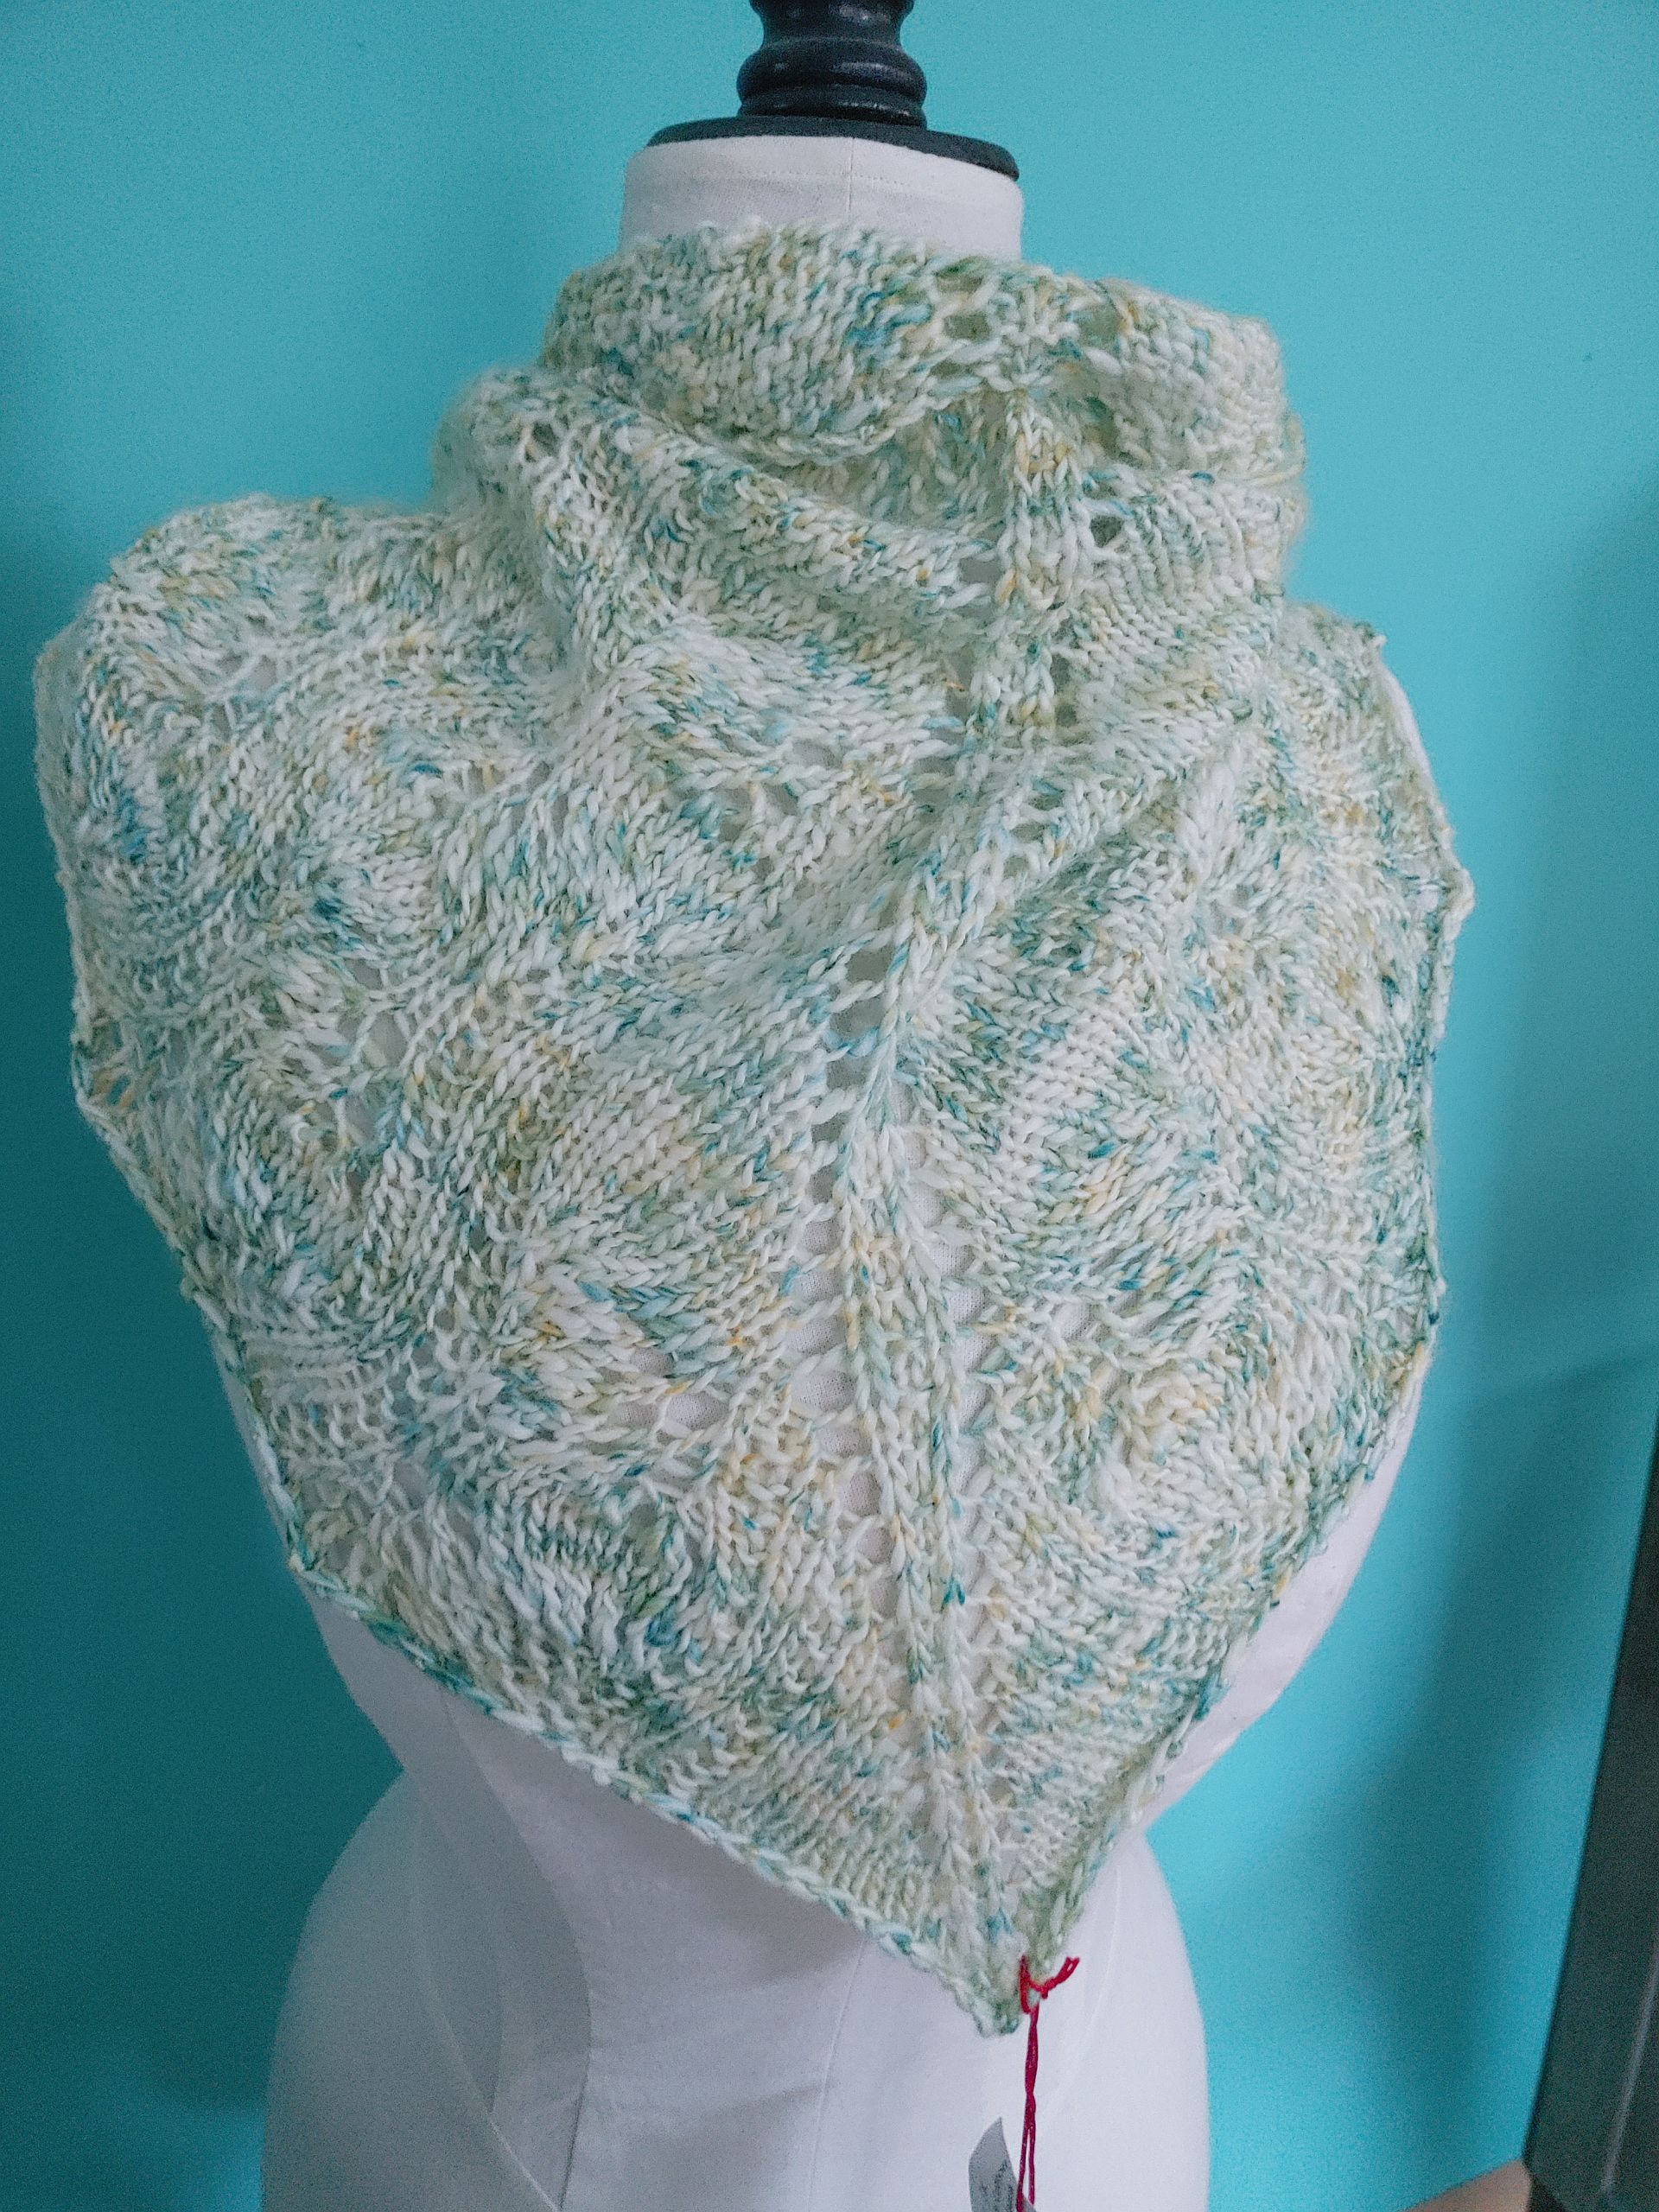
Some time ago, I bought some lovely blue fabric to make a new winter coat out of. I’ve even decided on the pattern but I’ve not yet managed to convince myself to actually start the project. Instead, I’ve been working on accessories for that non-existent coat. The plan for the coat is that it will be blue with yellow accents and while I’m not sure if that’s going to work out, I have started with that idea in mind anyway.
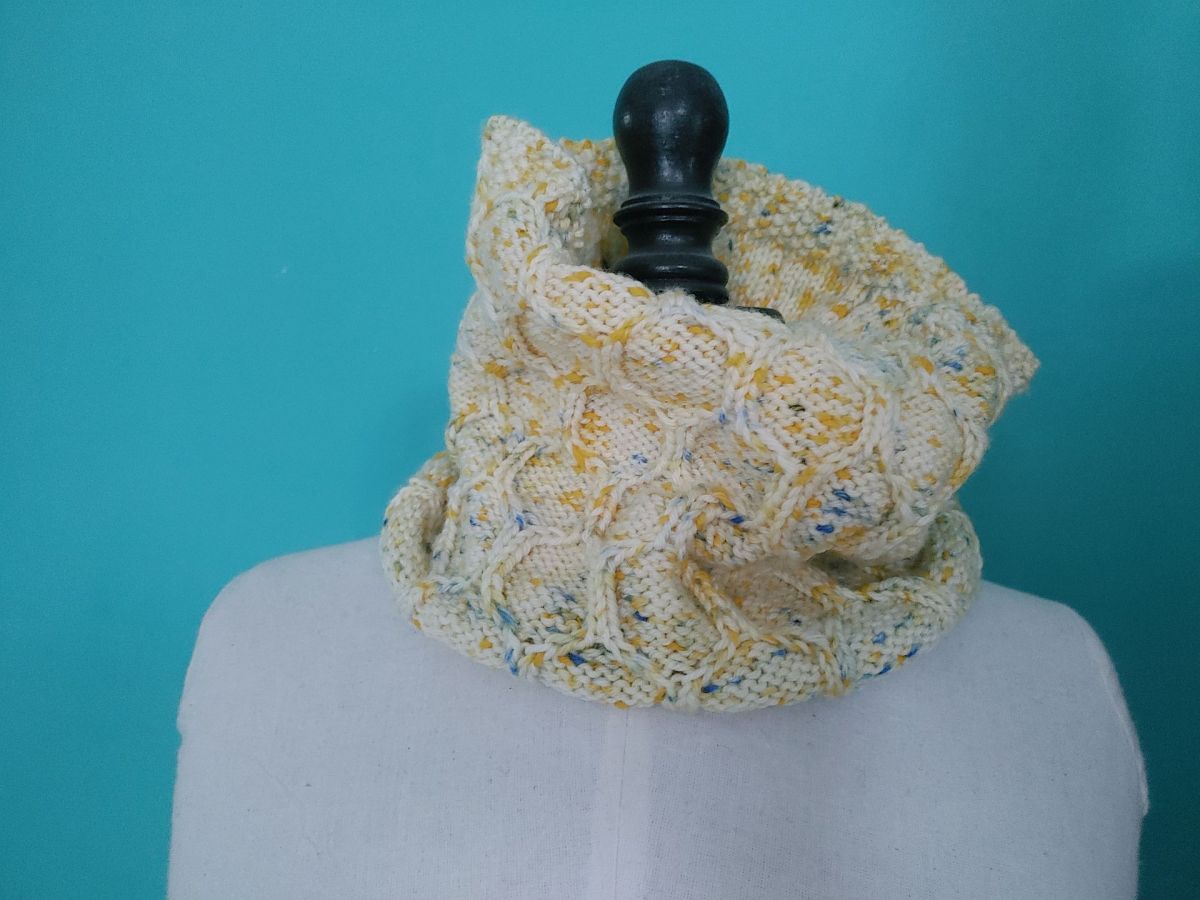
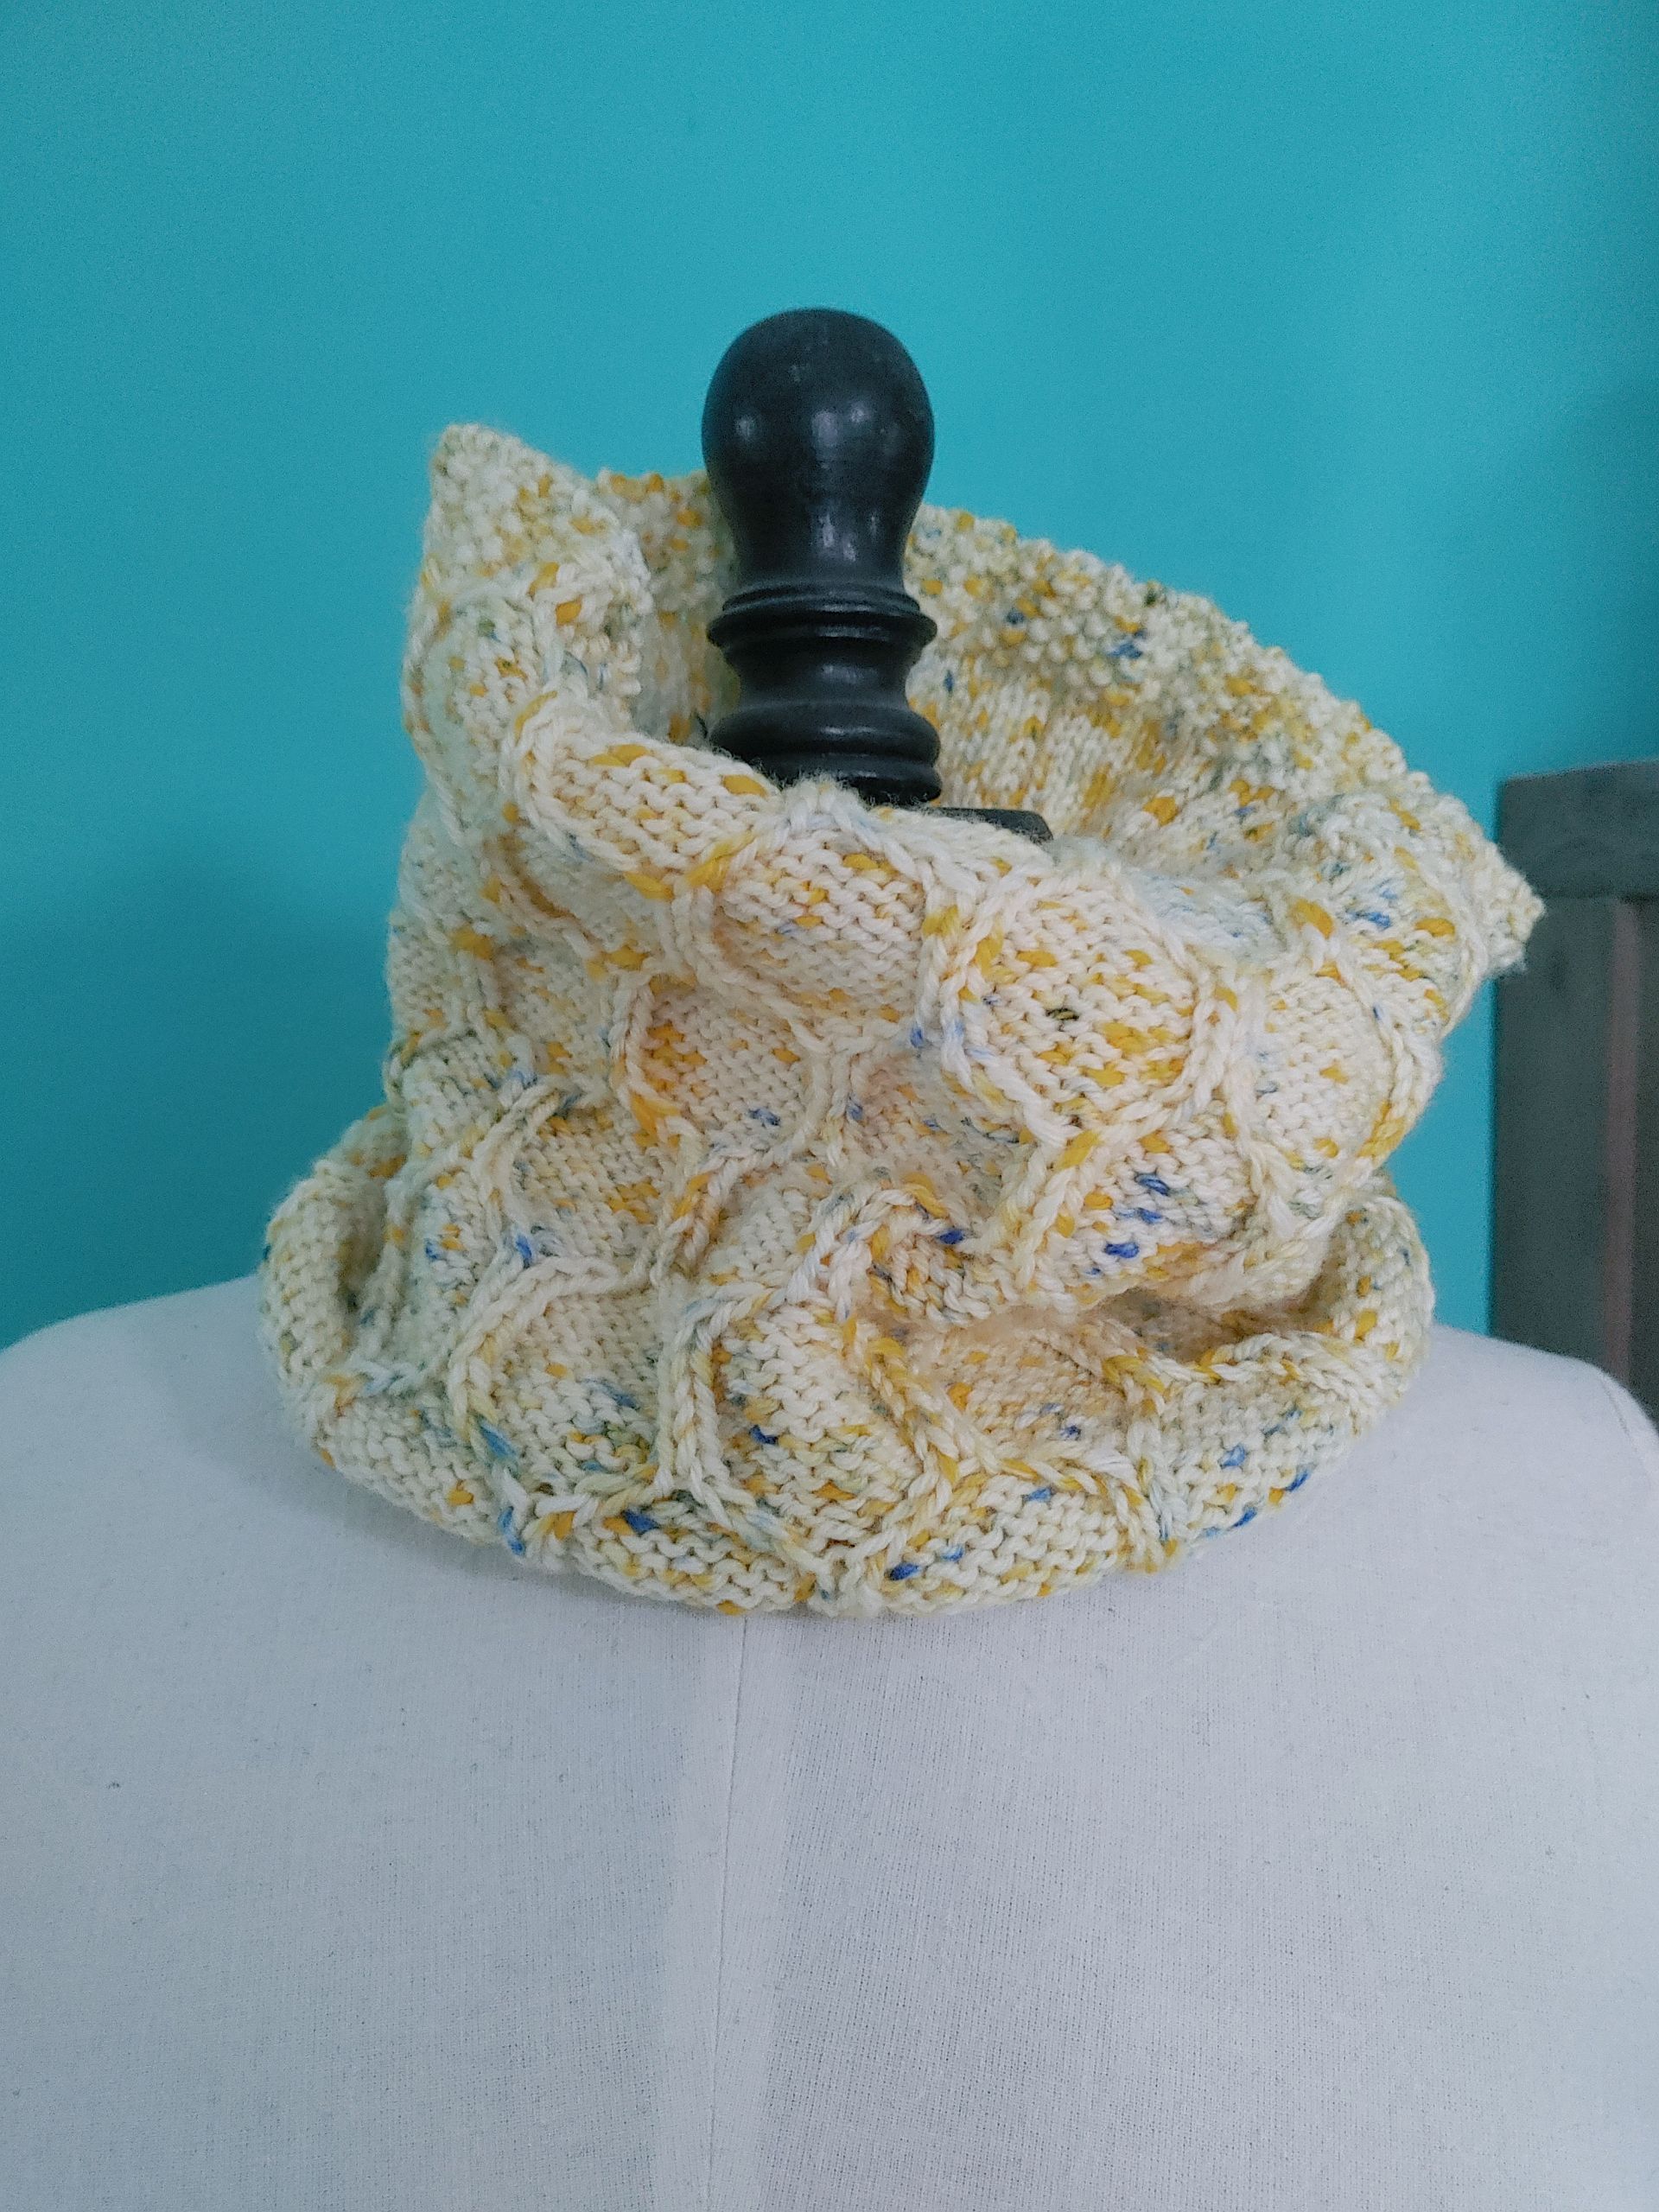
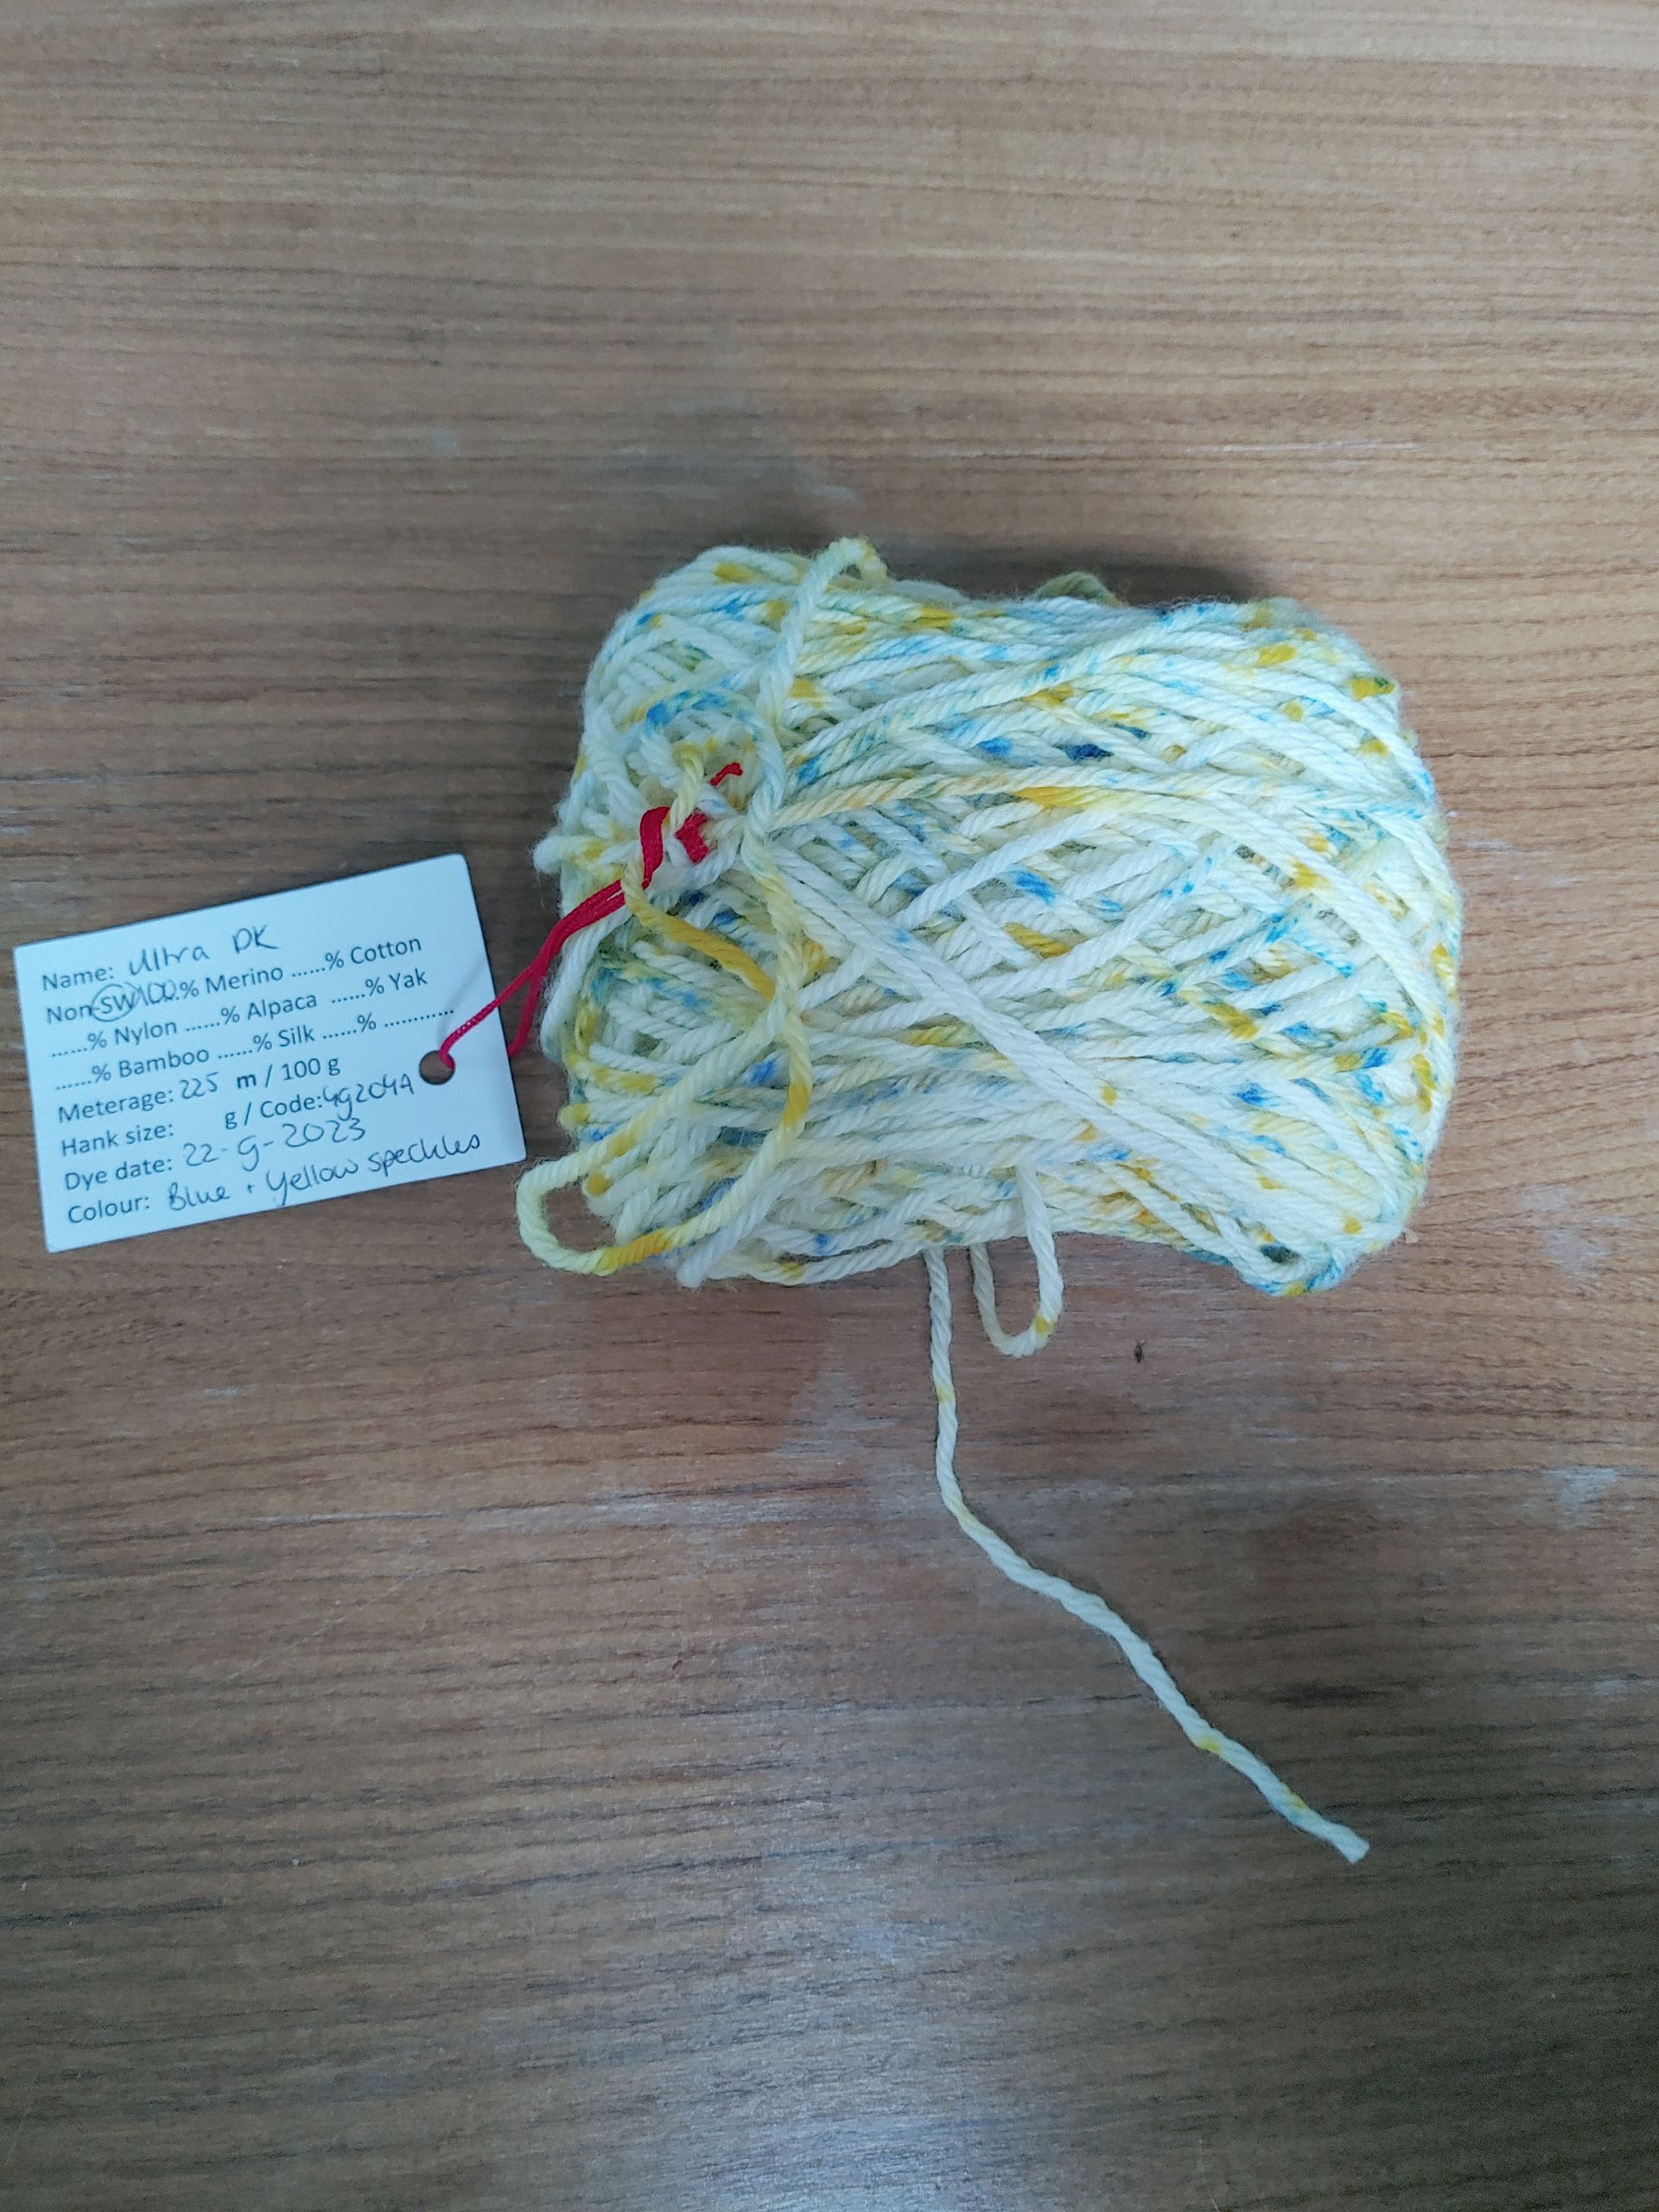
Since I knew I needed a scarf and potentially a hat to go with my to-be-coat, I dyed some yarn with blues and yellows. I chose Ultra DK and added a fair amount of bright blue speckles and both soft and bright yellow speckles on 22 September 2023. Somehow the yellow came through a lot better but I do like the specks of blue here and there.
Once it was dry, I had to find a pattern to use. The one I chose was the Apiarist Cowl by Claire Borchardt and I started knitting on November 12. I did make a fair few changes to the pattern since I didn’t like the ribbed edge that the original has. A seed stitch edge was included instead. The hight of the honeycombs is also one stitch less (mainly because I can’t count for shit and messed up the first one and decided to go with it).
This was a quick knit (for me) that was mainly completed on trains over the course of a month and a half. Finished on December 26 and since worn fairly often. It’s just a little bit tighter than the Linen Stitch one that I’ve been wearing a lot this fall and winter. Did I entirely forget that I made another one that would work much better; yes. It’s been living in a box since I had to move all my shawls, scarves and gloves away from the hallway where they had been living due to construction dust.
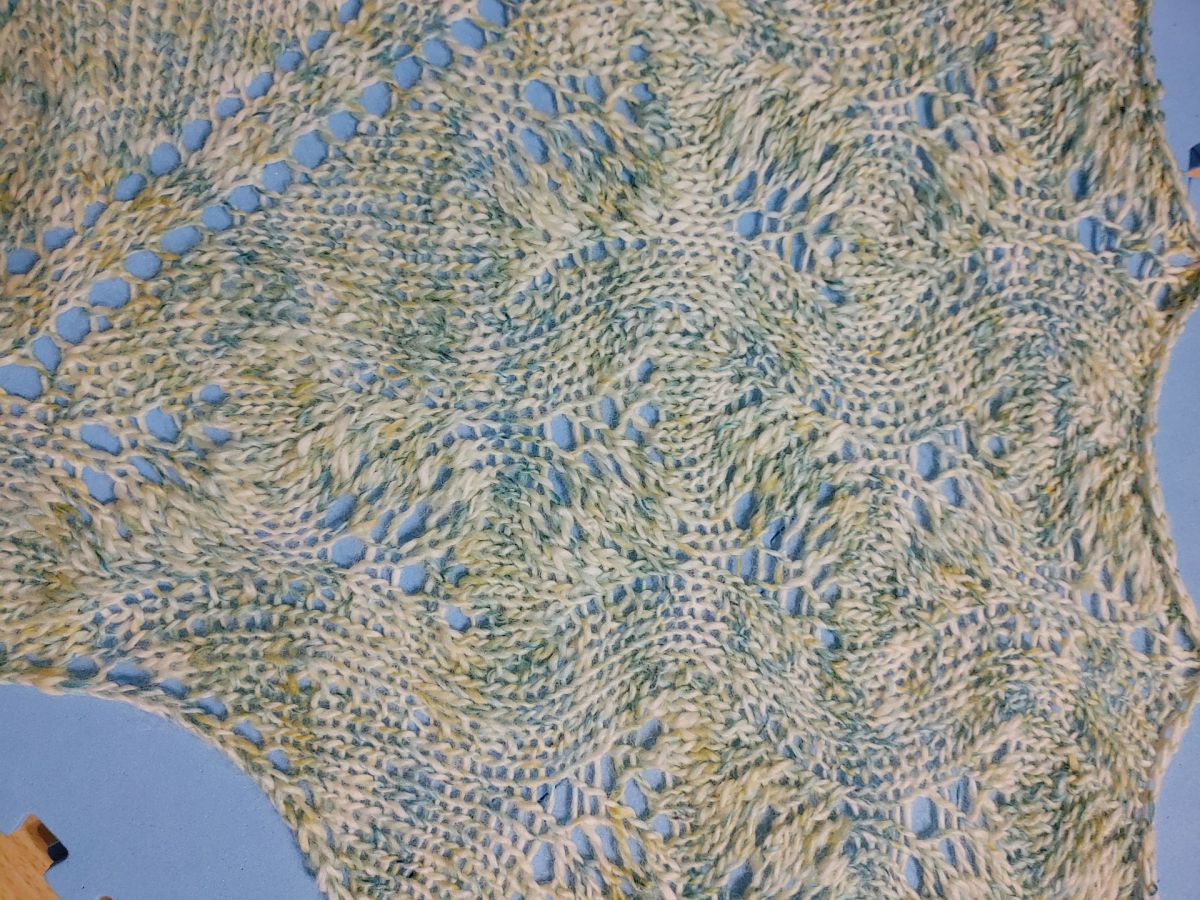
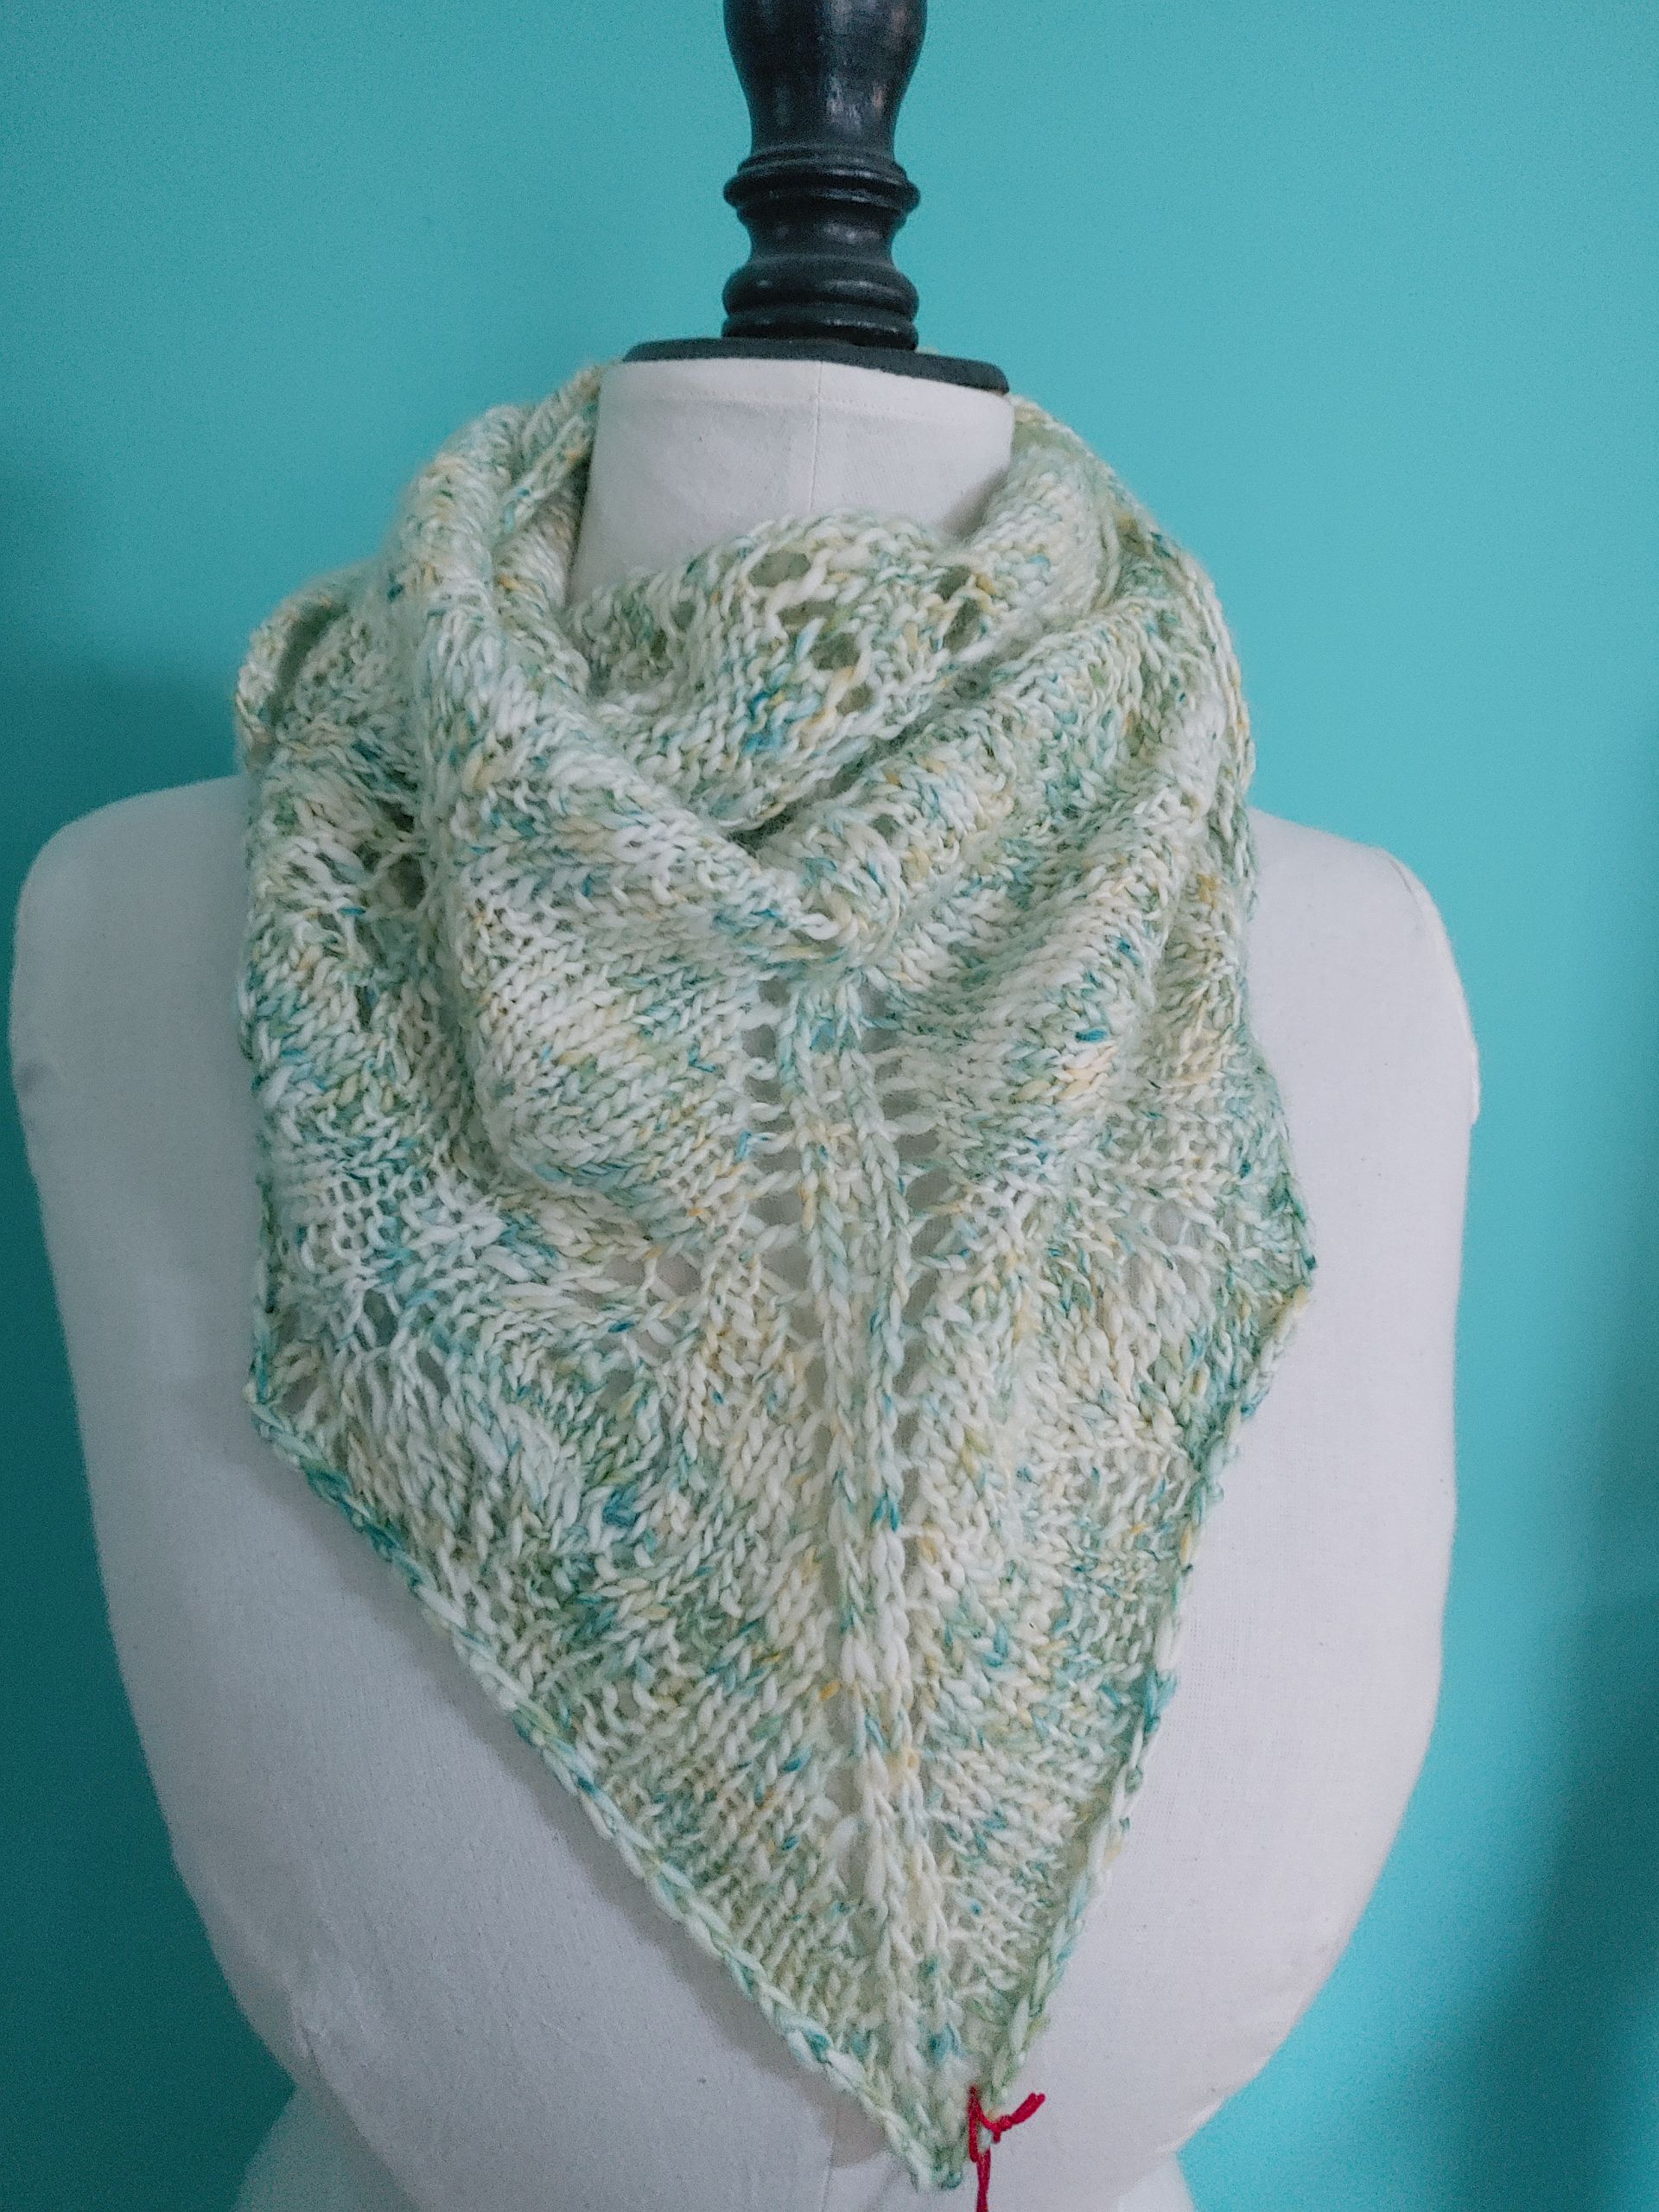
In my last big undyed yarn purchase, I included 10 skeins of ‘Thick and Thin DK’-weight yarn. It’s single ply but it varies in thickness along the length and therefore has an interesting sort of effect. I wasn’t sure what I was going to do with it, but I was intrigued by how it worked. So I set off to dye it with some soft yellow and green sprinkles on 3 June 2023.
Once it was dry, I had to figure out what to actually do with it. I tried several patterns until I ran across the Seas Shawl by Puff Updater. It seemed like a fun, slightly involved pattern that wouldn’t mind the uneven nature of the yarn. You can still lightly see the waves made by increases and decreases, hence the name, I guess. I started on July 23 and finished it on November 19. It traveled with me a lot, together with an ever more crumpled piece of paper with the instructions on it.
After blocking and pinning out some points, it turned out a bit smaller than I hoped. I knew I would never really wear it as it was. So I decided to ask one of my colleagues if she was interested and it has now found a nice new home. The end result is only a small part of what I enjoy about knitting. It’s mainly the relaxing nature of knits and purls that keep me coming back to the needles.
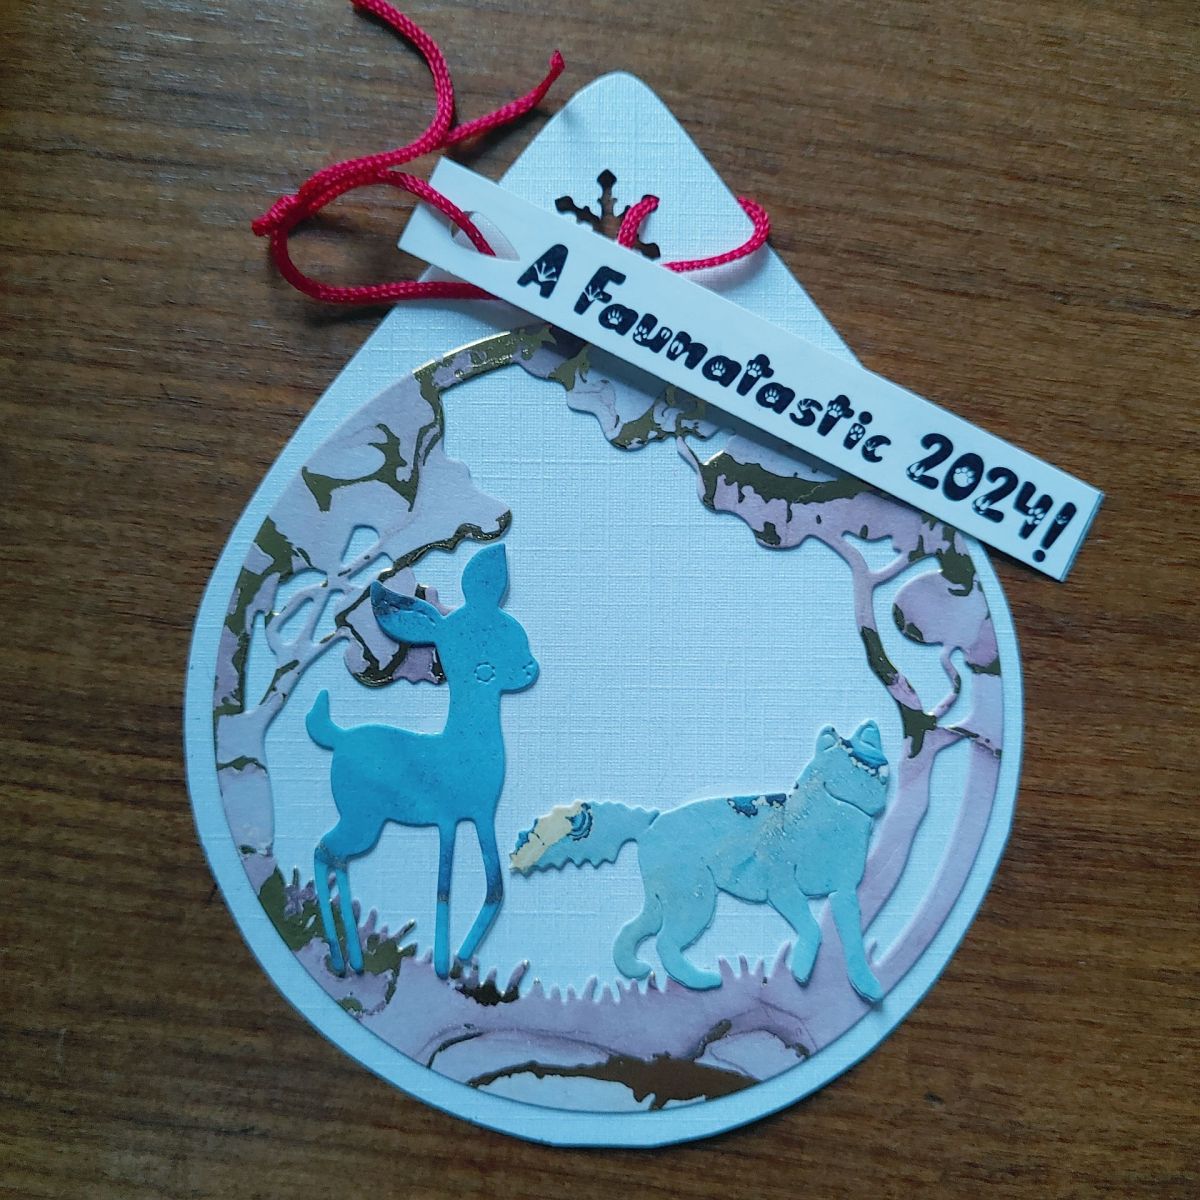
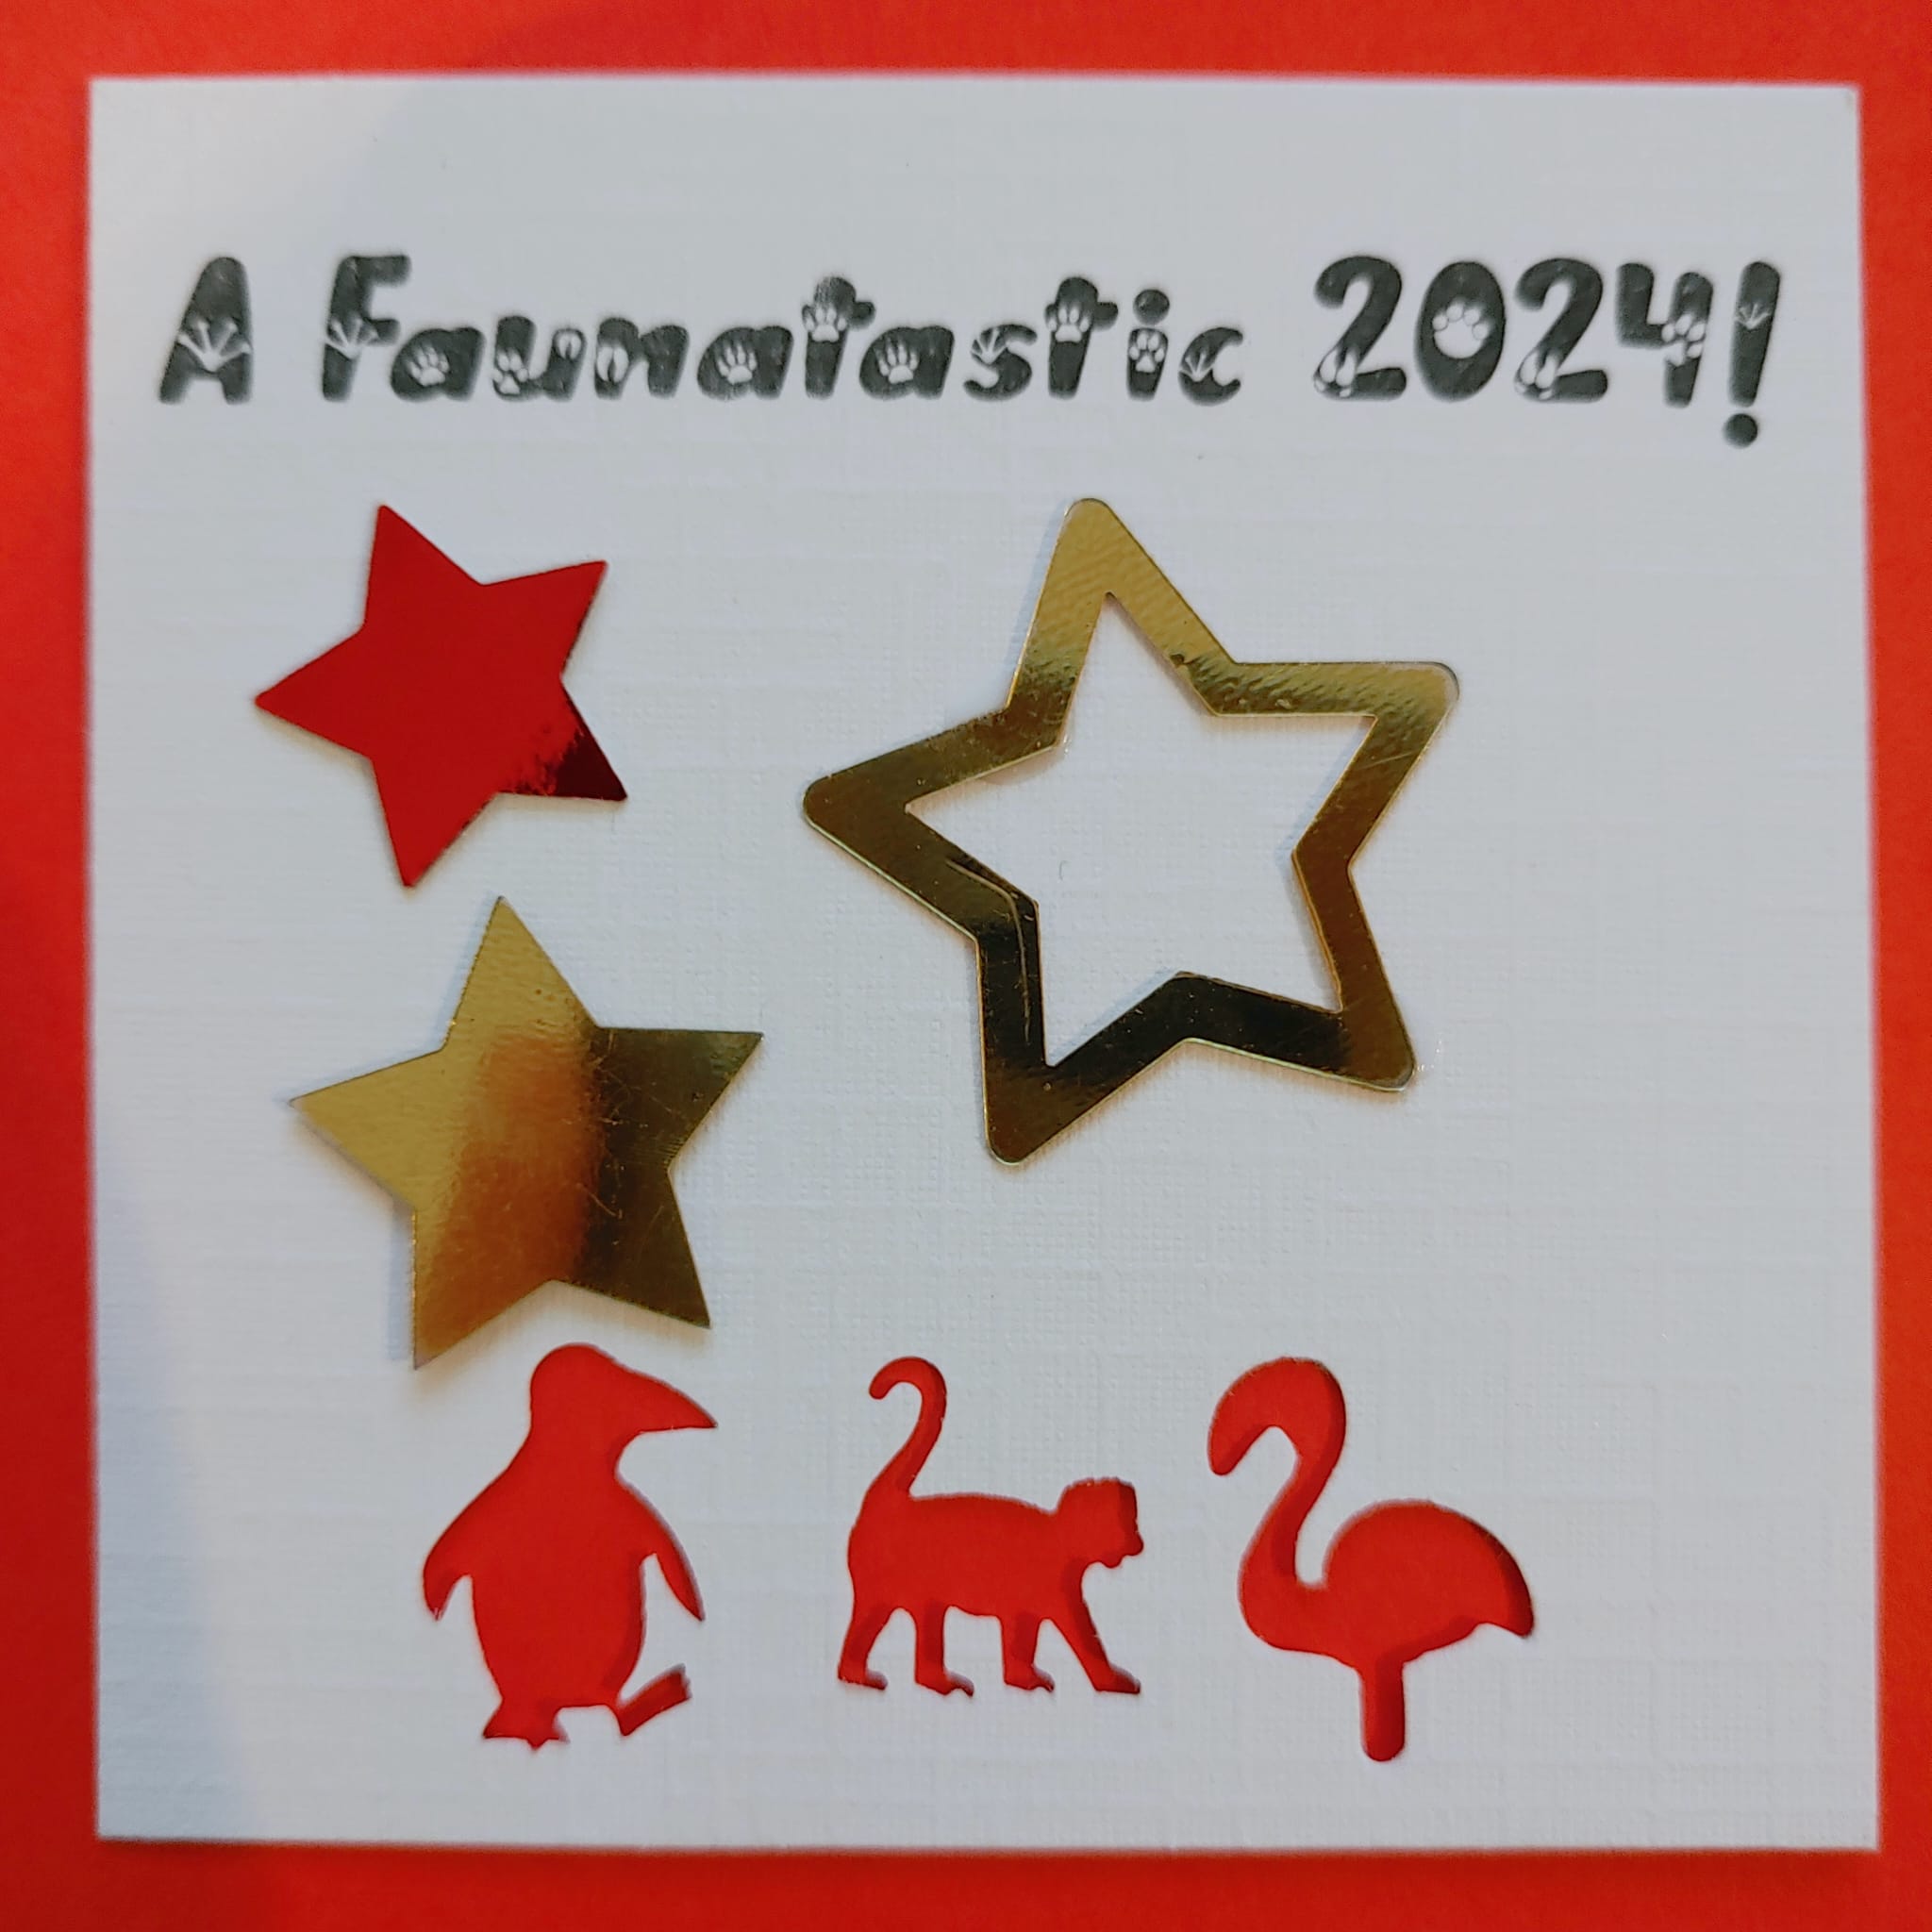
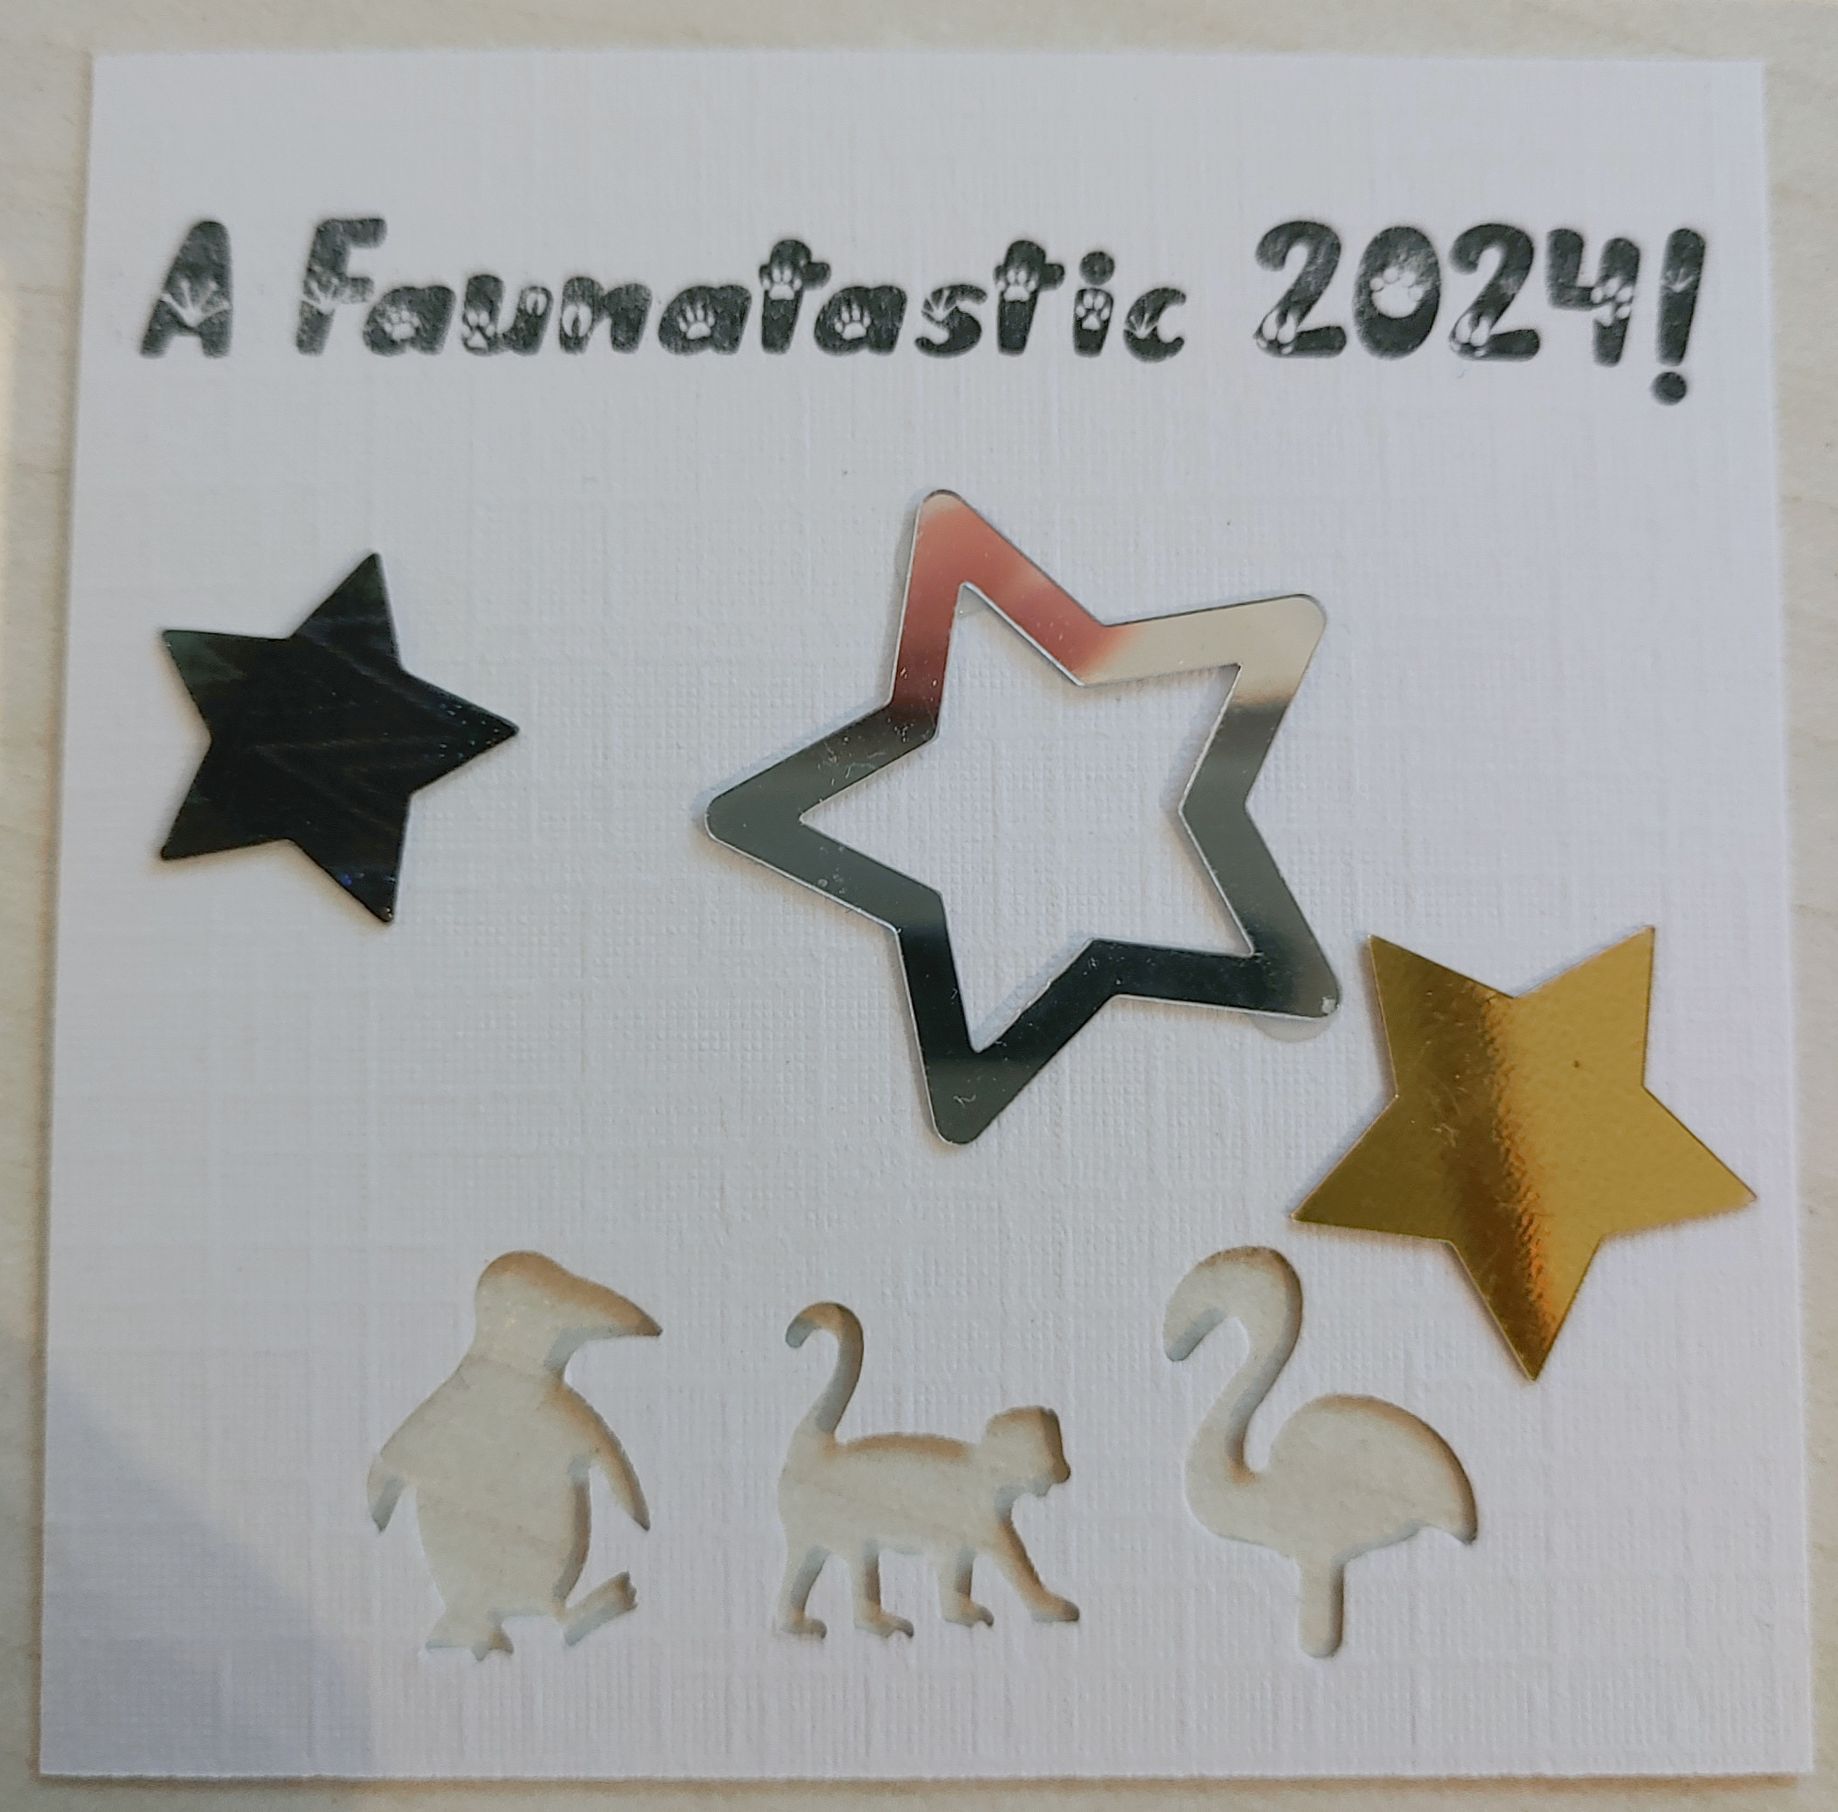
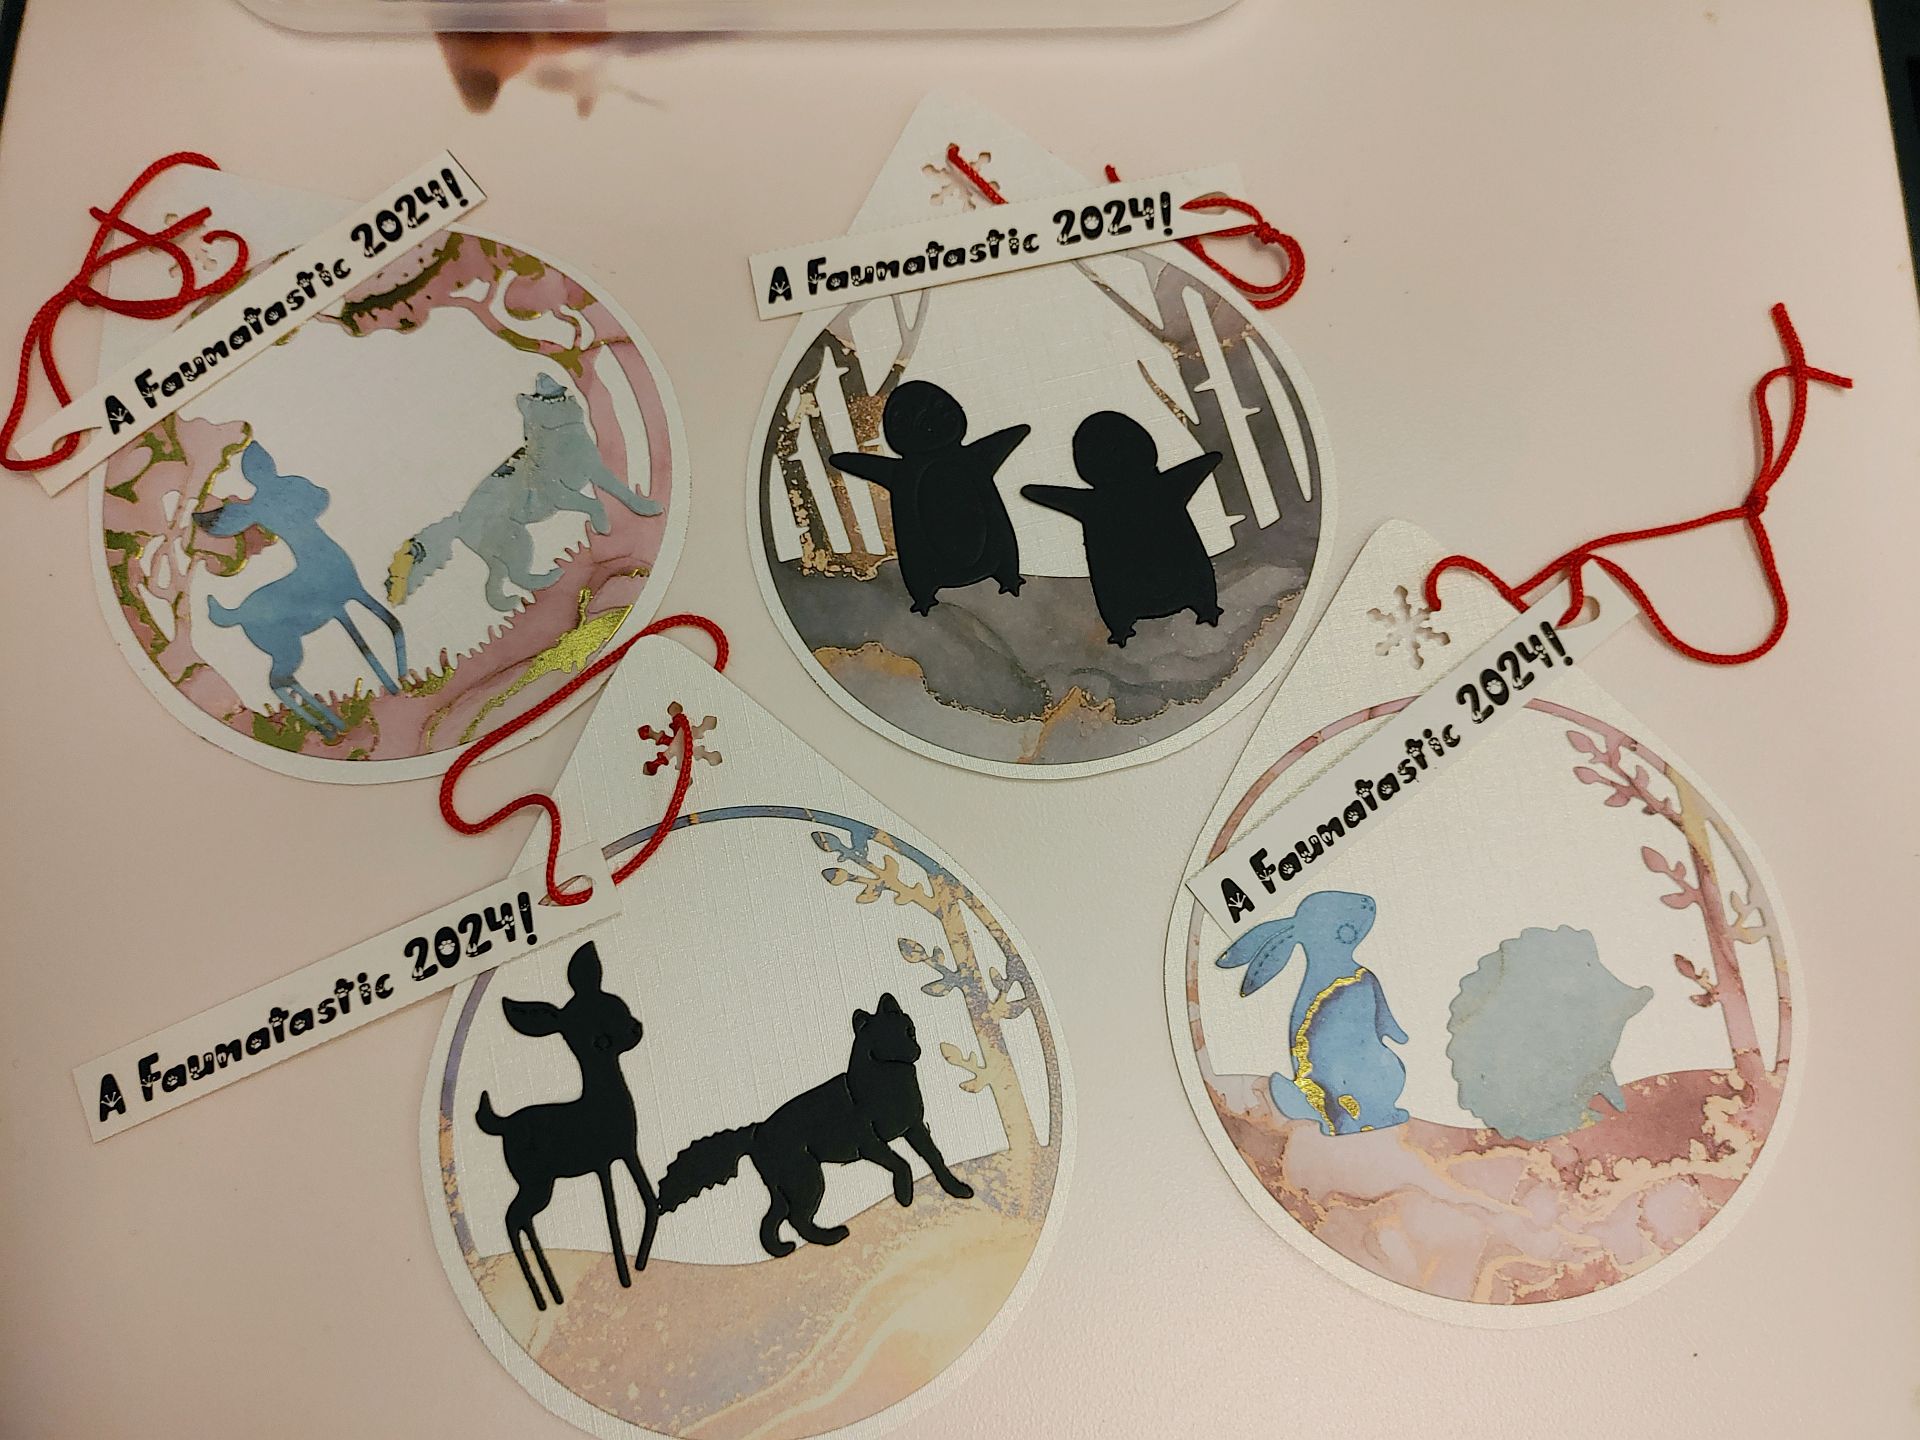
This year, there were two versions of the New Year’s Card; both variations on the same pun. The simple one had three animals cut out and a print of the new year’s wish in an animal paw font. Then I added a random assortment of stars from my stash (several old Christmas card ‘chads’). The first image was taken on a red background to show the stamped out fauna. The card itself is white linnen paper.
The second one used a cutting and embossing machine that I got myself in the lead up to Christmas. I’m not entirely sure how much I will be using it, but I have now purchased enough cutters to last a while (one would hope). This one is a round ‘tree scape’ cut from marble paper, and two or so different animals cut from either discarded marble paper or black paper. This is all glued onto some white linnen cardstock and cut into the shape of a drop. The hole is made with a snowflake punch, and the slogan was printed on some Christmas card stock and then had a raindrop punched in. They are attached using the strings of an old graduation tassel. I like these and the machine a lot, but after 25, I was sort of done. And I needed some more for work; hence the simple version above.
In any case, I wish you all a faunatastic 2024!
May you experience joy, stay (or become) healthy and continue to be hopefully creative!
Adding some details to stave off endless repetition.
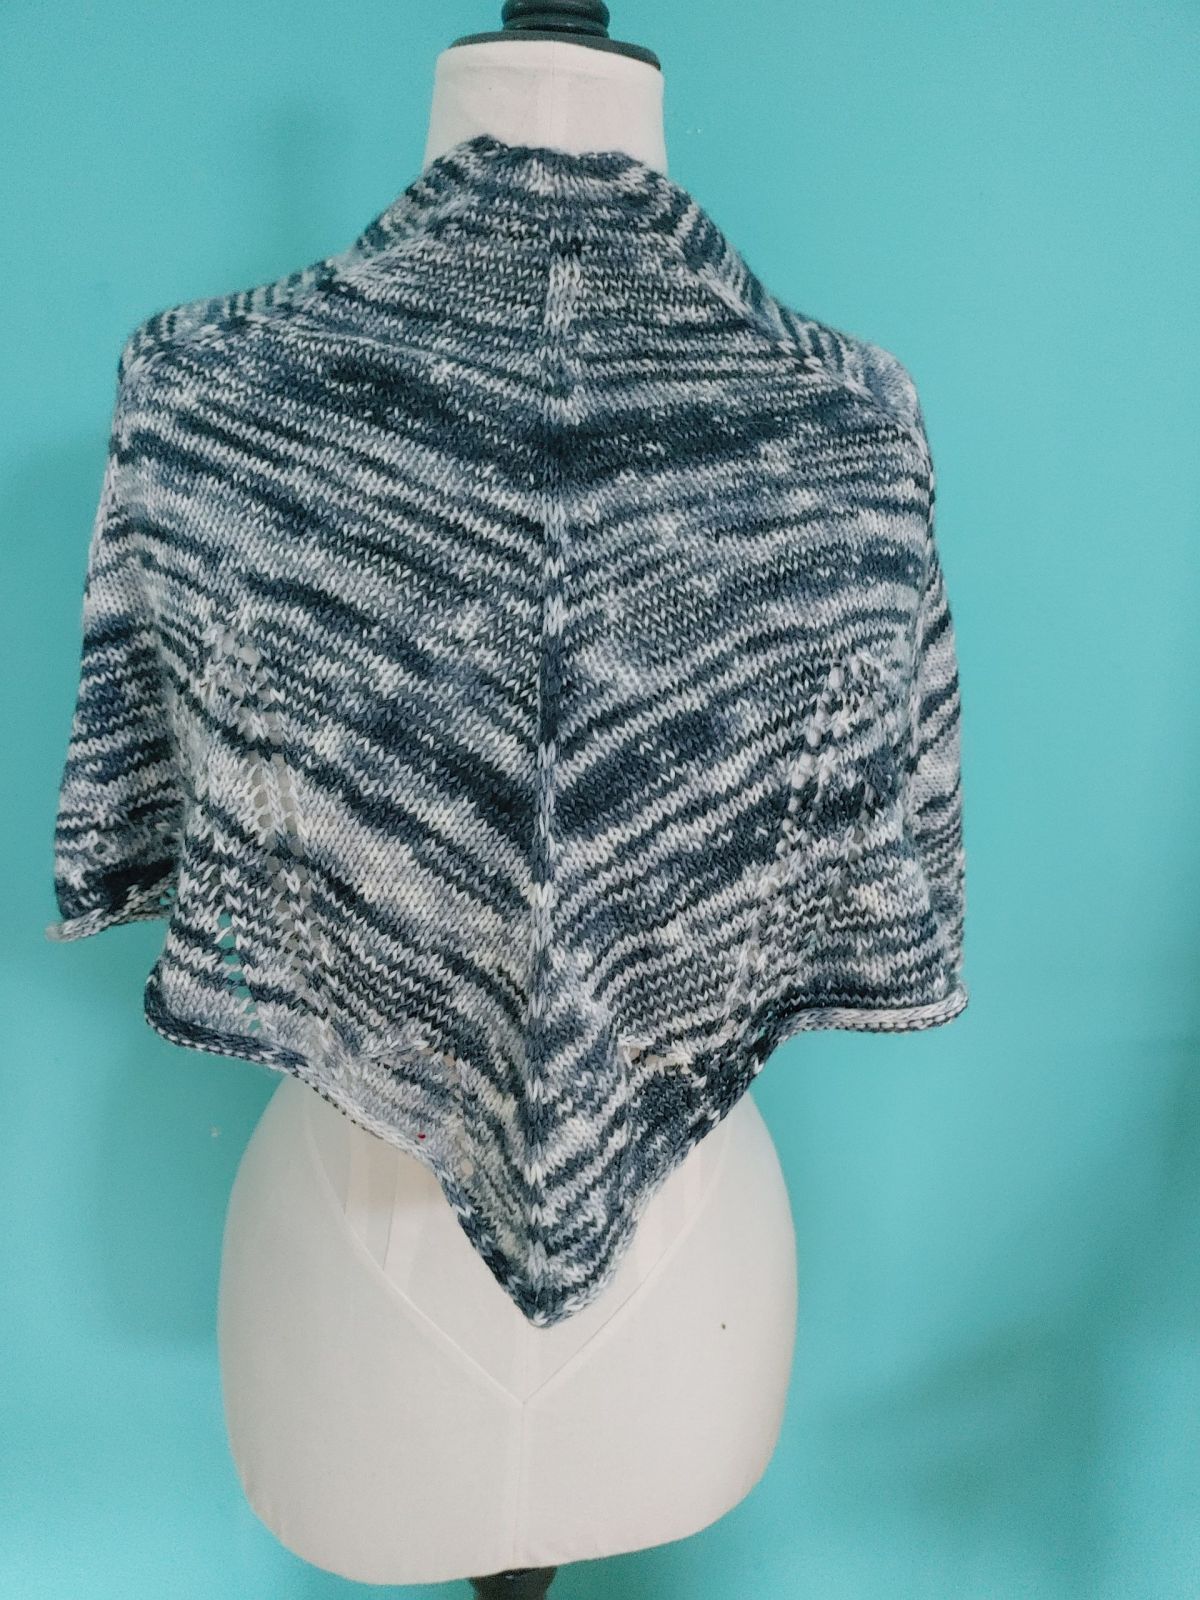
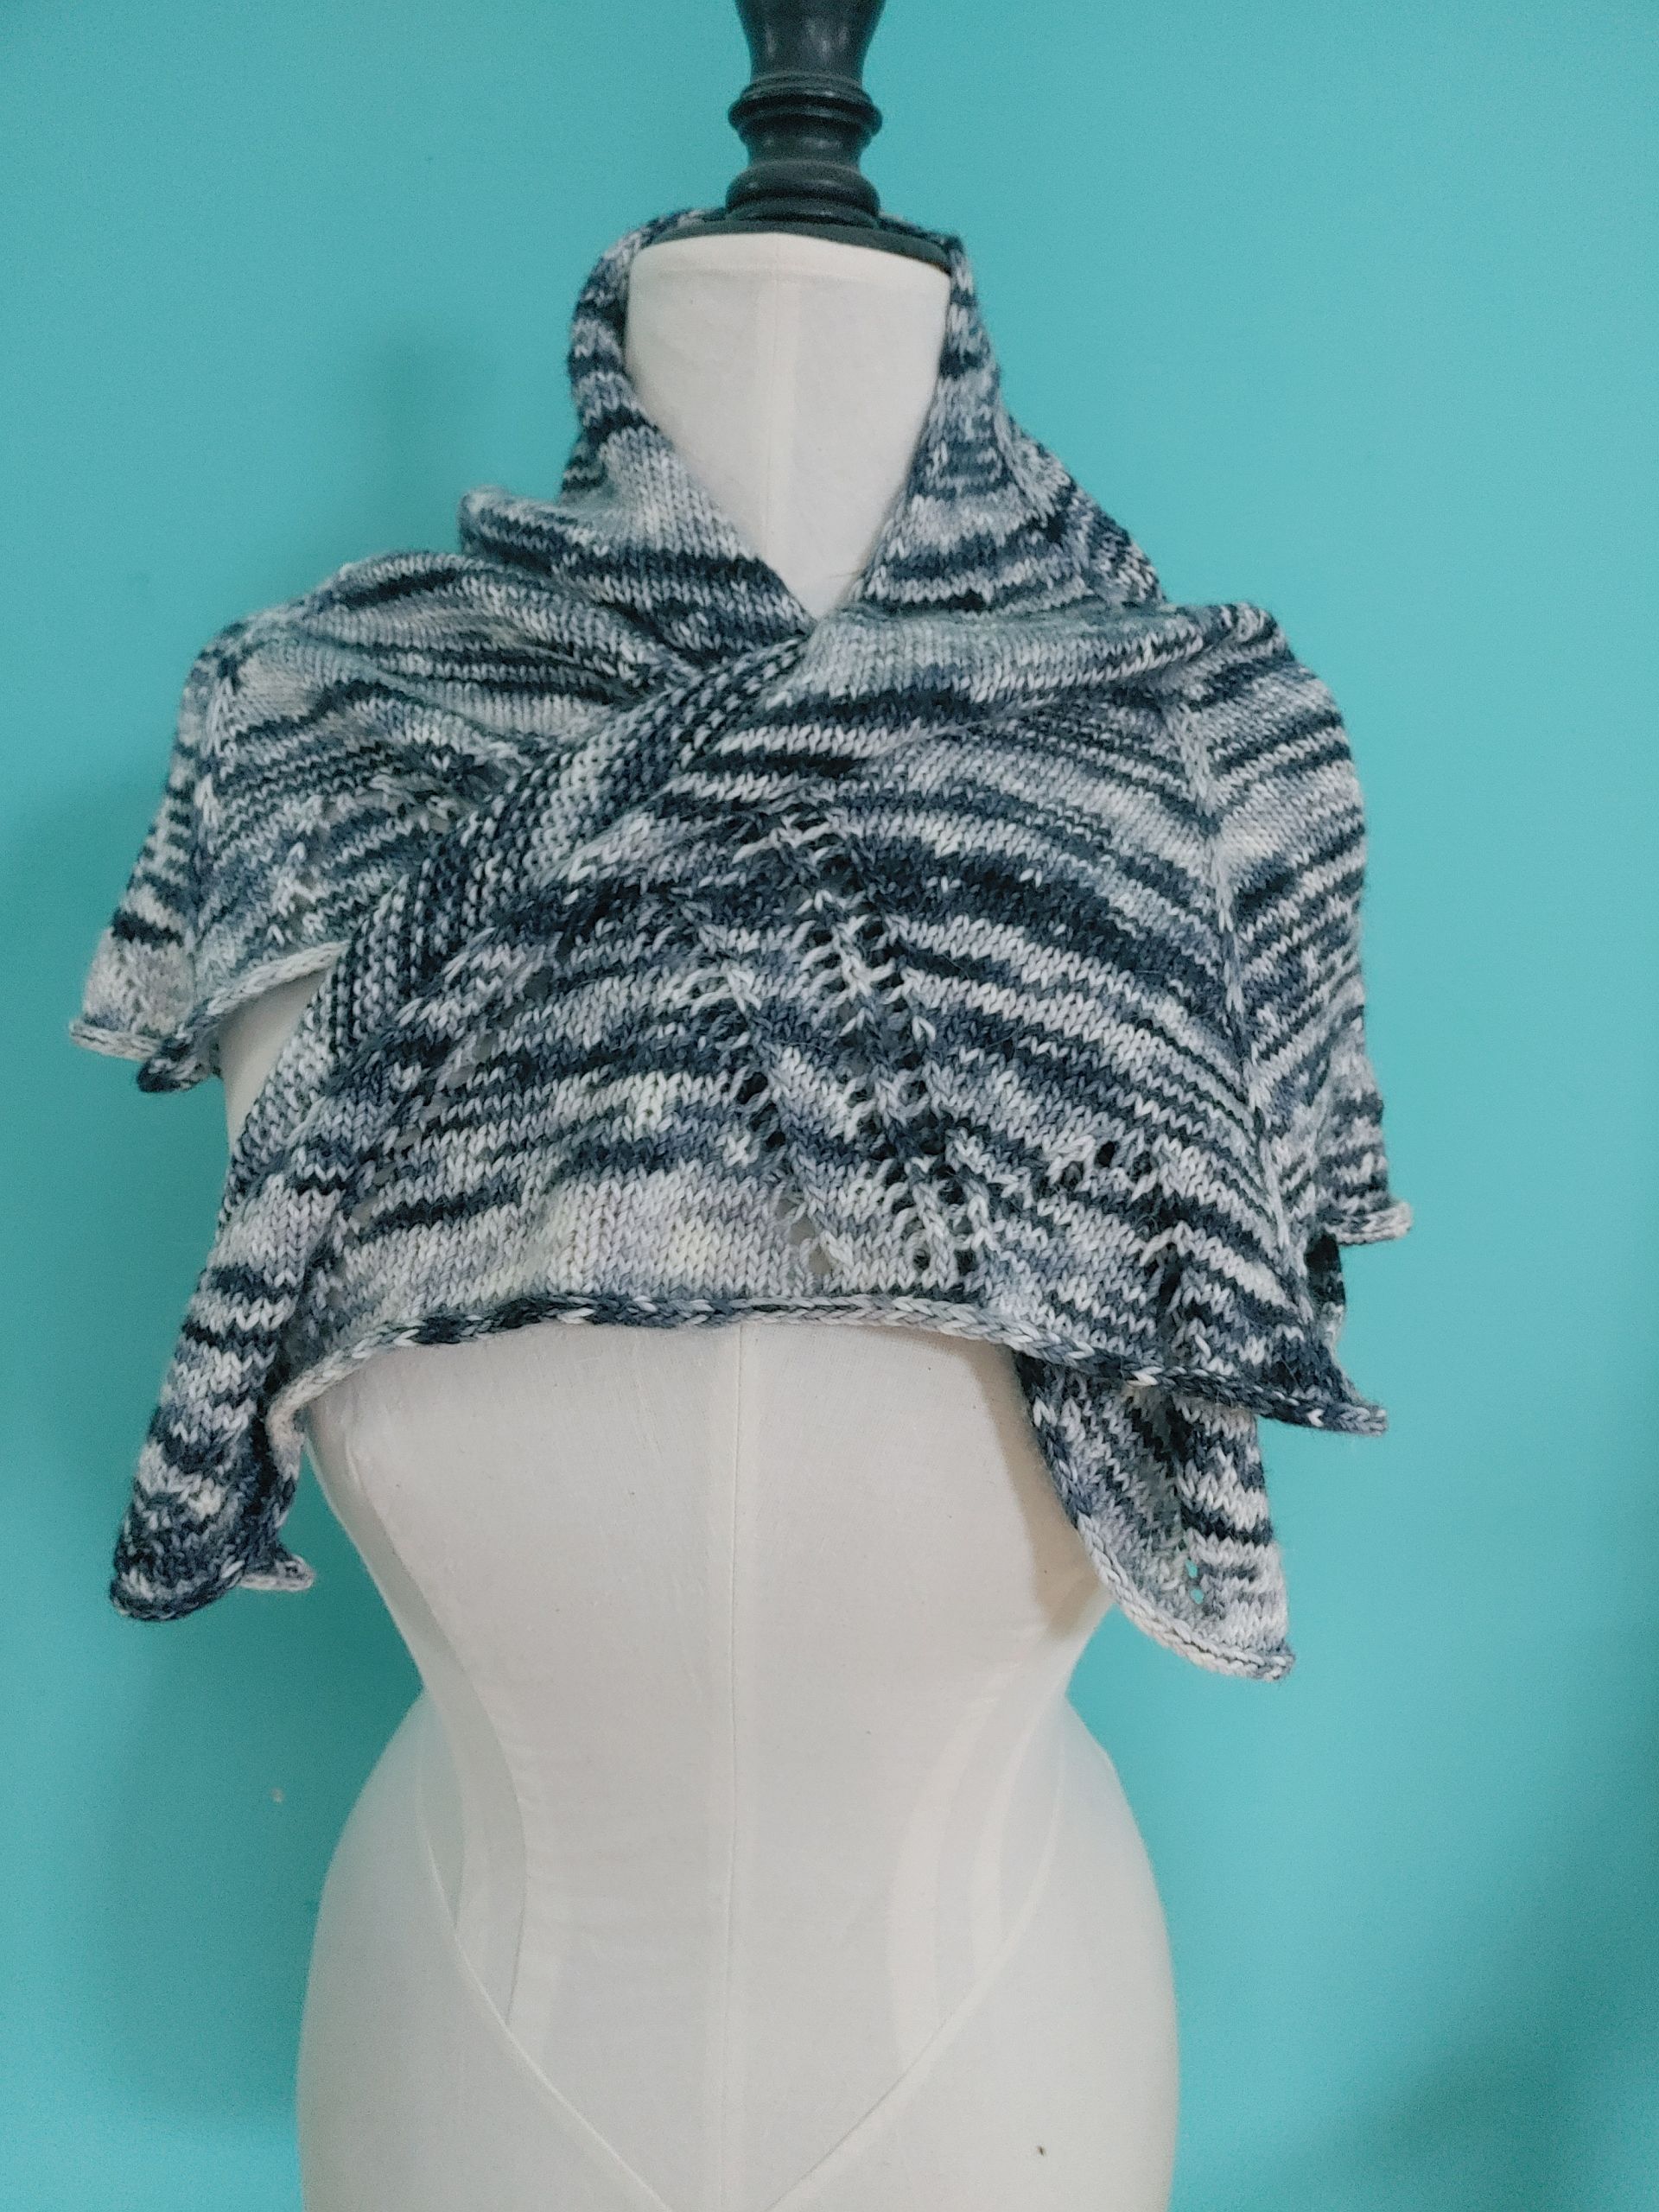
To be honest, I don’t remember much about this shawl. I finished it a couple of months ago and from what I can recall, the knitting was very boring. However, it does have good colours, gray, white and black go with everything! And I have worn it out a few times since, so lets try to recap anyway.
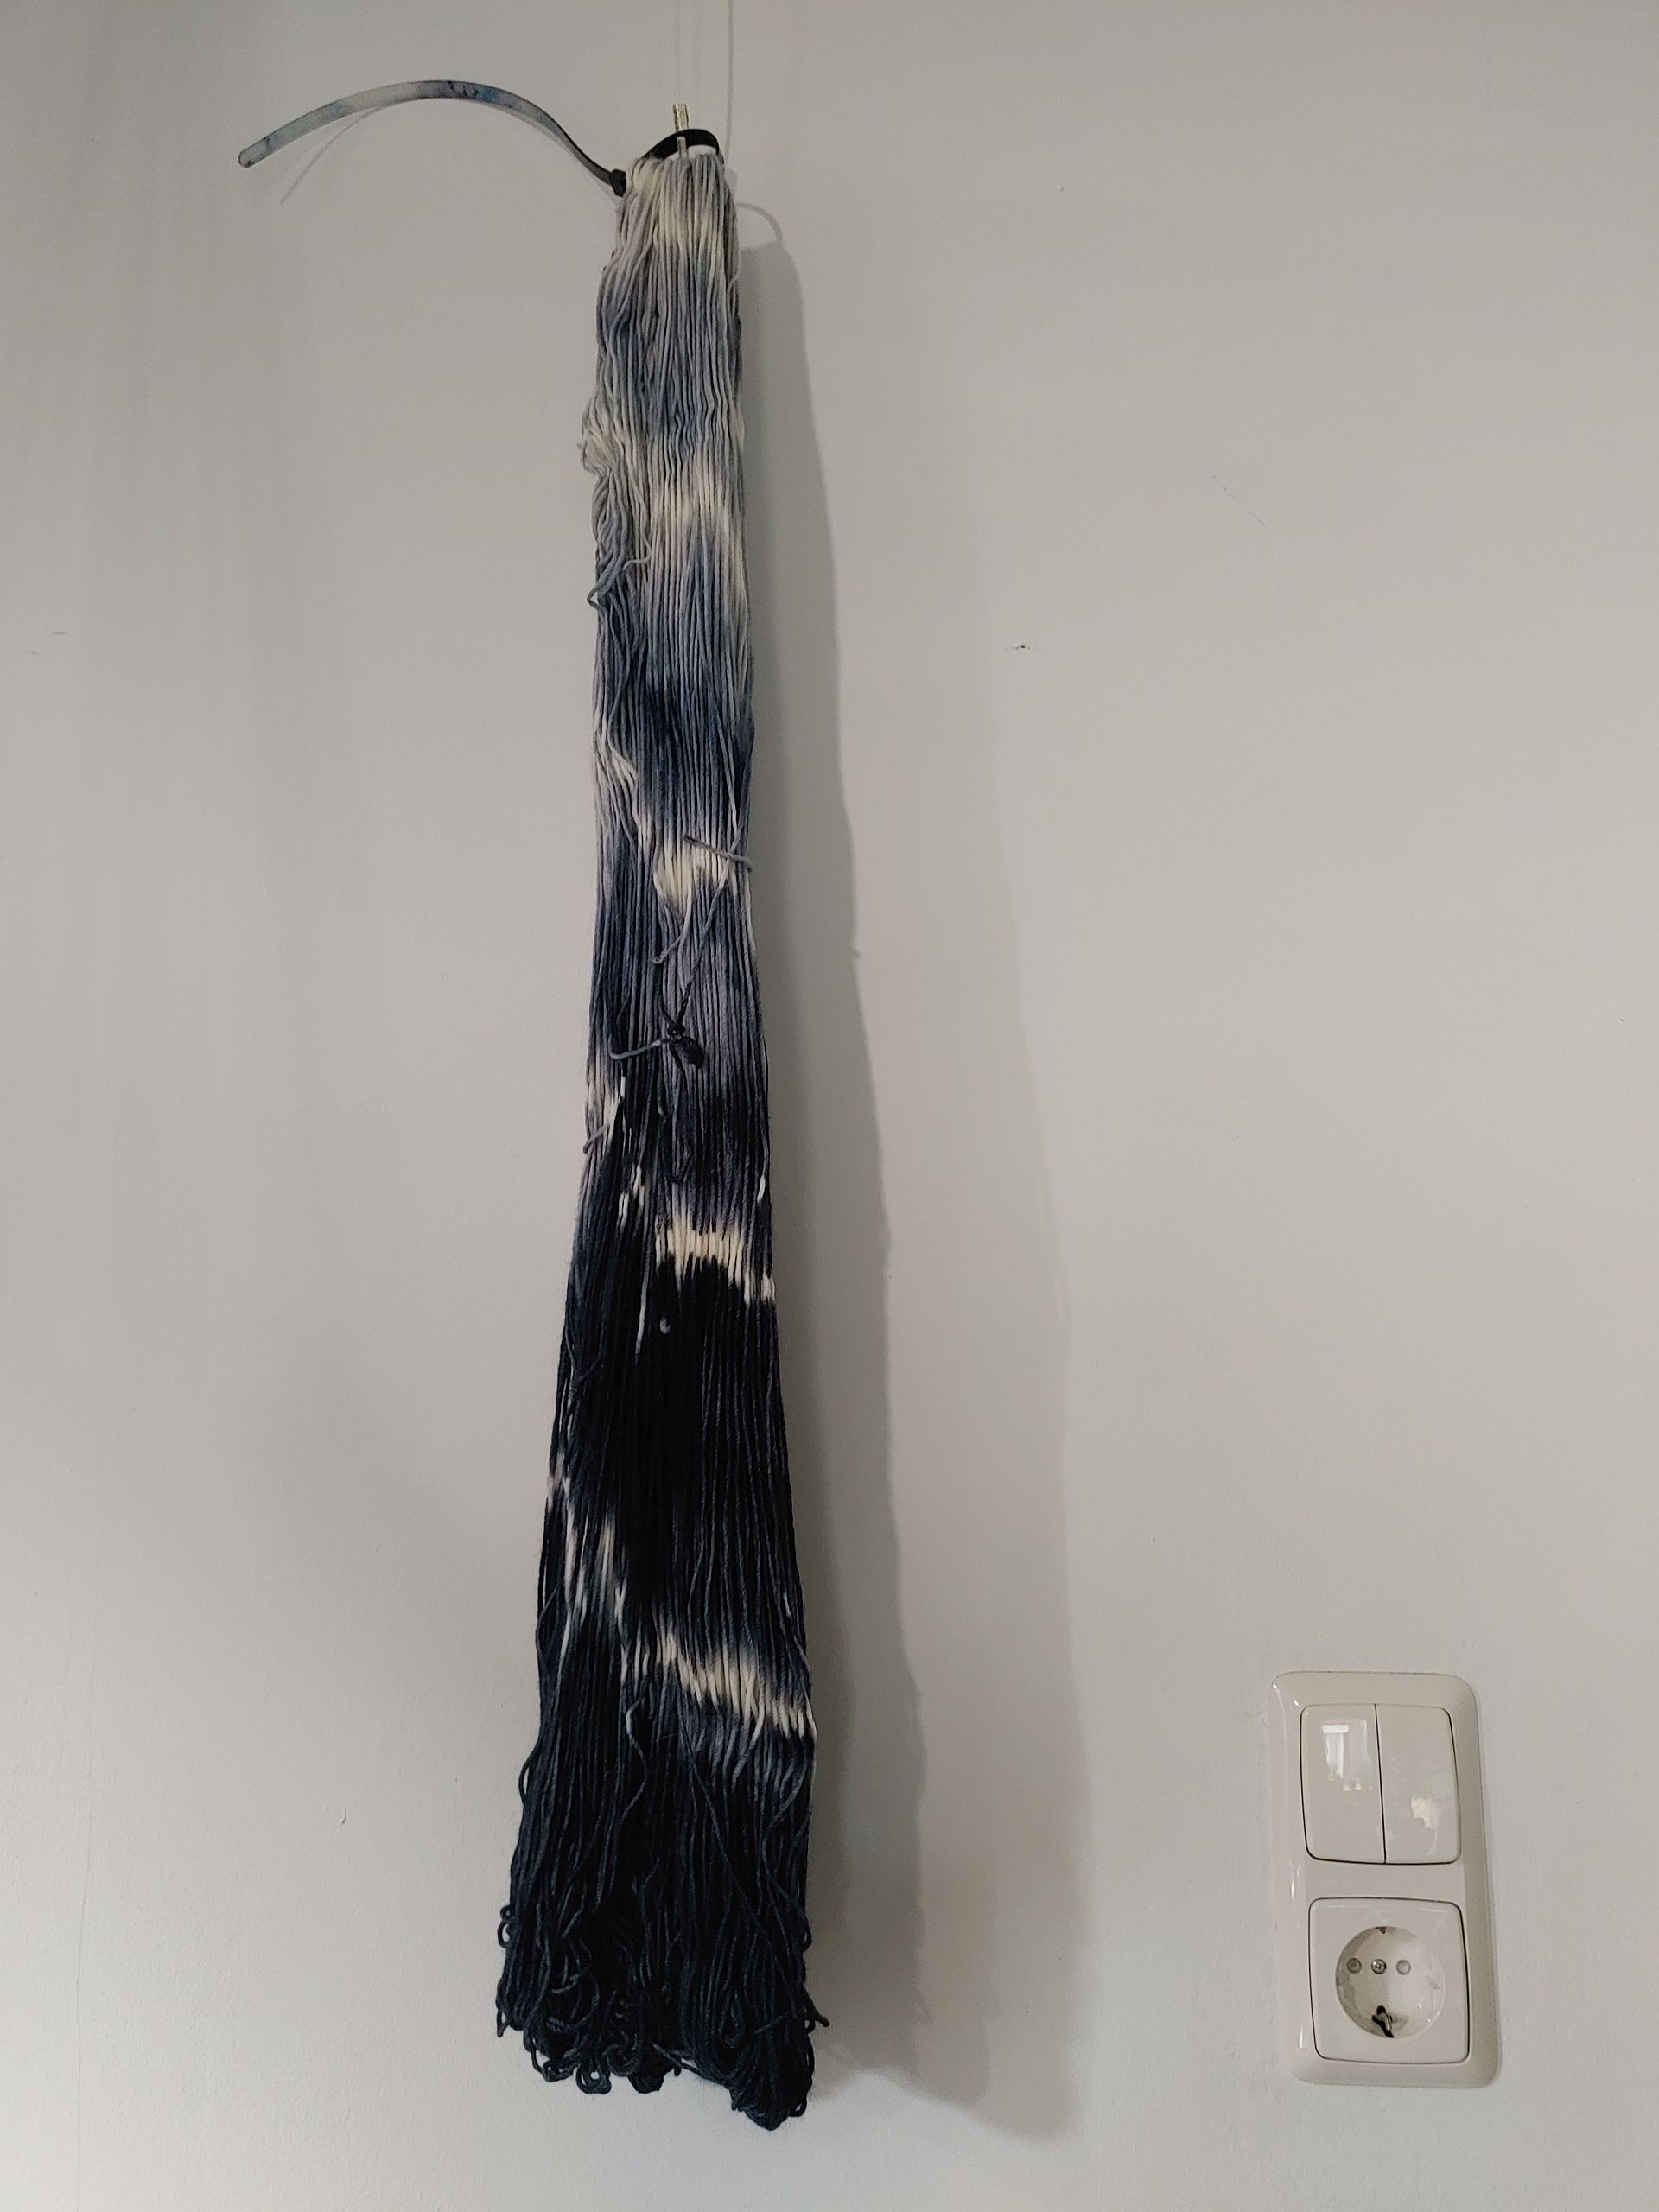
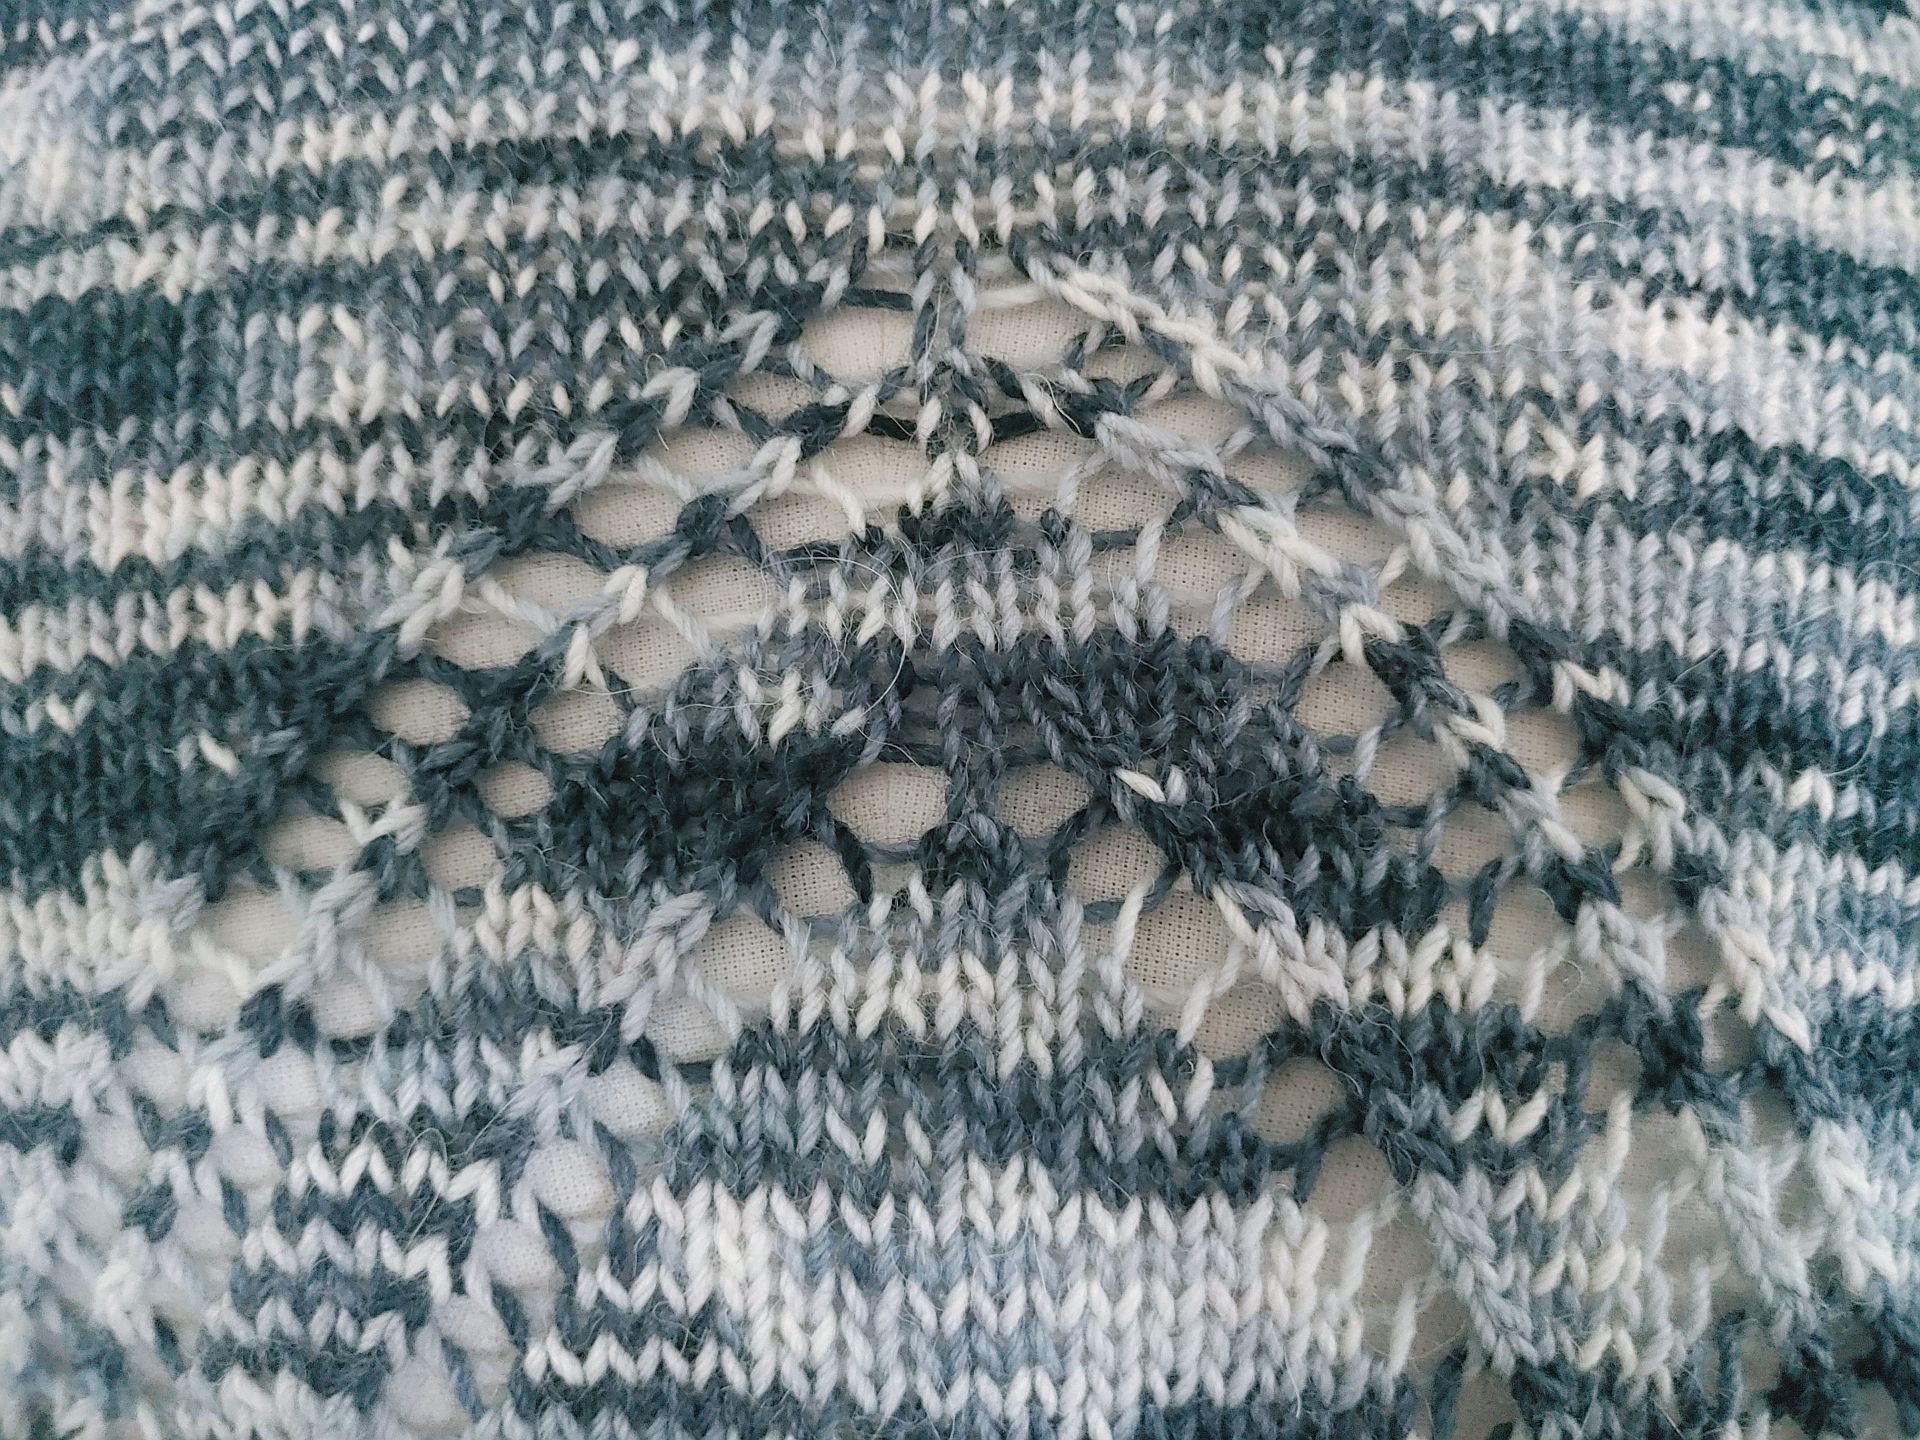
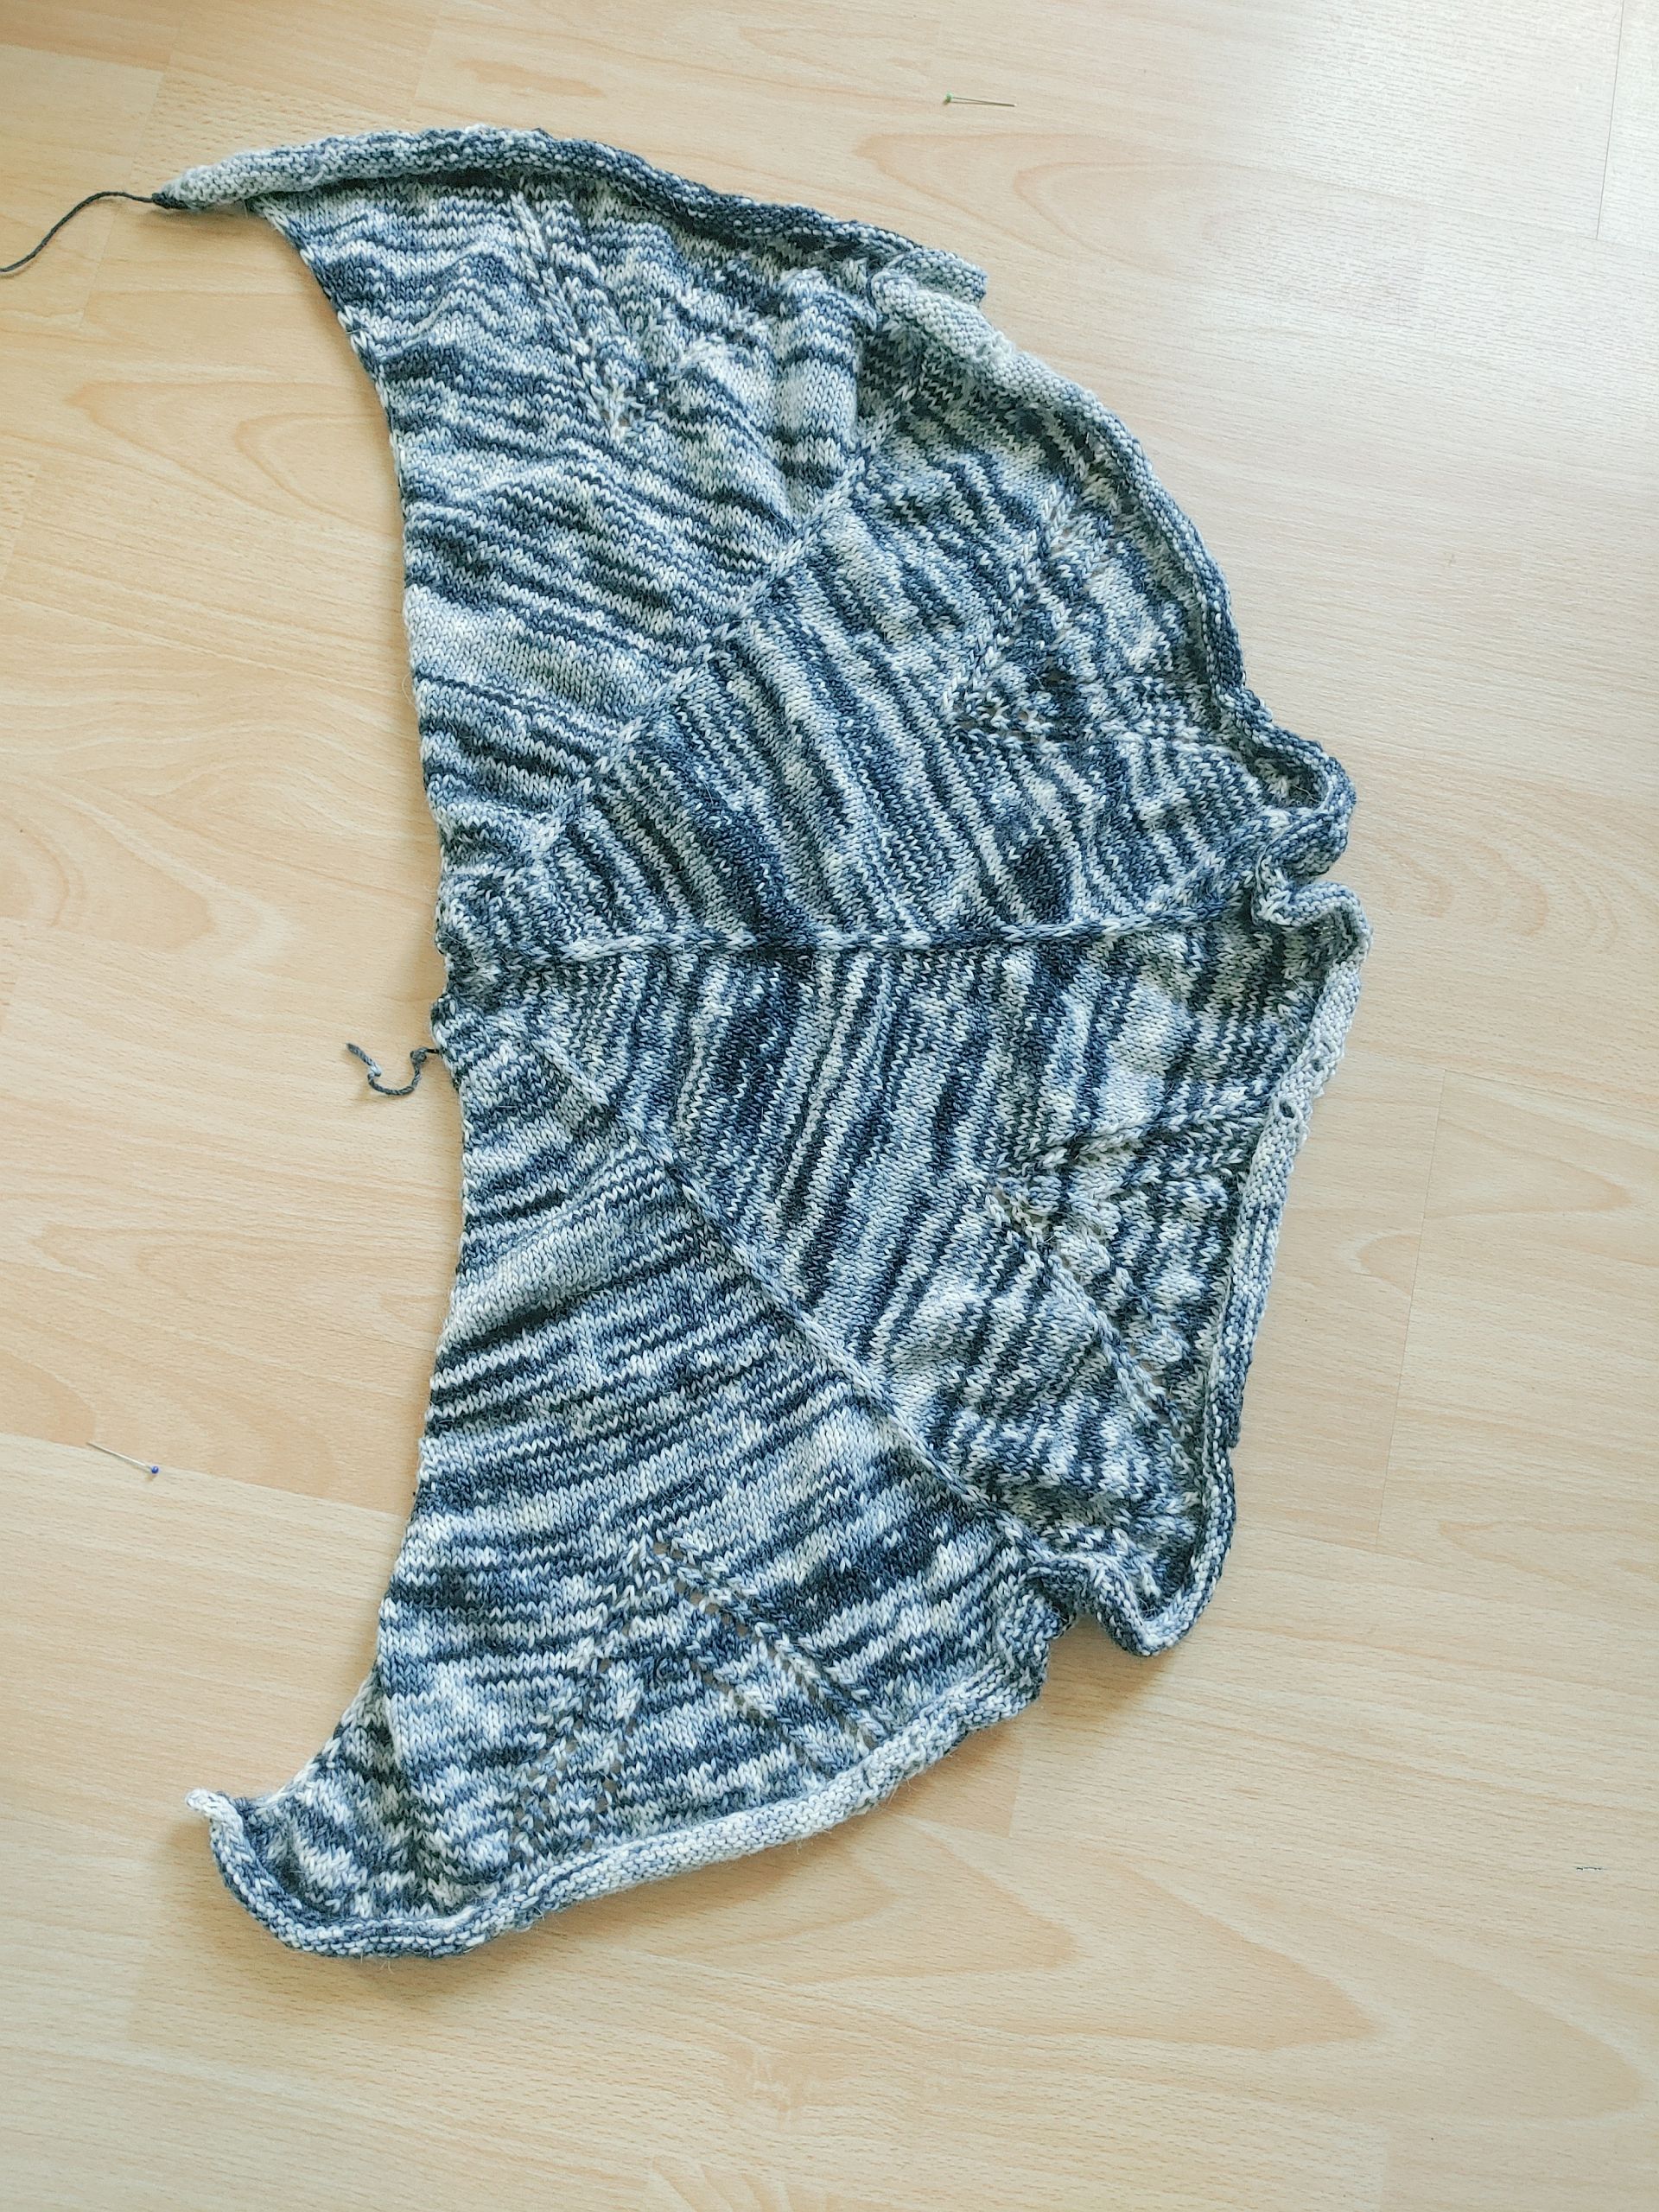
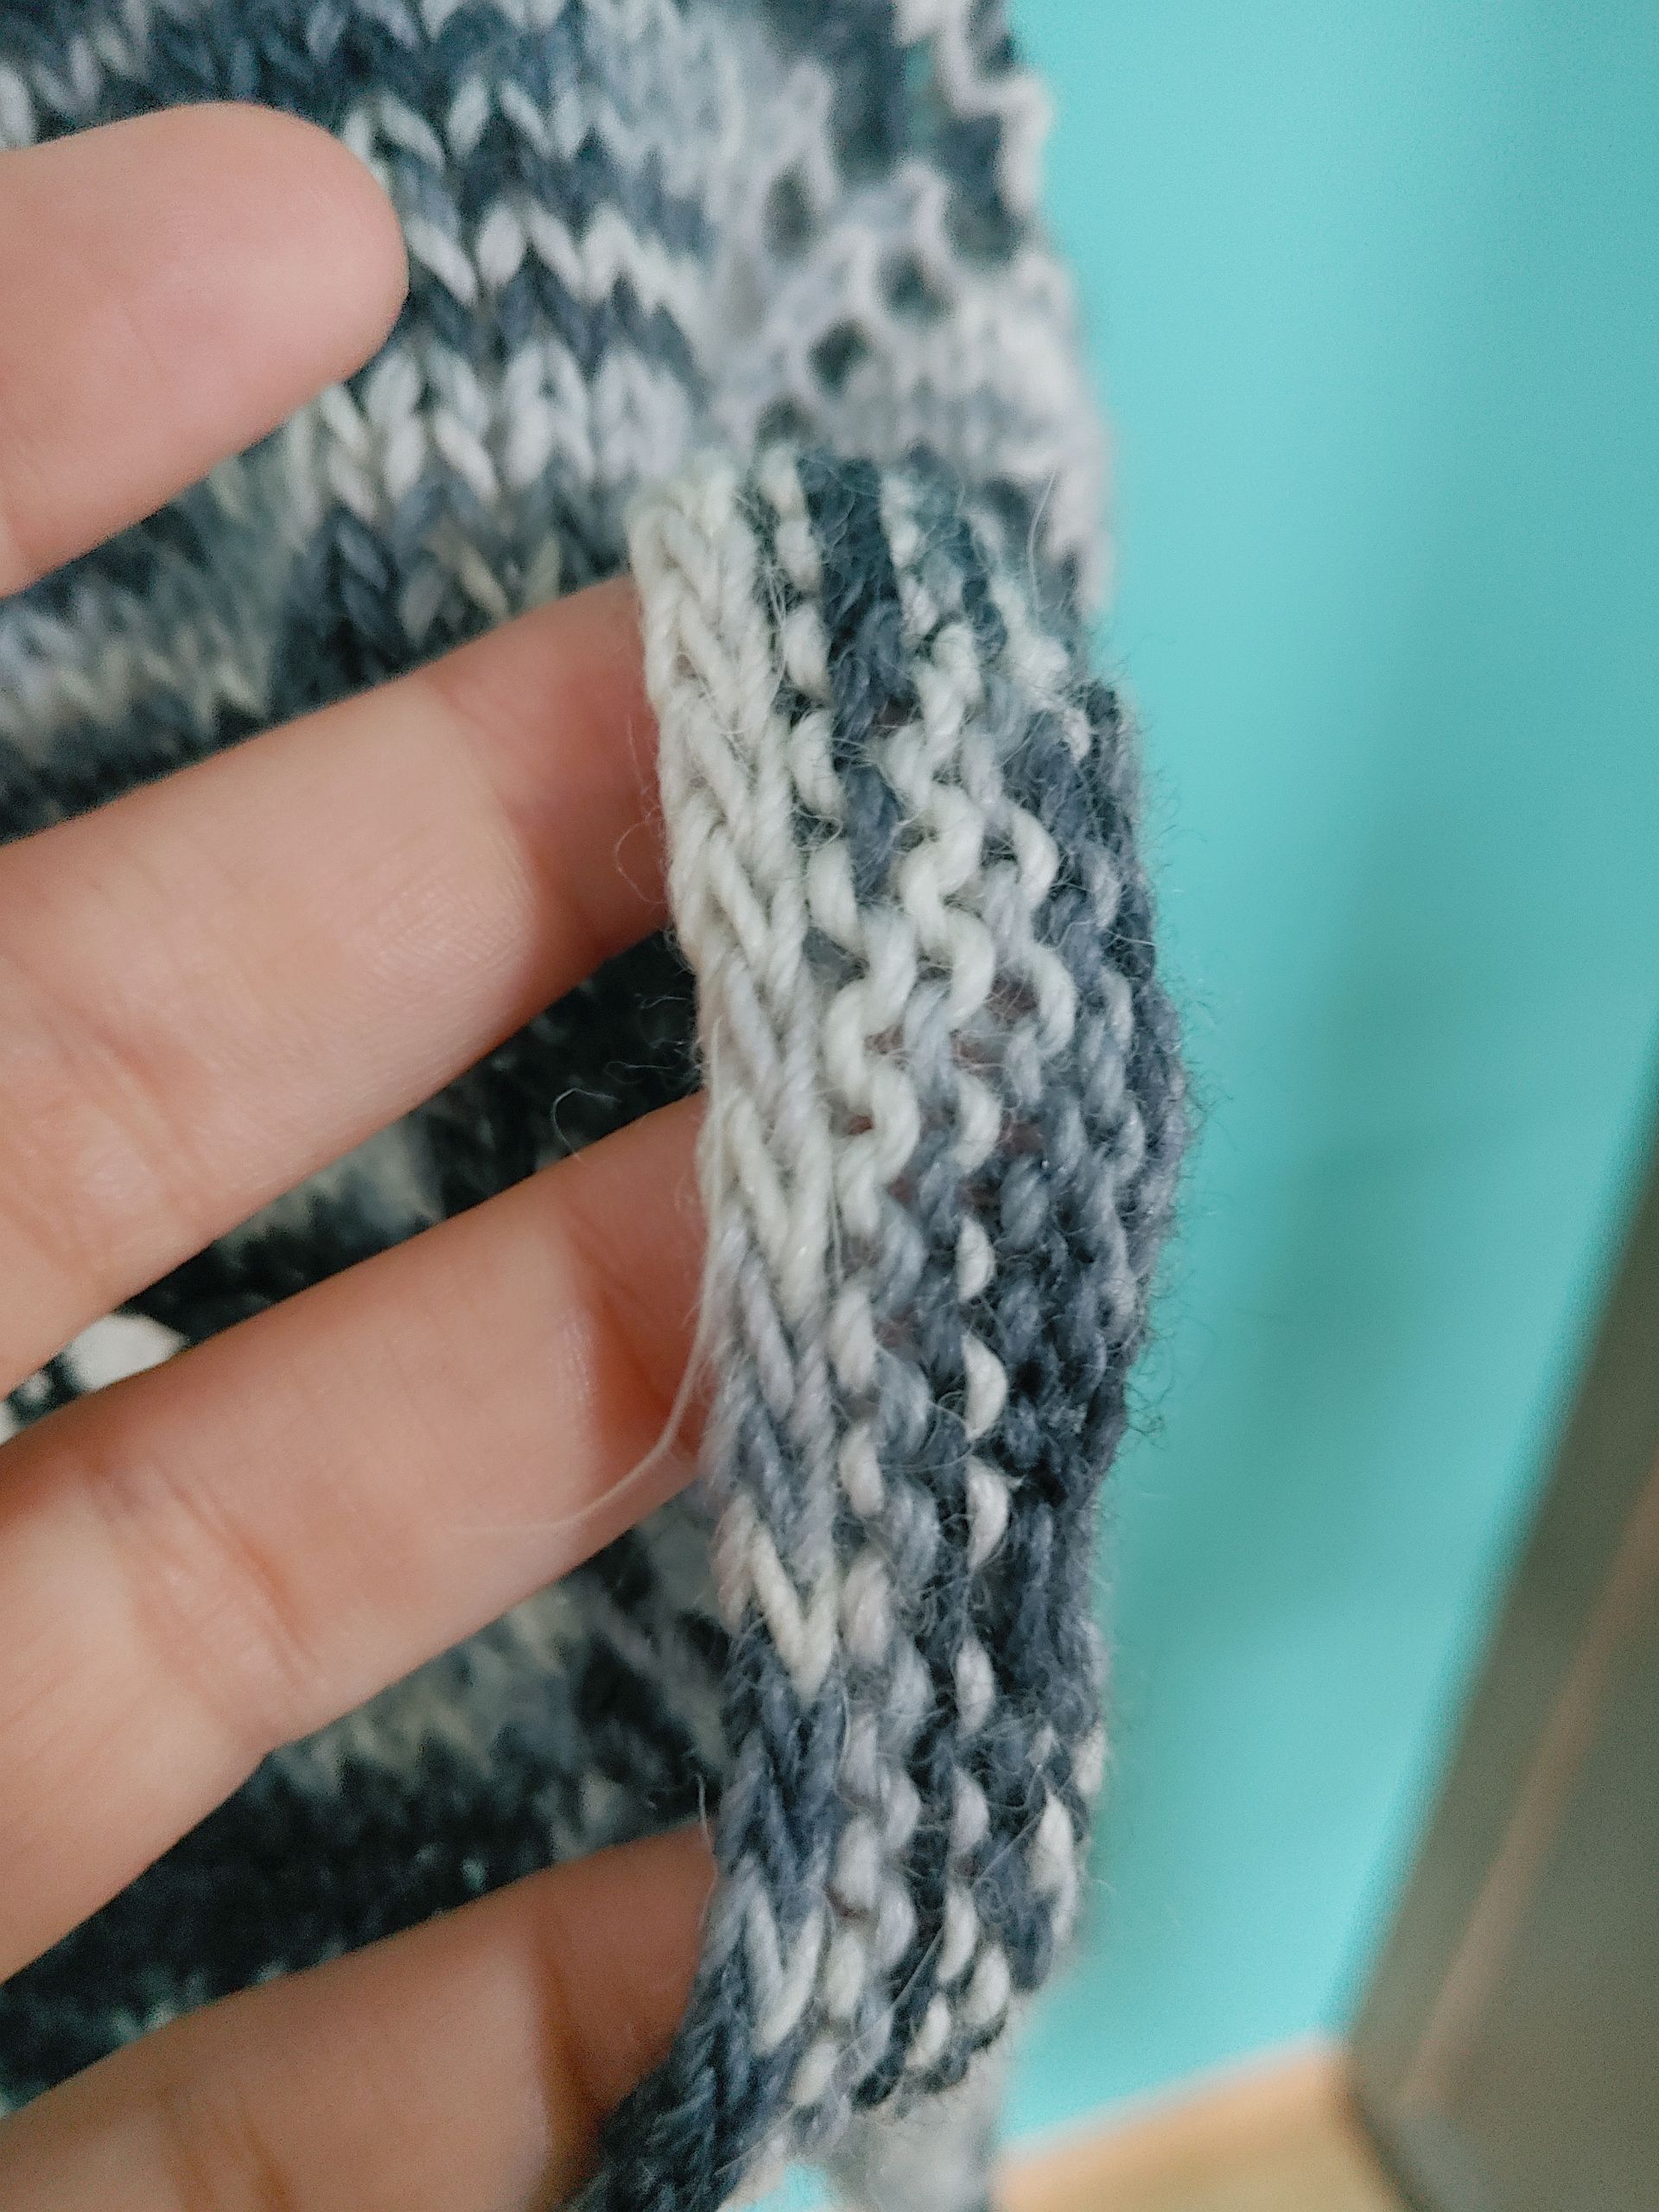
My Ravelry notes indicate that I started this new shawl on July 1st, 2023 and finished it on 11 October 2023. Not too bad of a turn around. The pattern is Aranea by Erika Wine and I later incorporated Asscher by Christina Danaee into it because I was so bored. The yarn was the ‘gray-diation‘ yarn dyed in December 2022. The pattern is fairly simple, the only thing to remember is to make the ‘spokes’ by effectively knitting i-cord along the edges and three other spines. In the beginning, a stitch is increased on each side of each spoke every fourth row. Once you pass 40 stitches between two spokes, you start increasing every other row.
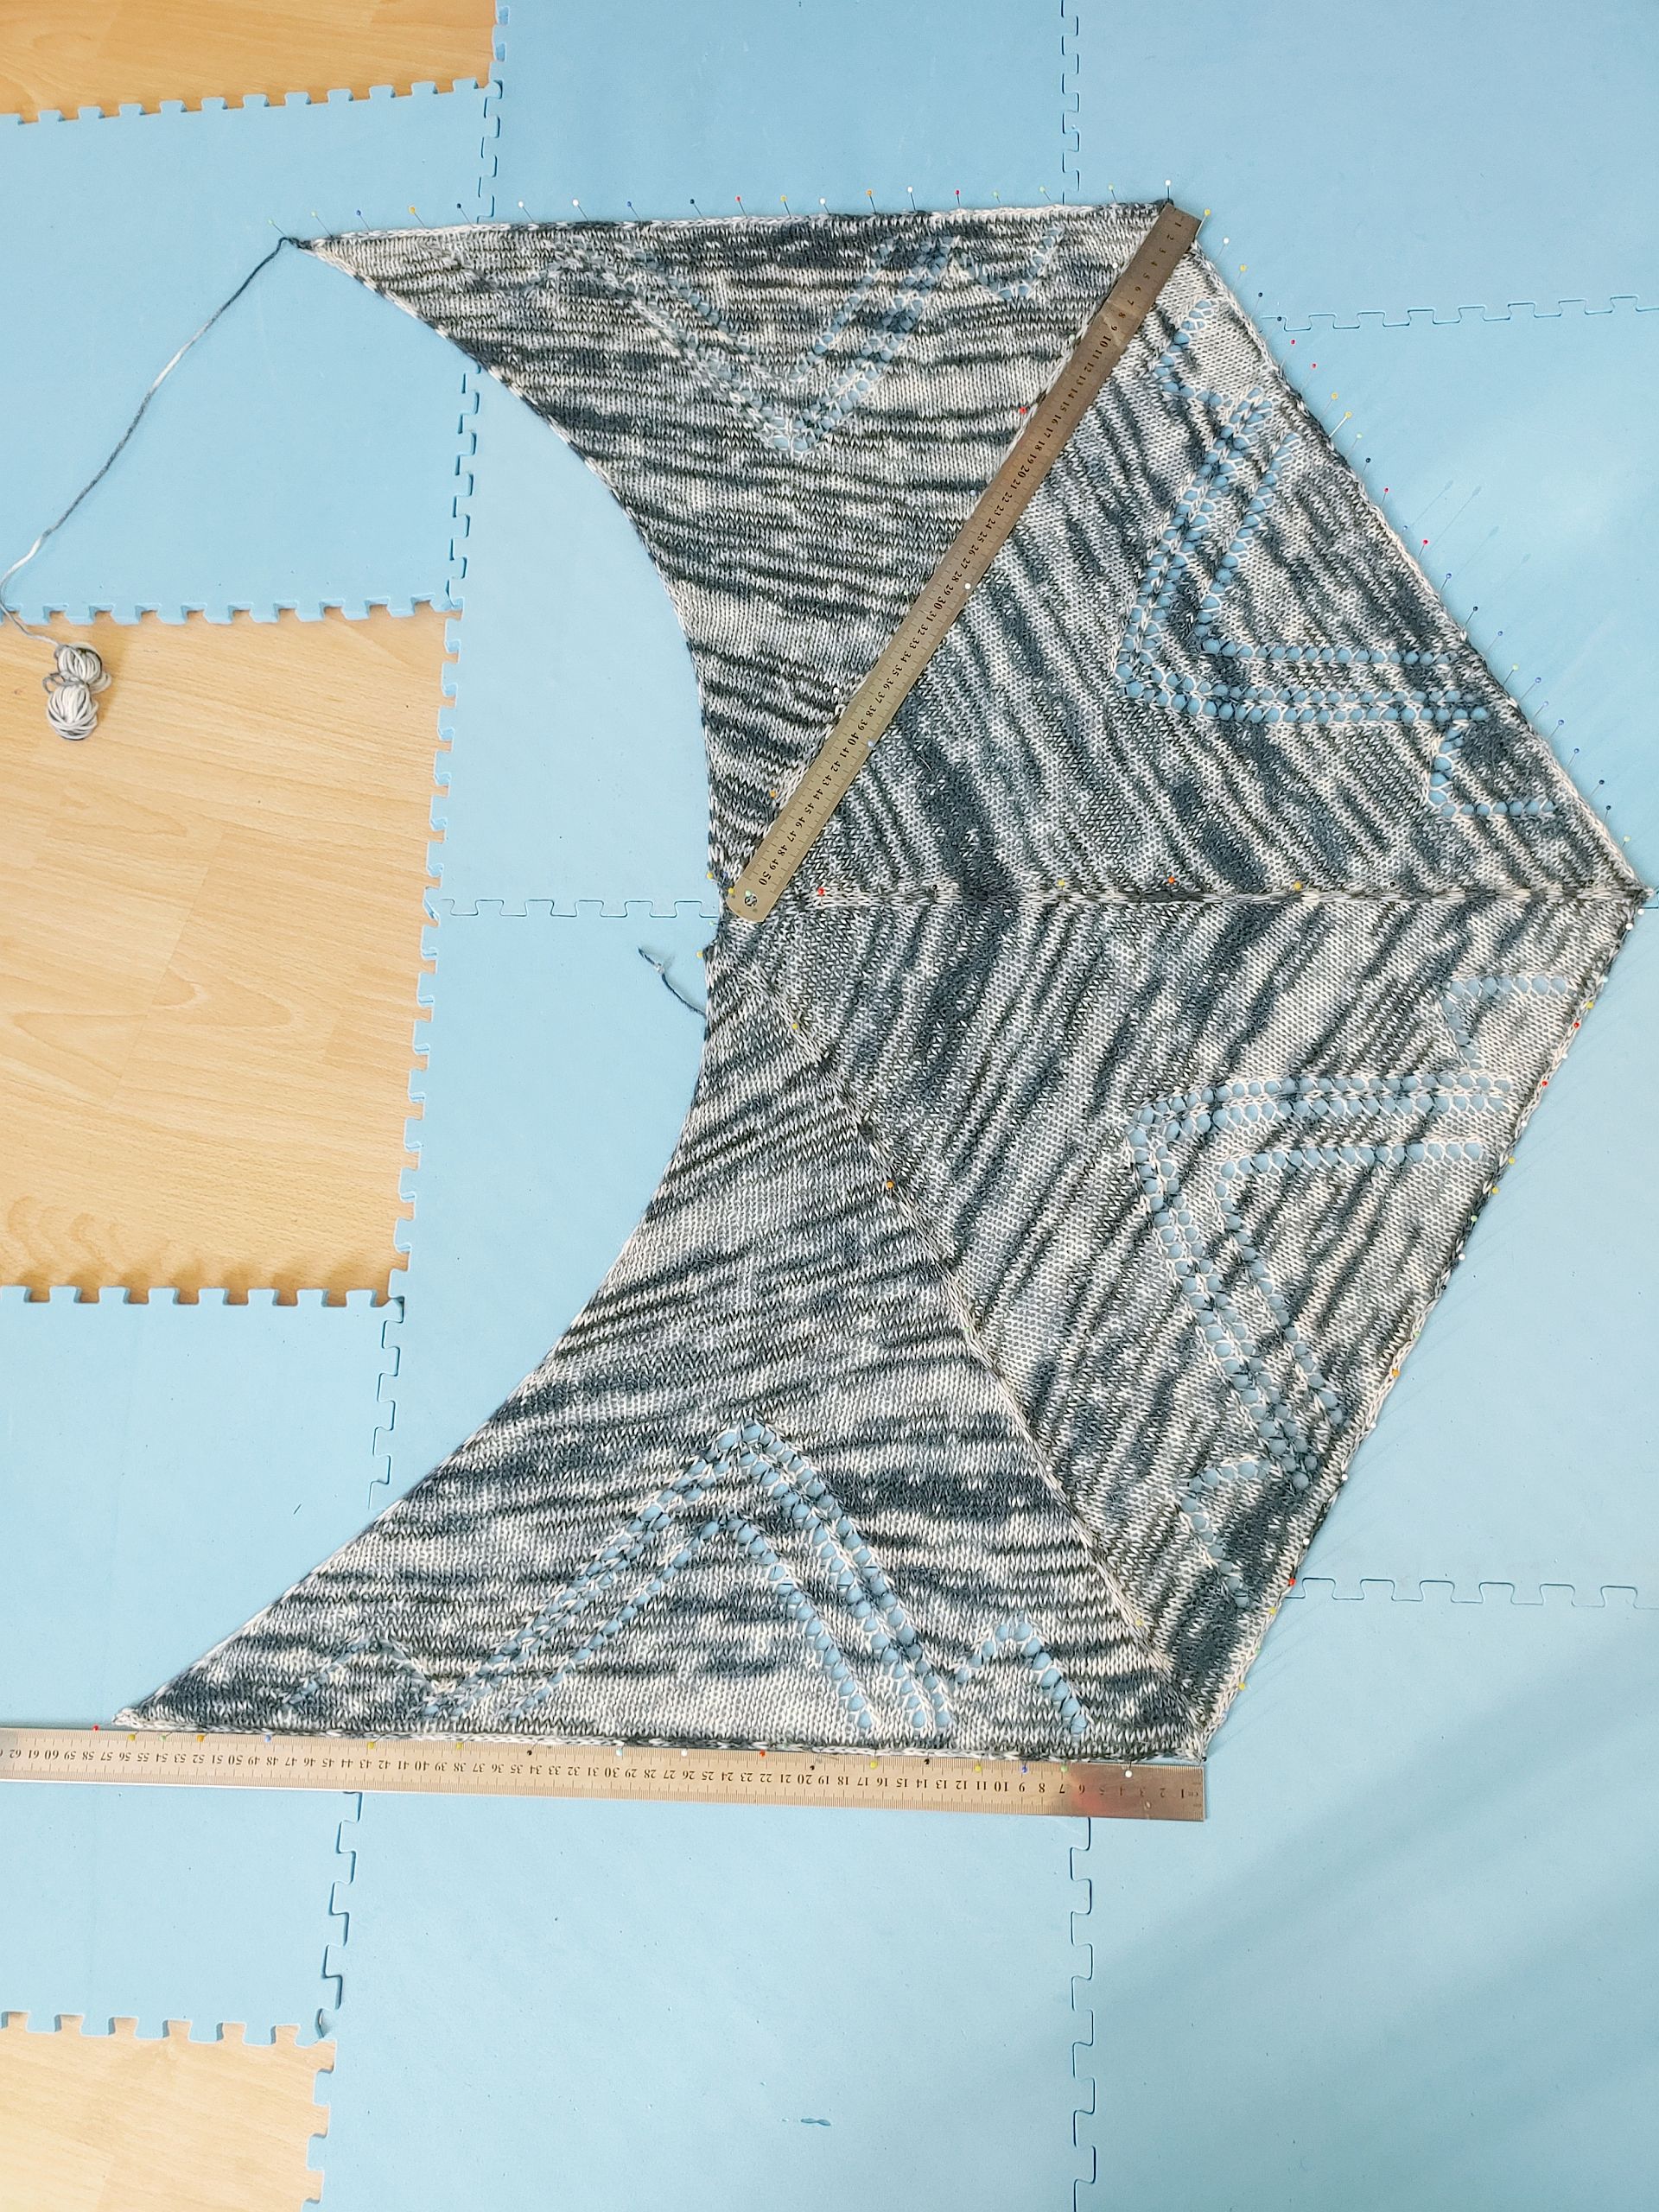
This is a lot of knitting stockinette and for some reason, my yarn didn’t want to run out. The shawl is supposed to end when there were 80 stitches between the spokes, but I still had a lot left when I hit those 80 stitches. So at some point, I wanted something, anything else to do but knit-stitches for an eternity. I found the Asscher pattern, which has a pretty cool eyelet pattern on the back and started incorporating those instructions in between the spokes. I deviated at some point and made an extra triangle. I also needed to keep in mind that the i-cord binding still needed to happen, so I kept weighing the yarn to make sure I had enough. Once I reached the end, I followed the bind off instructions and wet blocked it.
Since I wanted the lace design to stand out a little more, I blocked it with straight edges instead of the spiderweb intention from the original pattern. This was probably not the best idea because what I liked most about the Aranea pattern was the spiderweb effect. However, I’m definitely not making this by hand ever again. I had to force myself to finish it. It has turned out a pretty decent size and it’s definitely wearable. I now also know how that gradation effect in yarn will play out when knitting. I have learnt (again) that endless stockinette is not my forte and will try to keep this in mind with future projects.
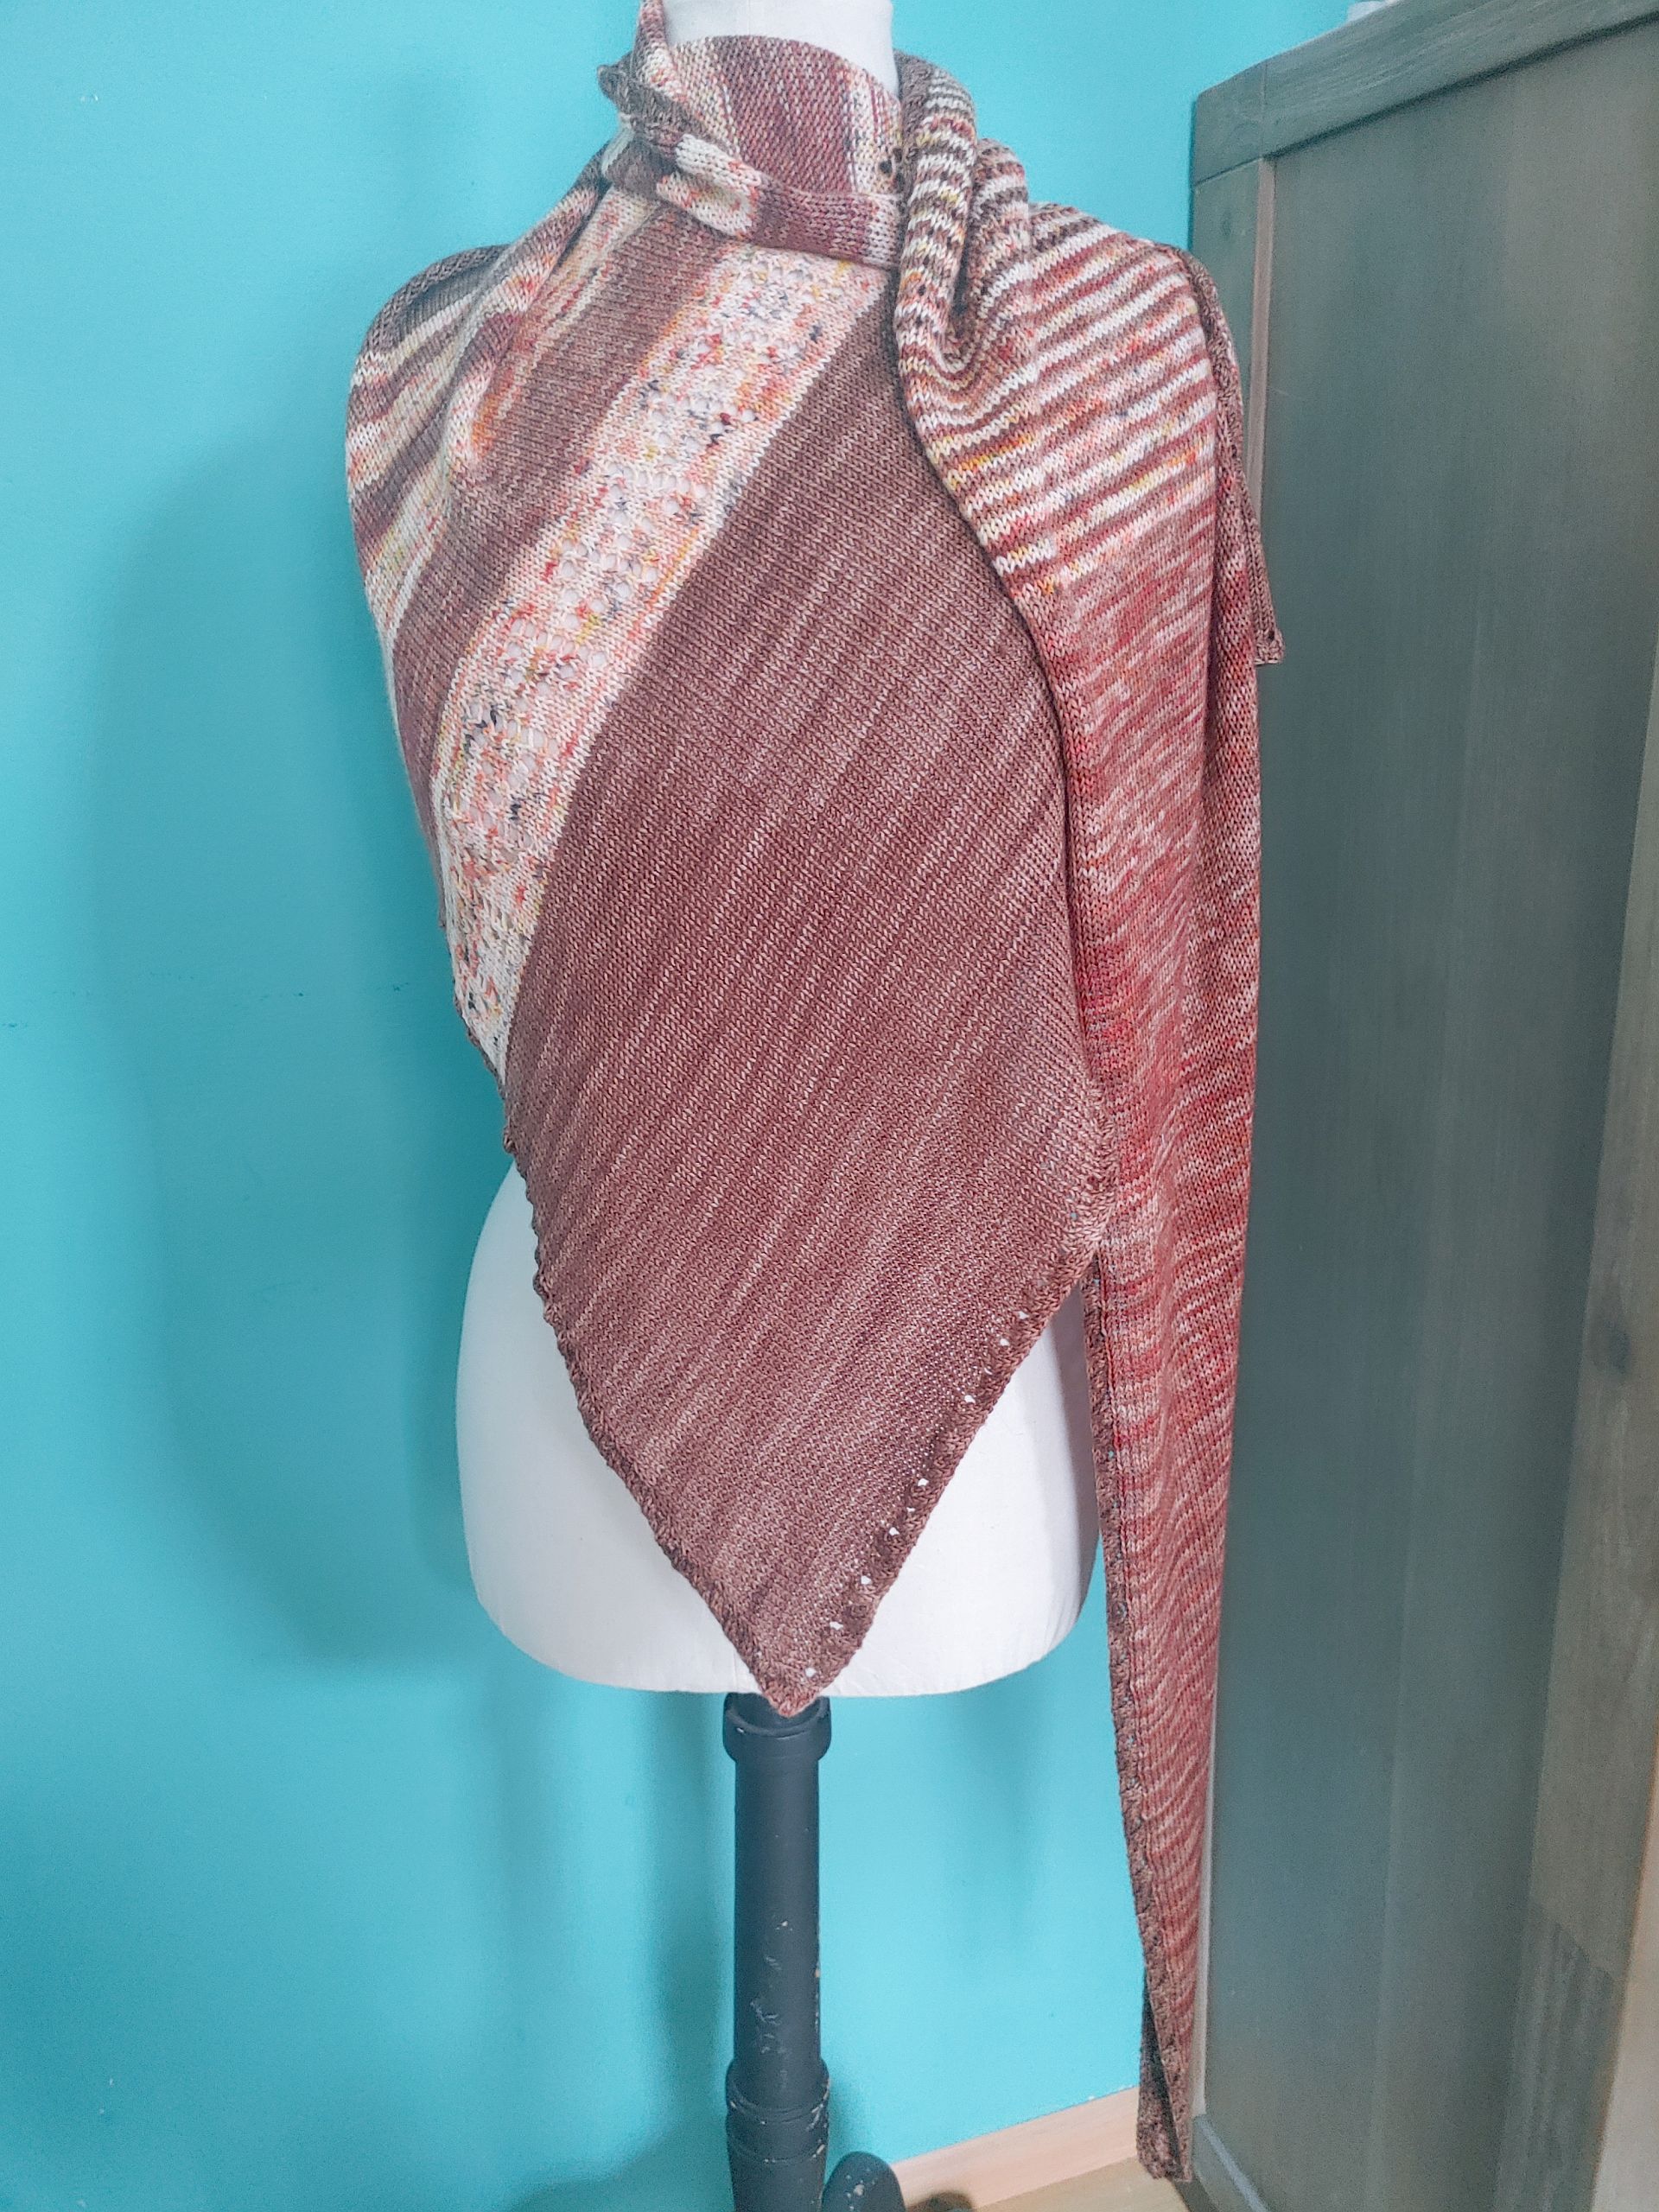
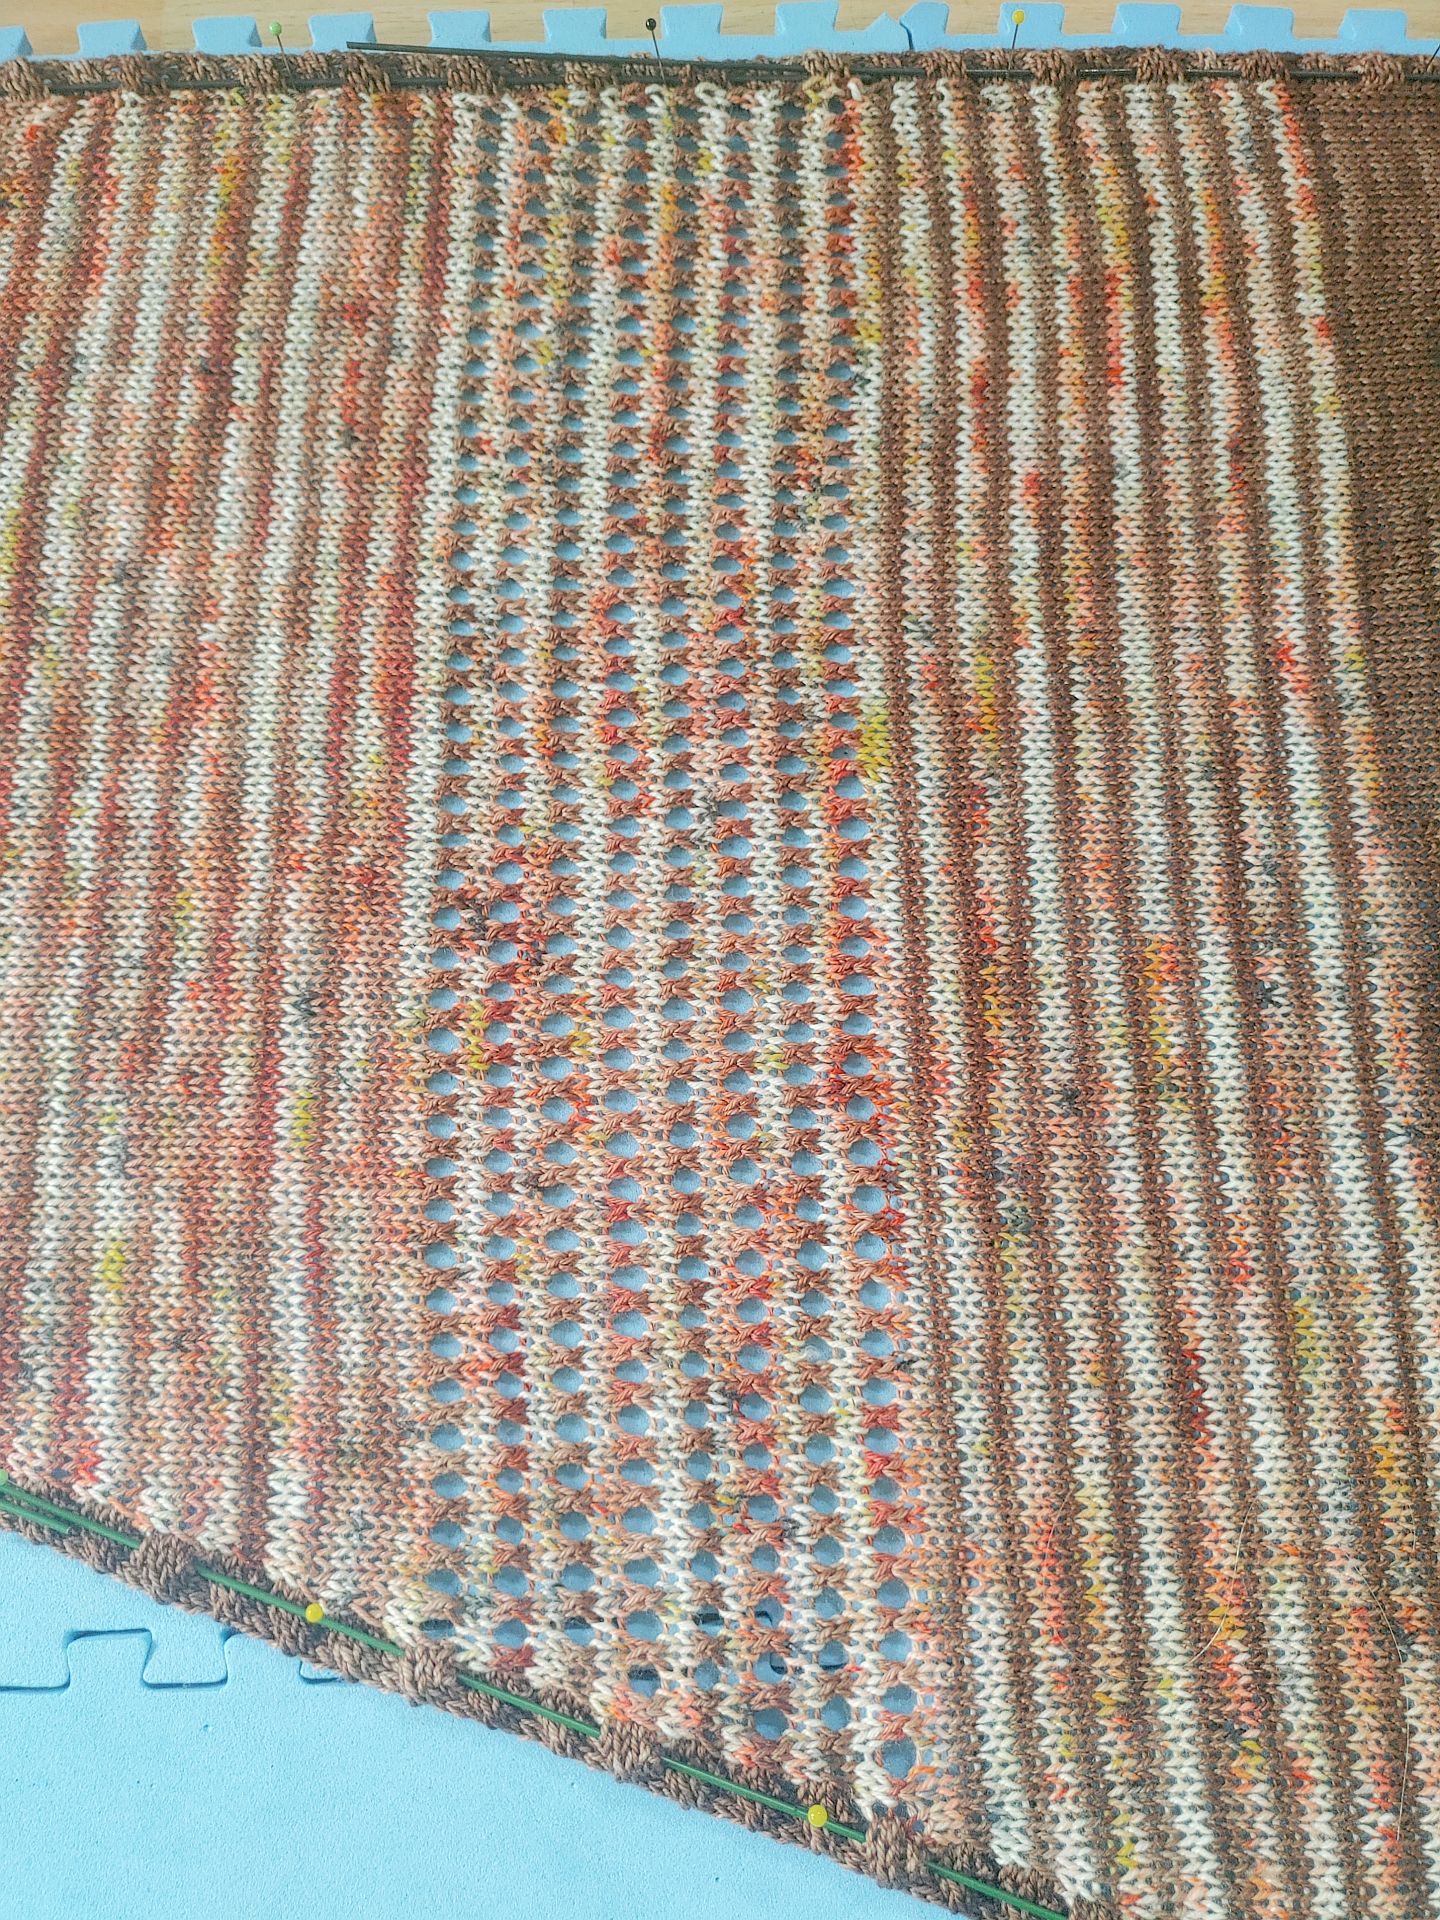
Last year, when Karen and I dyed different kinds of yarn, one of them was colour-mix that has sat in my stash since. I do find that yarn very interesting and I thought it would look good with browns, so when I had some red-brown yarn leftover from the Fringe! scarf, that set my brain in motion. I put them next to each other and I thought they looked good together. I wasn’t sure I would have enough for something wearable, so I dyed another skein some lighter brown (and later overdyed it with even more brown) and started planning.
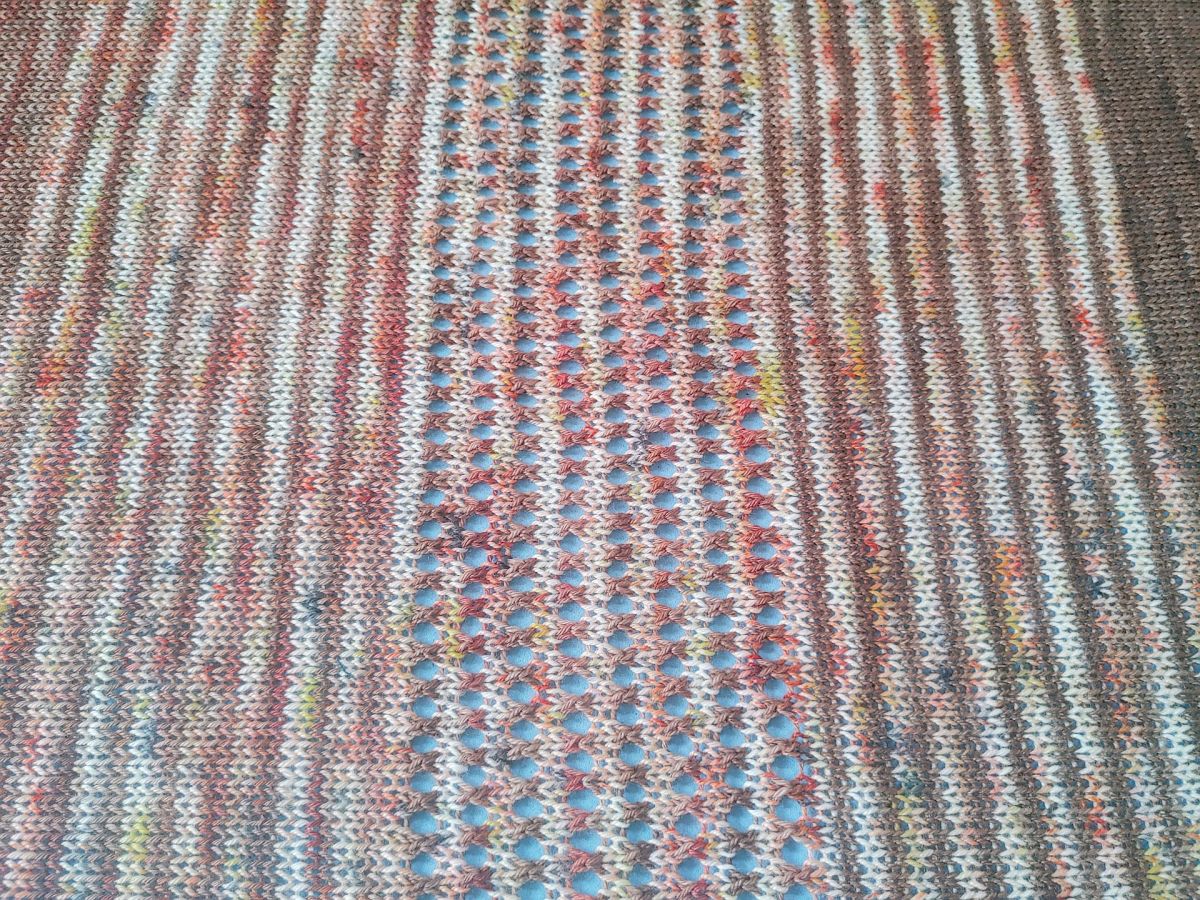
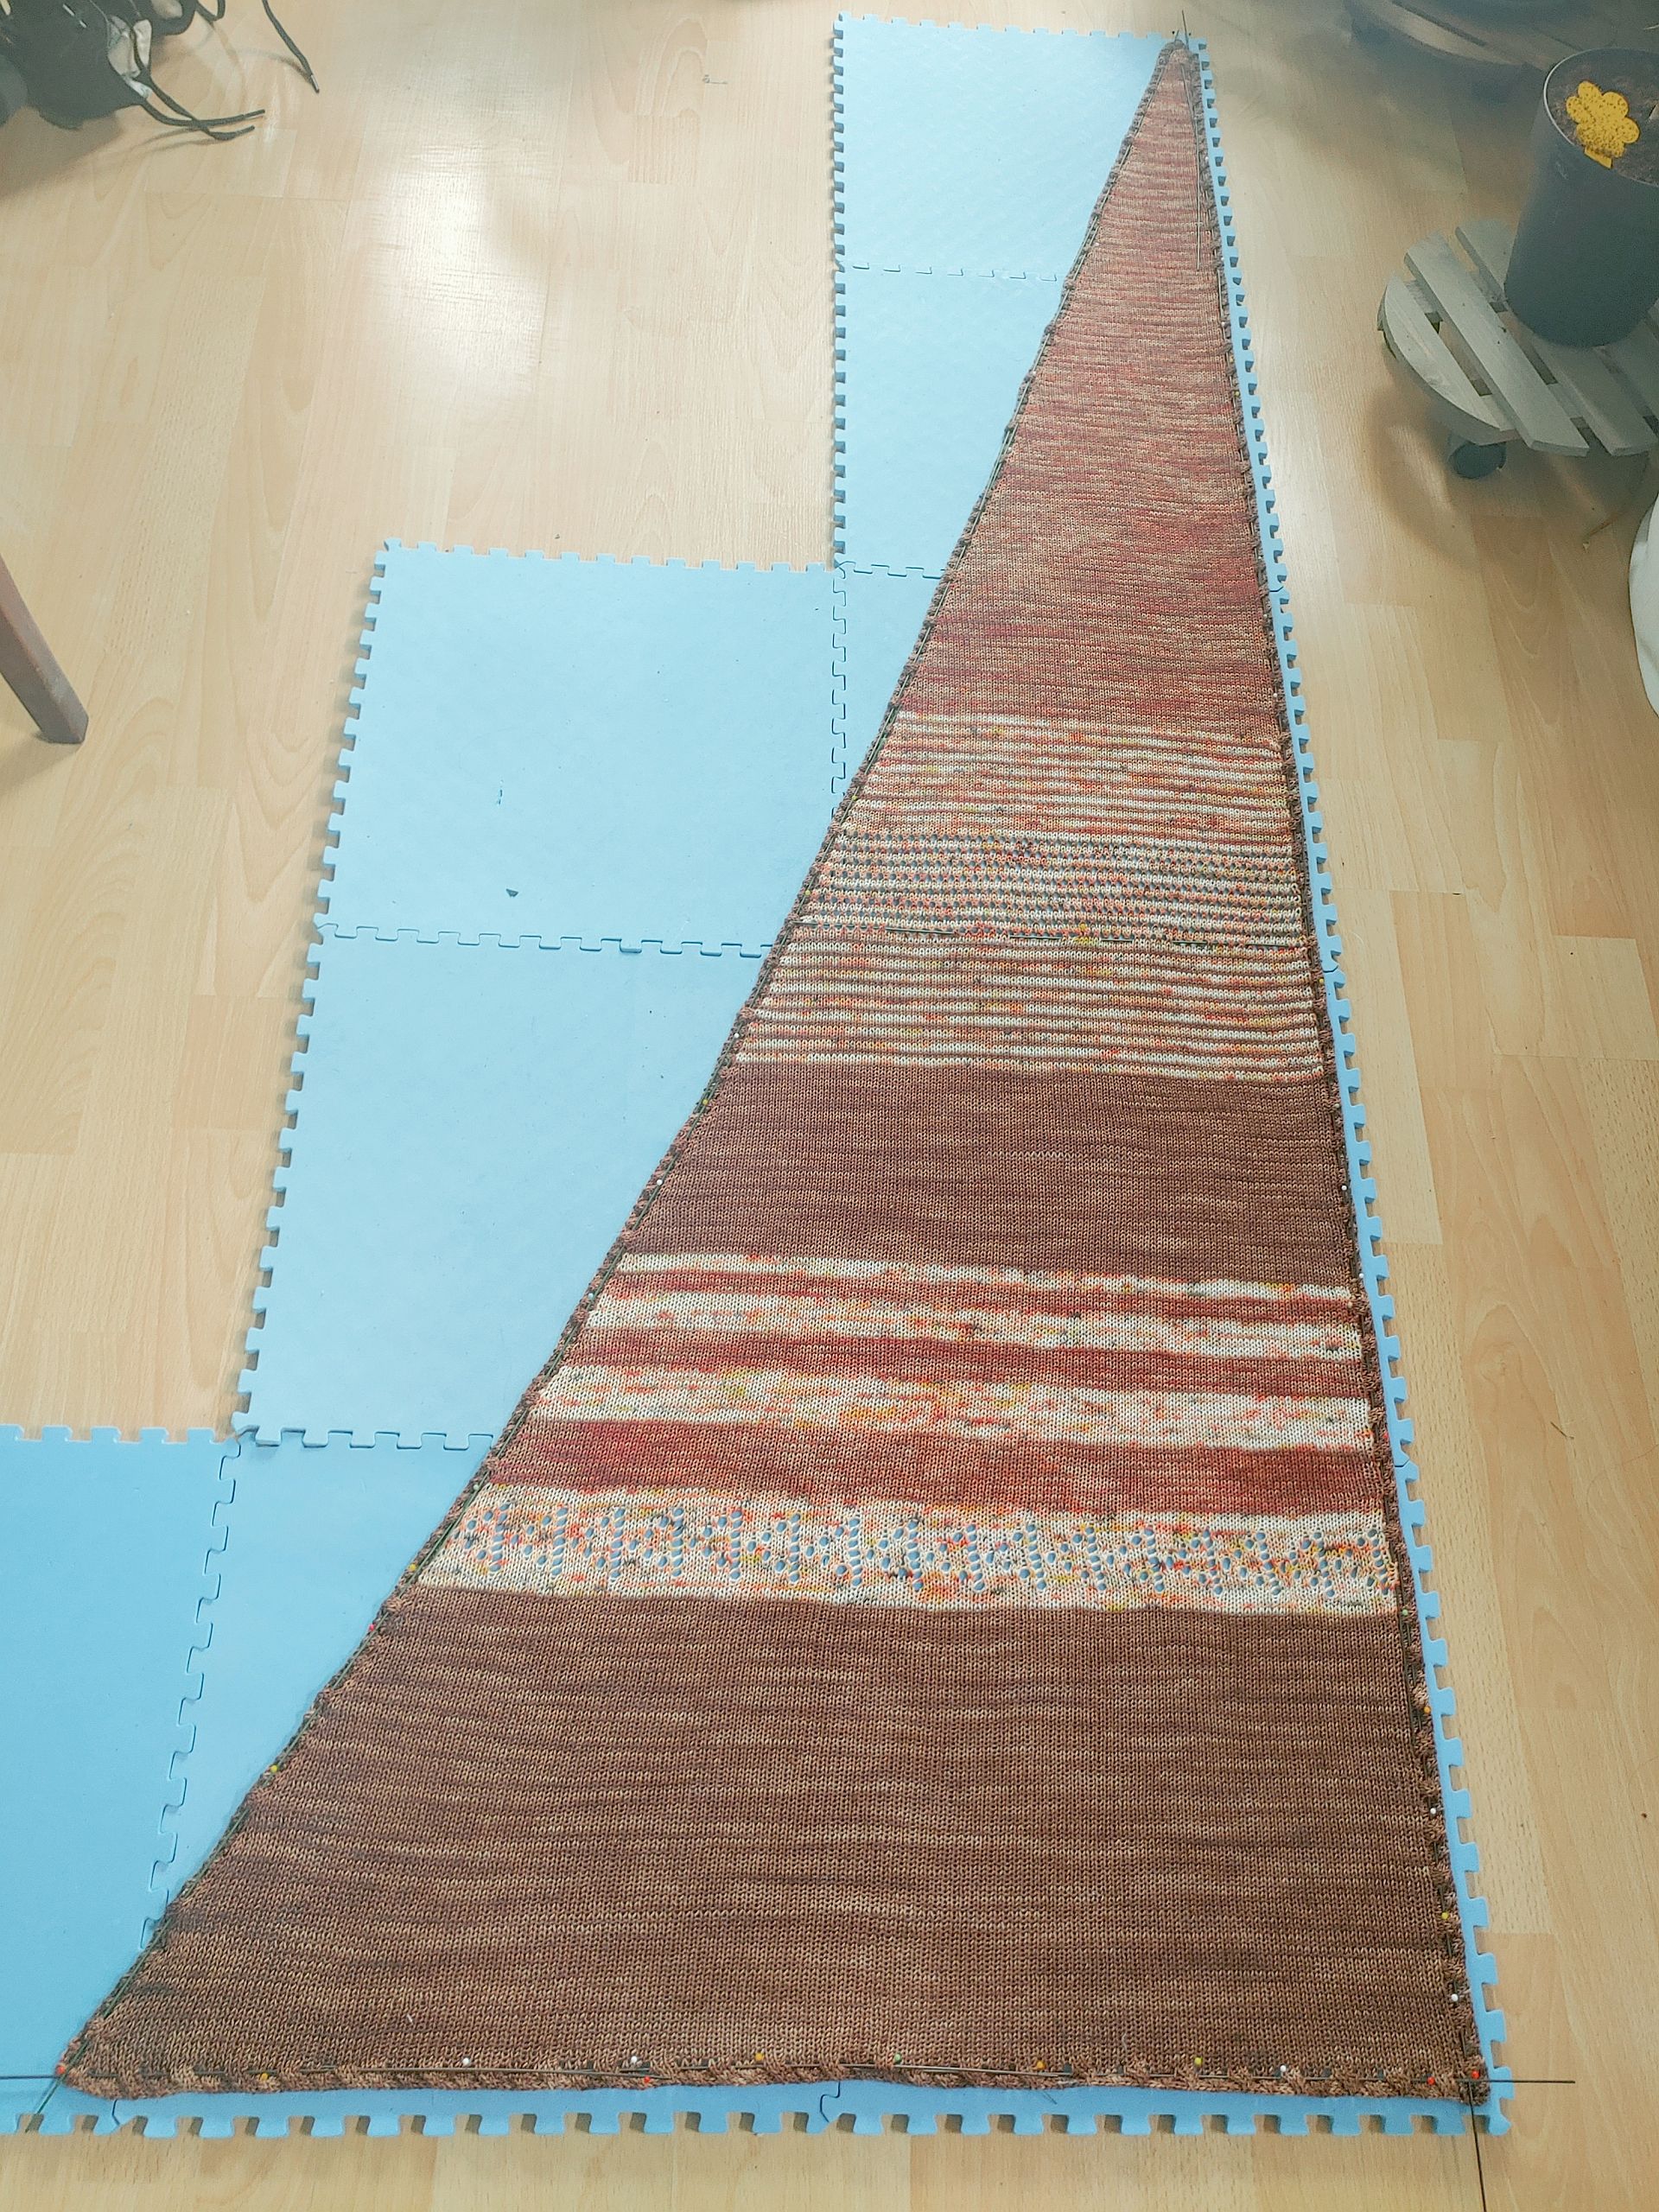
I found the Pirate’s Cove for LK150 by Christine Welsh on Ravelry when looking for machine knit patterns. It also had a video tutorial attached with it, which was really nice. The main idea for the original Pirate’s Cove was to use a thicker yarn and increase one stitch every second row on one side to create an asymmetrical triangle scarf. Because I used thinner yarn and my bed wasn’t too wide, I opted to increase one stitch every four rows to create a longer triangle. Different stitch or colour patterns were suggested at intervals, but the knitter can make their own choices of course. I chose to do the first section in the red-browns, then some striped red-browns & colour-mix. Next came some thin red-brown, brown and colour-mix stripes with eyelets and without eyelets. Some flat brown after and then increasing width stripes of colour-mix and red-brown. In the last section of colour-mix, I knit some triangles with eyelets. The final section was some straight brown.
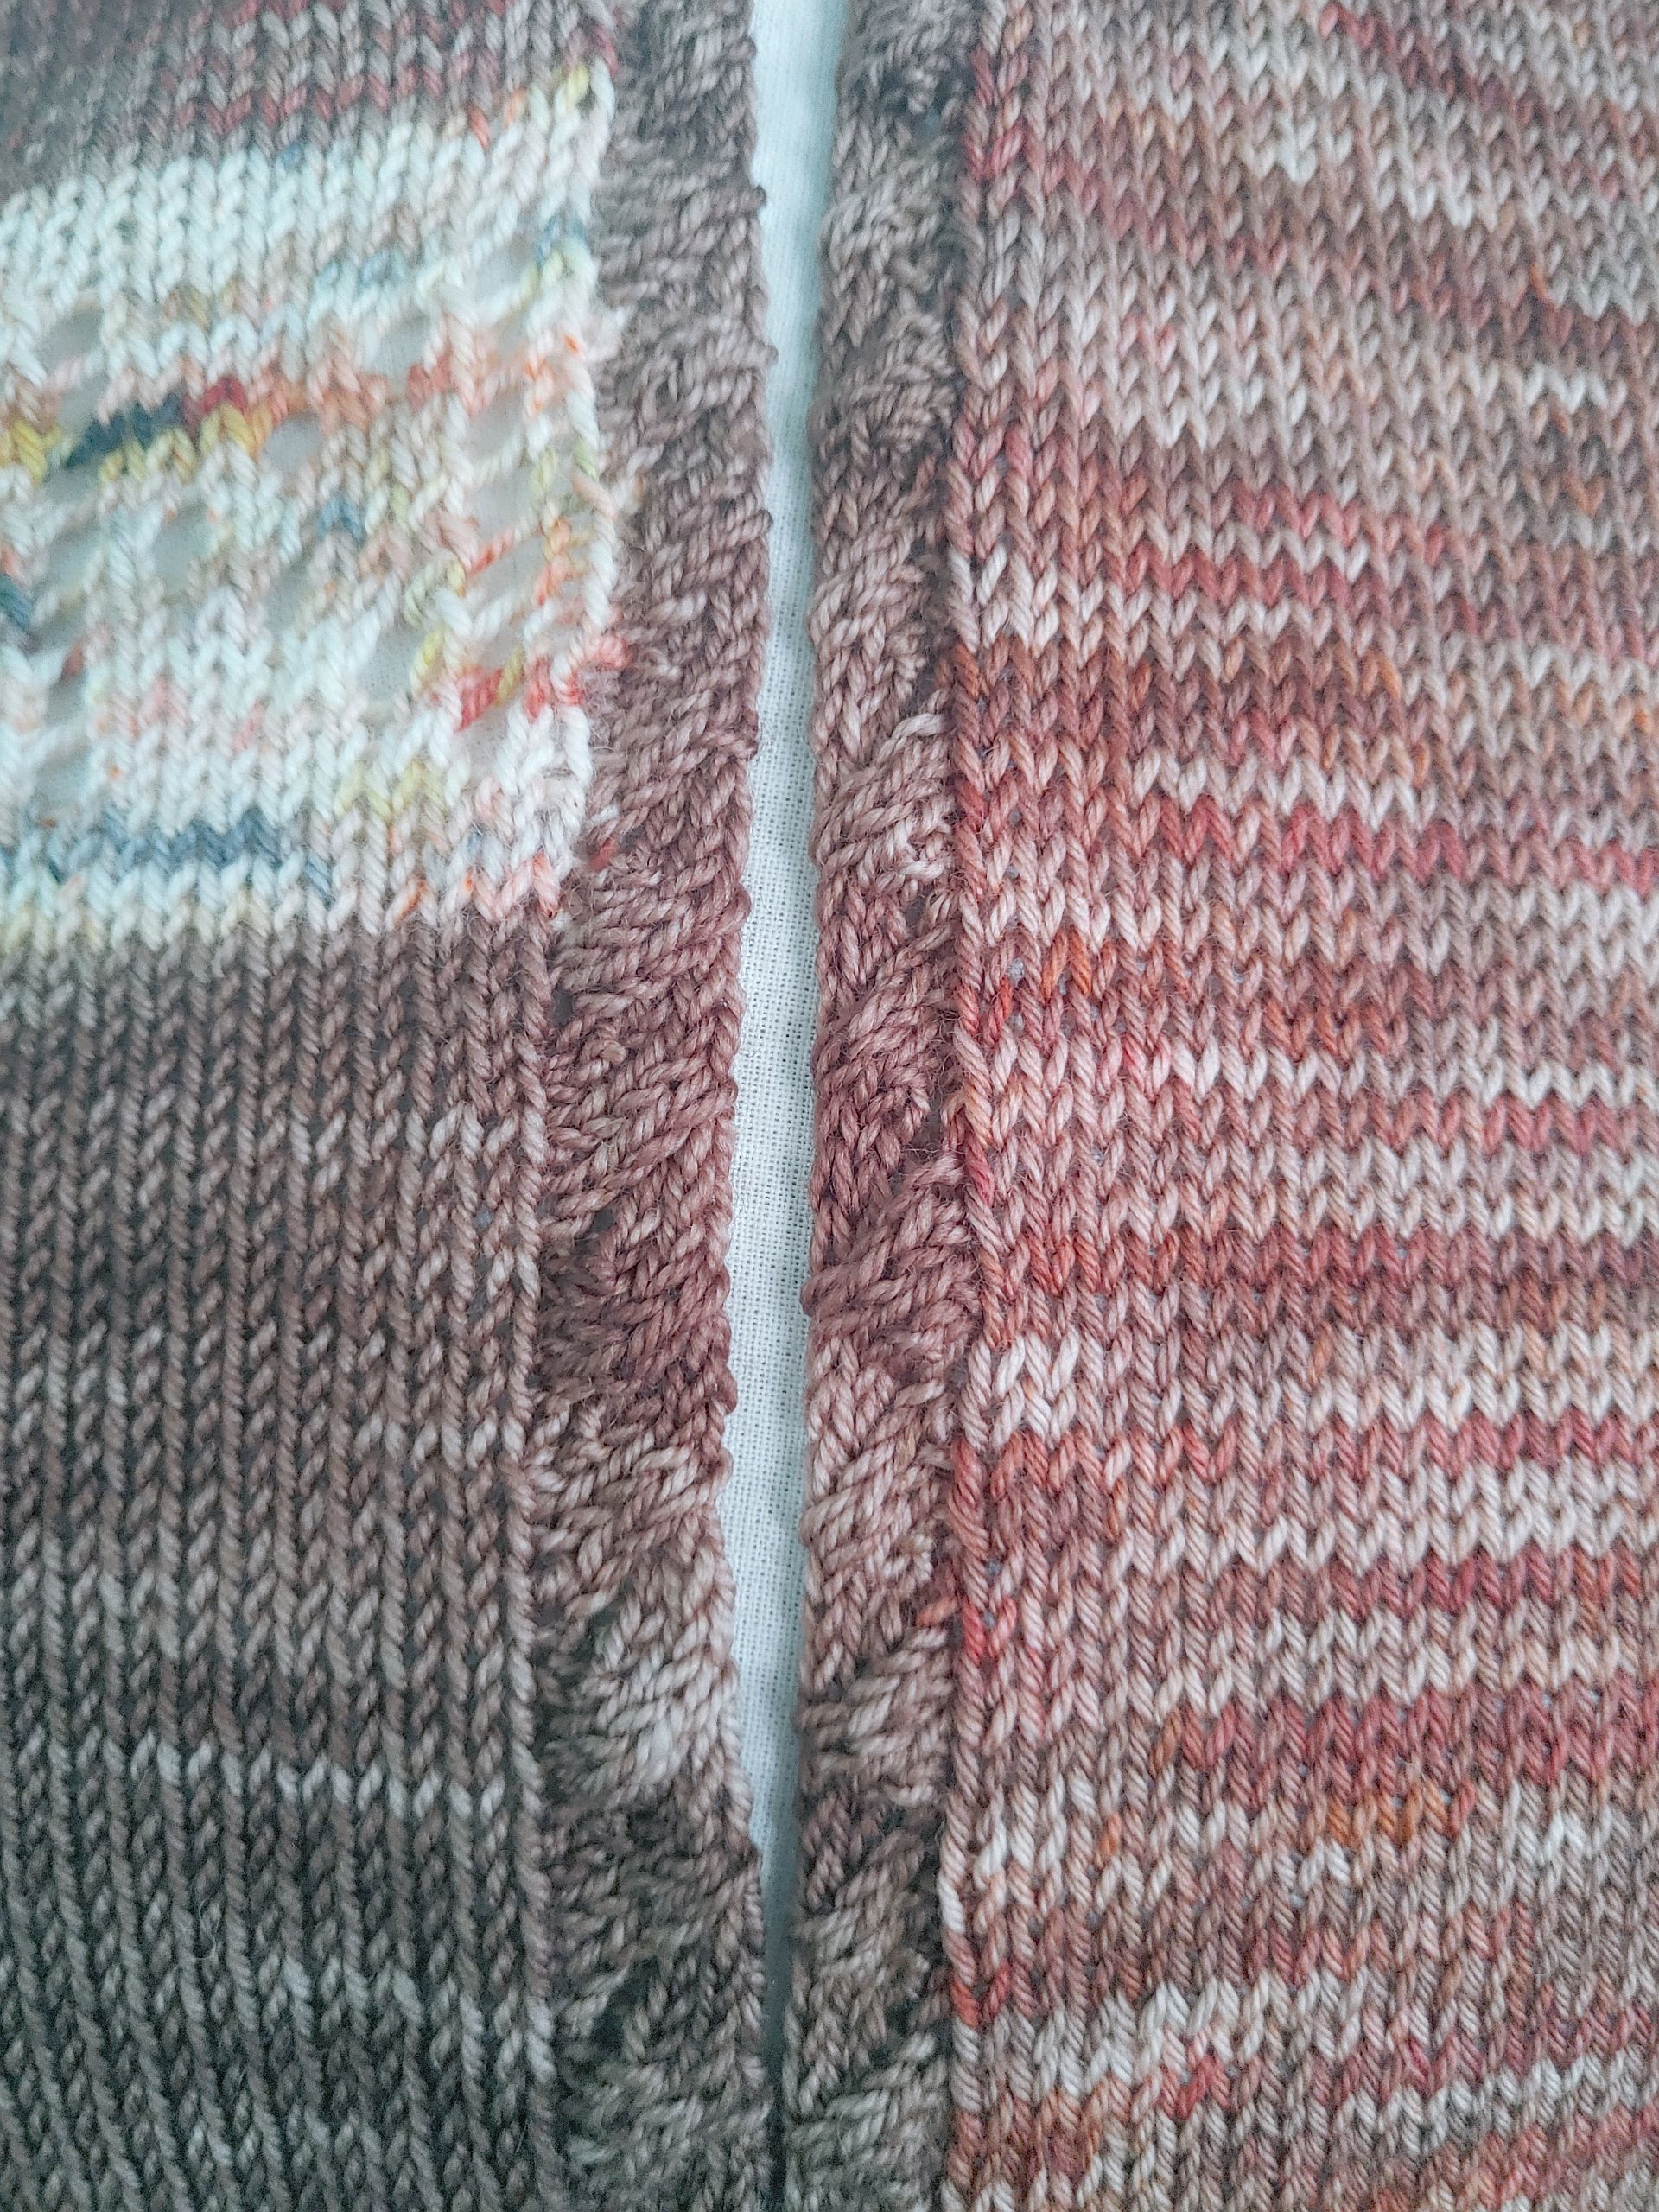
Since the straight edges started curling, I followed the directions for a decorative edge in the pattern. I chose to do the edge in the brown. I was very worried that I did not have enough yarn, but I tried to do one side in a different colour and it was awful. So I pulled it out and just .. kept my fingers crossed. I did lose yarn chicken by about 10-20 stitches on the bottom corner, so I used some leftover red-brown to finish those last few stitches. You’ll only notice if you know, so ssshhh. This shawl has now made its way to Karen, as it should suit her Fall colours.